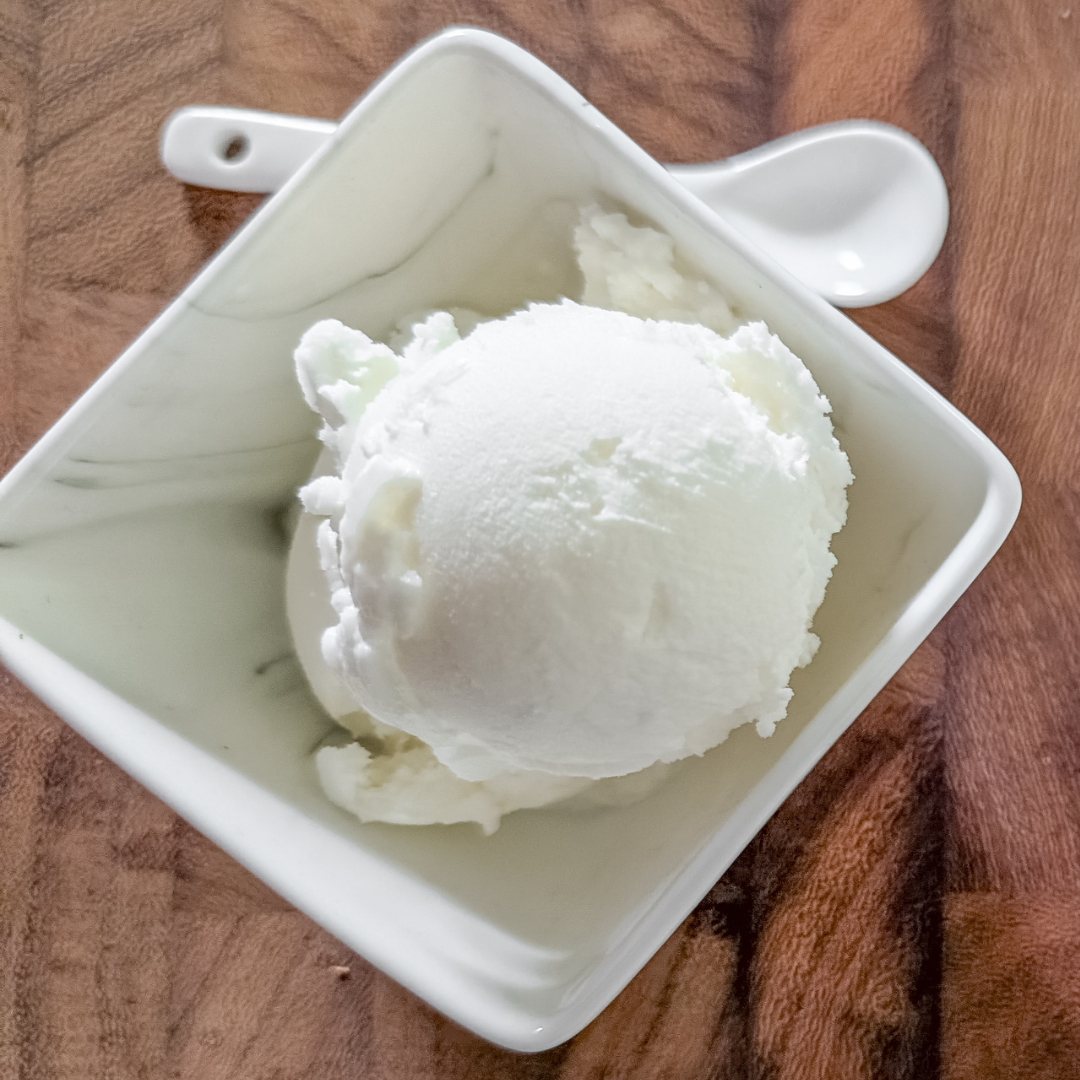
Ninja Creami Vanilla Ice Cream (Clear Vanilla Extract)
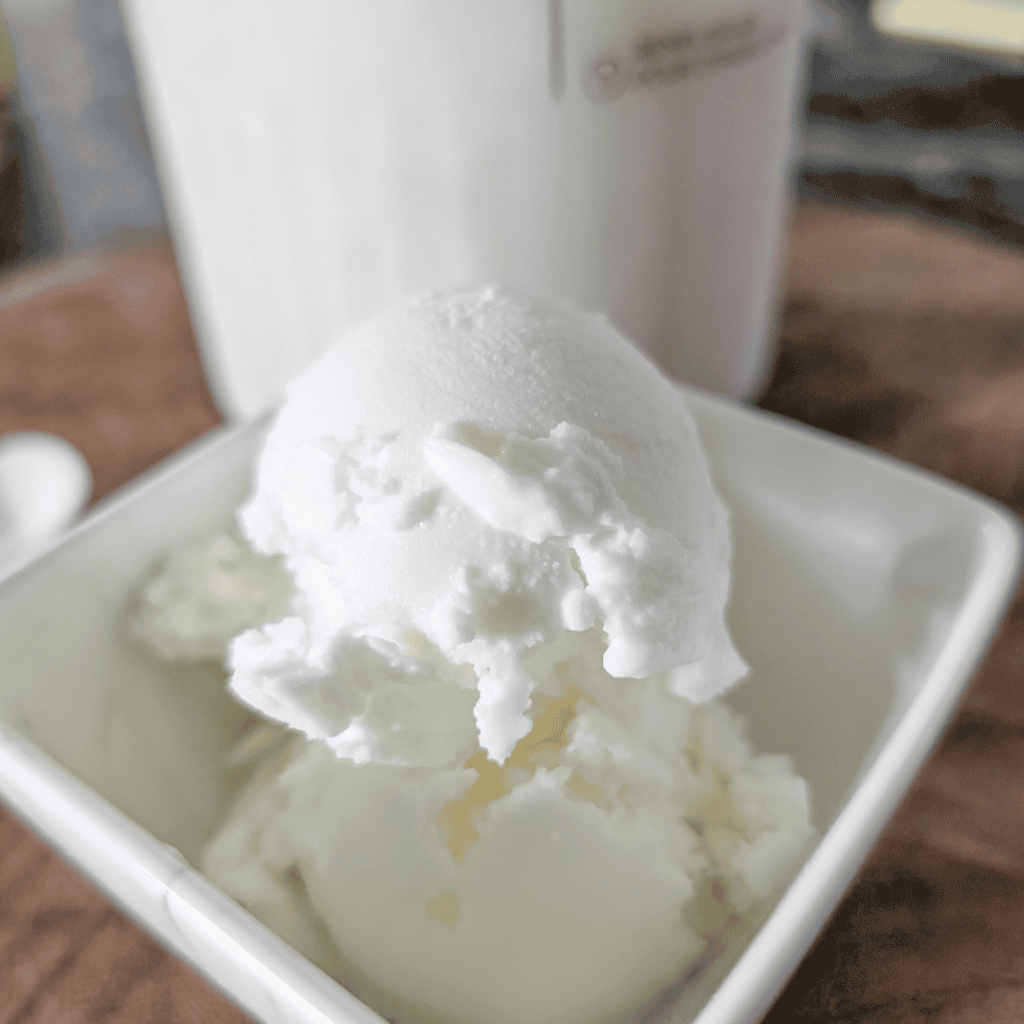
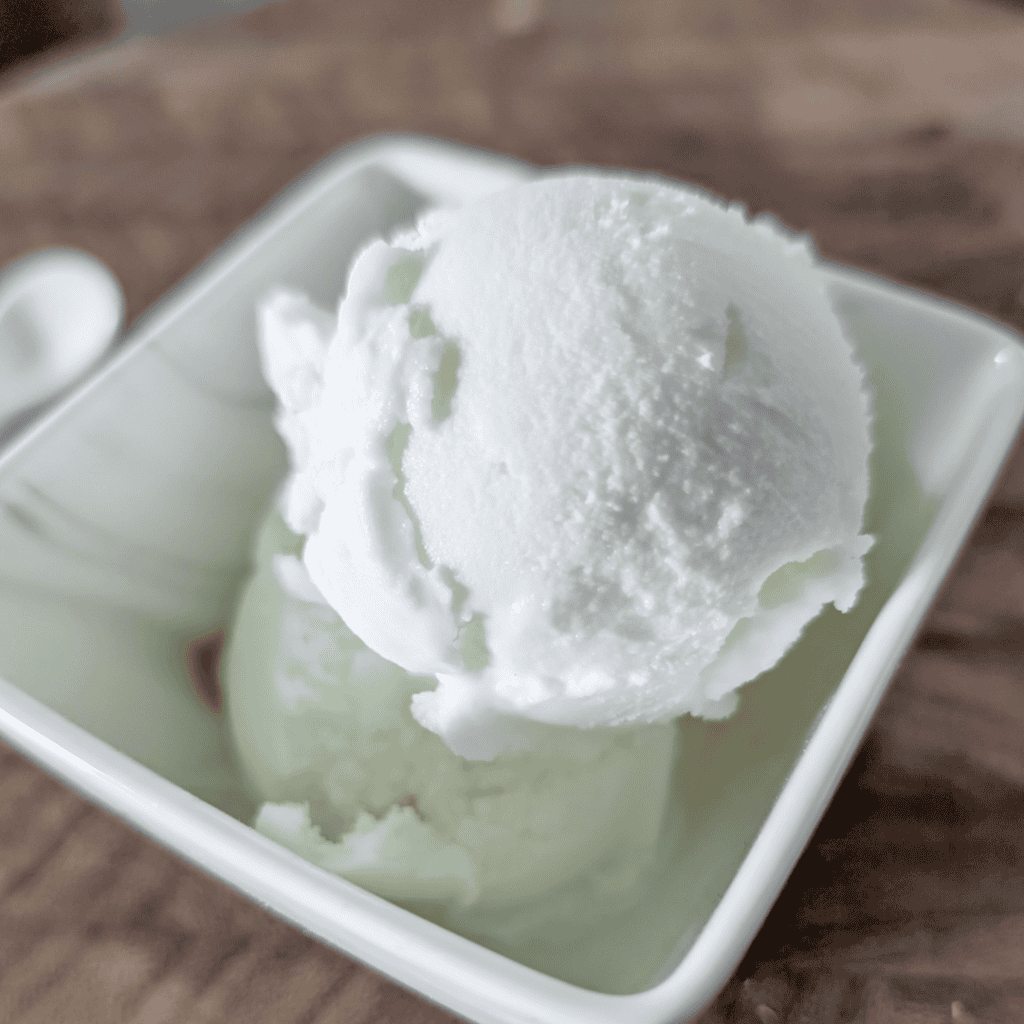
If you’ve ever wanted a classic scoop of snowy white vanilla ice cream without paying premium prices for vanilla bean paste, this Ninja Creami vanilla ice cream with clear vanilla extract is for you. The flavor is rich, creamy, and unmistakably vanilla, while the clear vanilla extract helps keep the finished ice cream bright white instead of the light tan color often created by traditional vanilla extract.
This recipe has quickly become one of my favorite Ninja Creami recipes because it works as the perfect base for almost any topping. Spoon it into a bowl and drizzle it with chocolate sauce, maple syrup, fresh fruit, or homemade cherry sauce, and you’ve got an easy dessert that tastes like it came from an ice cream shop.
Made with milk, half-and-half, pasteurized egg whites, sugar, and clear vanilla extract, this homemade vanilla ice cream skips the pudding mixes and cream cheese found in many Ninja Creami recipes. The result is a smooth, creamy ice cream with a classic vanilla flavor, excellent texture, and a bright appearance that makes it ideal for sundaes, milkshakes, floats, and homemade ice cream desserts.
If you’re looking for a richer gourmet version made with vanilla bean paste, I’ll be sharing that recipe separately. This version is all about creating delicious ice cream with simple ingredients that won’t break the grocery budget.
Quick Answer
This Ninja Creami vanilla ice cream recipe is a homemade vanilla ice cream made with milk, half-and-half, pasteurized egg whites, sugar, and clear vanilla. It creates a creamy vanilla ice cream with a classic white appearance and smooth texture after spinning.
Flavor:
Classic vanilla
Texture:
Smooth, creamy, and scoopable after spinning
Difficulty:
Super Easy
Prep Time:
5 minutes
Freeze Time:
24 hours
Yields:
1 Pint
A Little Ice Cream Nostalgia
Growing up, ice cream wasn’t something we had very often. It was more of a special treat than an everyday dessert. But whenever my mother brought home a carton, it was almost always vanilla. A scoop would be served on top of warm apple crisp fresh from the oven, where it would slowly melt into the cinnamon-spiced apples and buttery topping.
I think that’s one of the reasons vanilla remains my favorite ice cream flavor today. It works with almost everything. Whether you’re serving it with fruit desserts, pies, cakes, crisps, or homemade sauces, vanilla ice cream has a way of complementing other flavors without overpowering them.
This Ninja Creami Vanilla Ice Cream recipe was developed because I wanted an affordable homemade vanilla ice cream that could fill the same role. It’s simple enough for everyday use but versatile enough to pair with everything from homemade cherry sauce to apple desserts and chocolate toppings.
Cost Rating: 🍳 1 Pan — Budget Friendly (Yields 1 Pint)
Cost Guideline:
Cost Per Batch: ~$1.25–$1.75
Cost Per Serving: ~$0.15–$0.25 (based on 8 small servings)
One of the reasons I developed this recipe was to create a budget-friendly Ninja Creami vanilla ice cream that didn’t rely on expensive ingredients like vanilla bean paste, cream cheese, or specialty protein products.
While the ingredient prices will vary depending on where you live, the largest cost comes from the dairy products. The pasteurized egg whites add protein and improve texture, but because only a small amount is used per batch, a single carton can make several pints of ice cream. The same is true for the clear vanilla extract, which costs considerably less than vanilla bean paste while still providing a classic vanilla flavor.
Why You’ll Love This Ninja Creami Vanilla Ice Cream Recipe
Budget-Friendly: Made with everyday grocery store ingredients that are easy to find and affordable to keep on hand.
Snowy White Appearance: Clear vanilla extract helps create a classic white vanilla ice cream without the darker color produced by traditional vanilla extract.
No Cream Cheese Required: The egg white base adds body and texture without relying on cream cheese, pudding mix, or other specialty ingredients.
Simple Ice Cream Base: Just a handful of ingredients create a creamy homemade vanilla ice cream with excellent texture.
Perfect For Toppings: This vanilla ice cream pairs beautifully with fresh fruit, homemade cherry sauce, chocolate sauce, maple syrup, pies, crisps, cobblers, and countless other desserts.
Easy To Customize: Use the Mix-In setting to create endless variations with cookie dough, chocolate chips, candy pieces, nuts, or fruit.
Budget Tip:
If you make a lot of Ninja Creami recipes, keep a carton of pasteurized egg whites in your refrigerator. A single carton can make several batches of ice cream, making it a budget-friendly way to add protein and improve texture without relying on expensive ingredients like cream cheese or protein powder.
Clear vanilla extract is also considerably less expensive than vanilla bean paste, making this a great everyday vanilla ice cream recipe.
How to Make Ninja Creami Vanilla Ice Cream
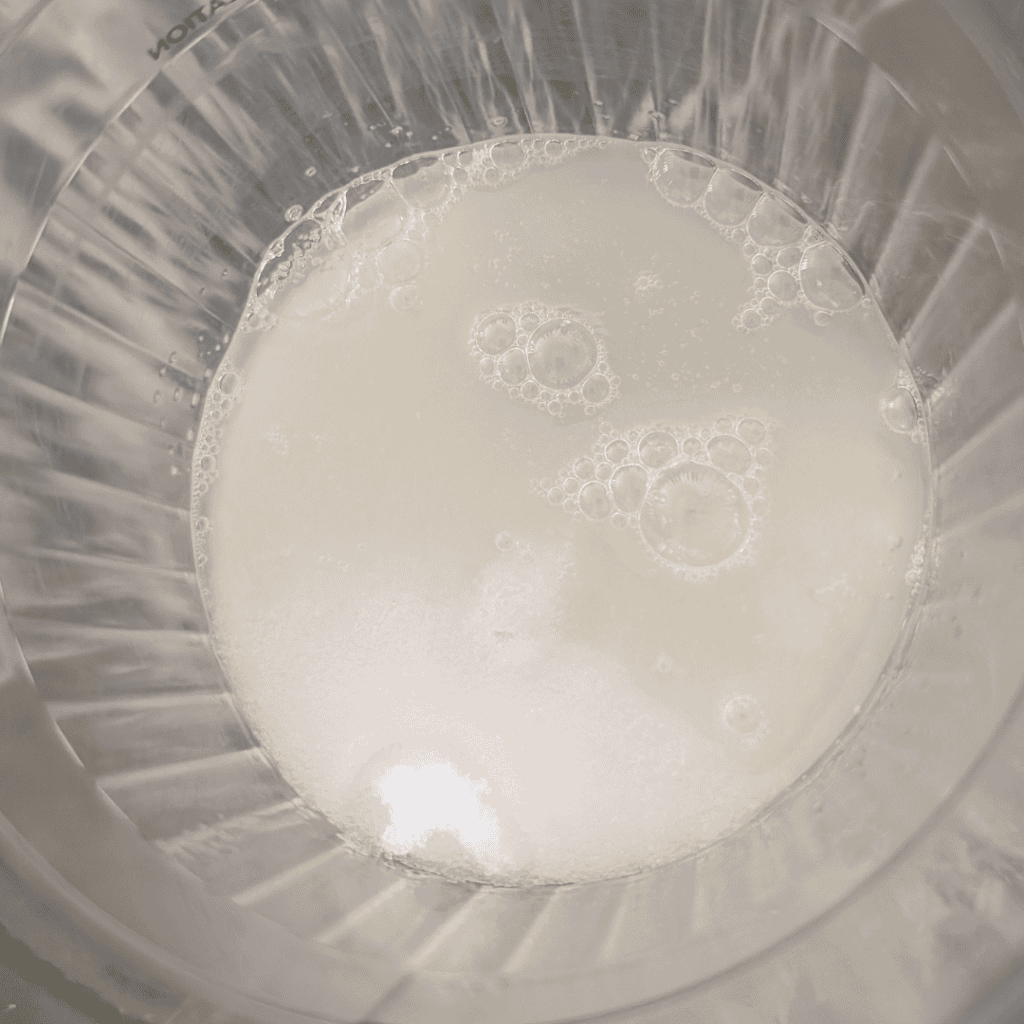
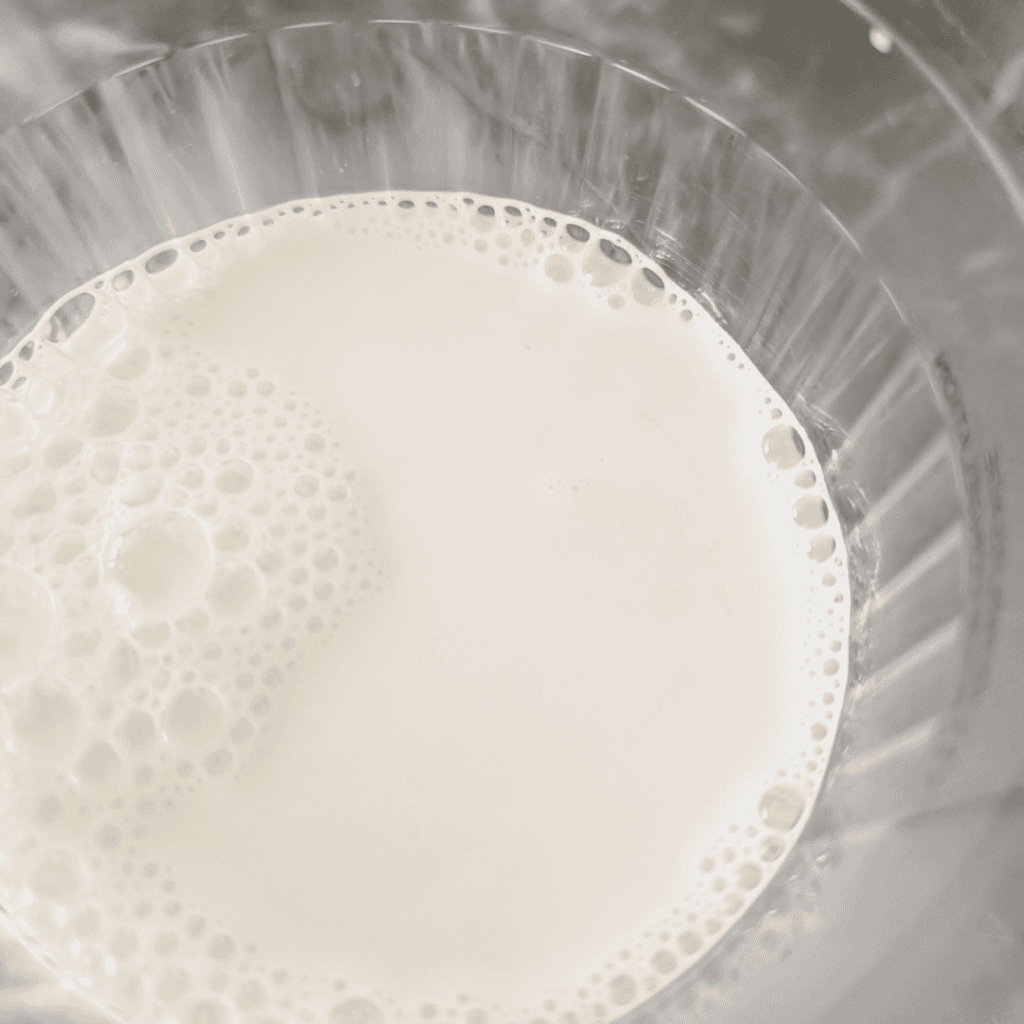
Add the pasteurized egg whites and sugar to your Ninja Creami Deluxe pint container. Using a small drink frother or mini immersion blender, mix just until the sugar dissolves into the egg whites. Next, add the half-and-half and clear vanilla extract and blend briefly again. Finally, top with the 3.25% milk and stir gently until everything is combined.
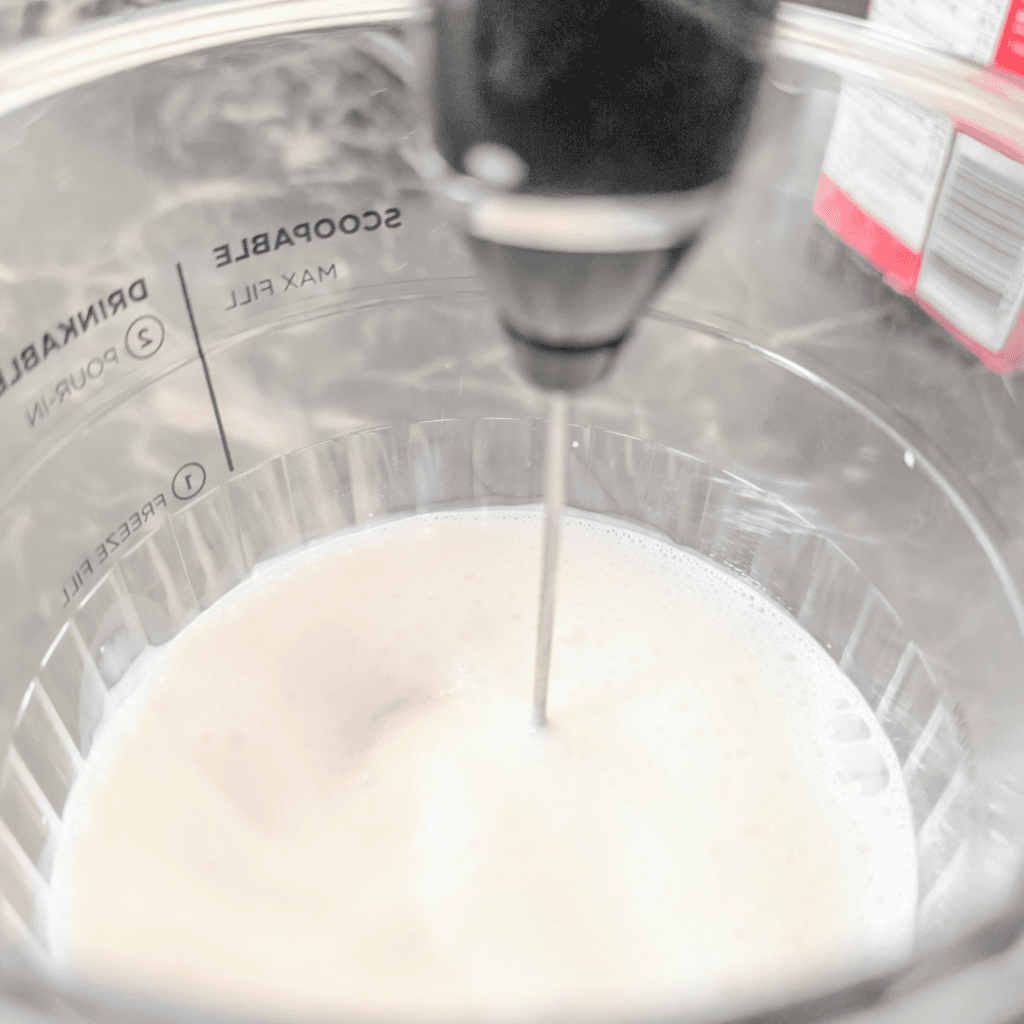
There’s no need to overmix the ice cream base. Dairy products can trap air when mixed aggressively, creating excess bubbles on the surface. I usually blend just long enough to fully combine the ingredients without whipping additional air into the mixture.
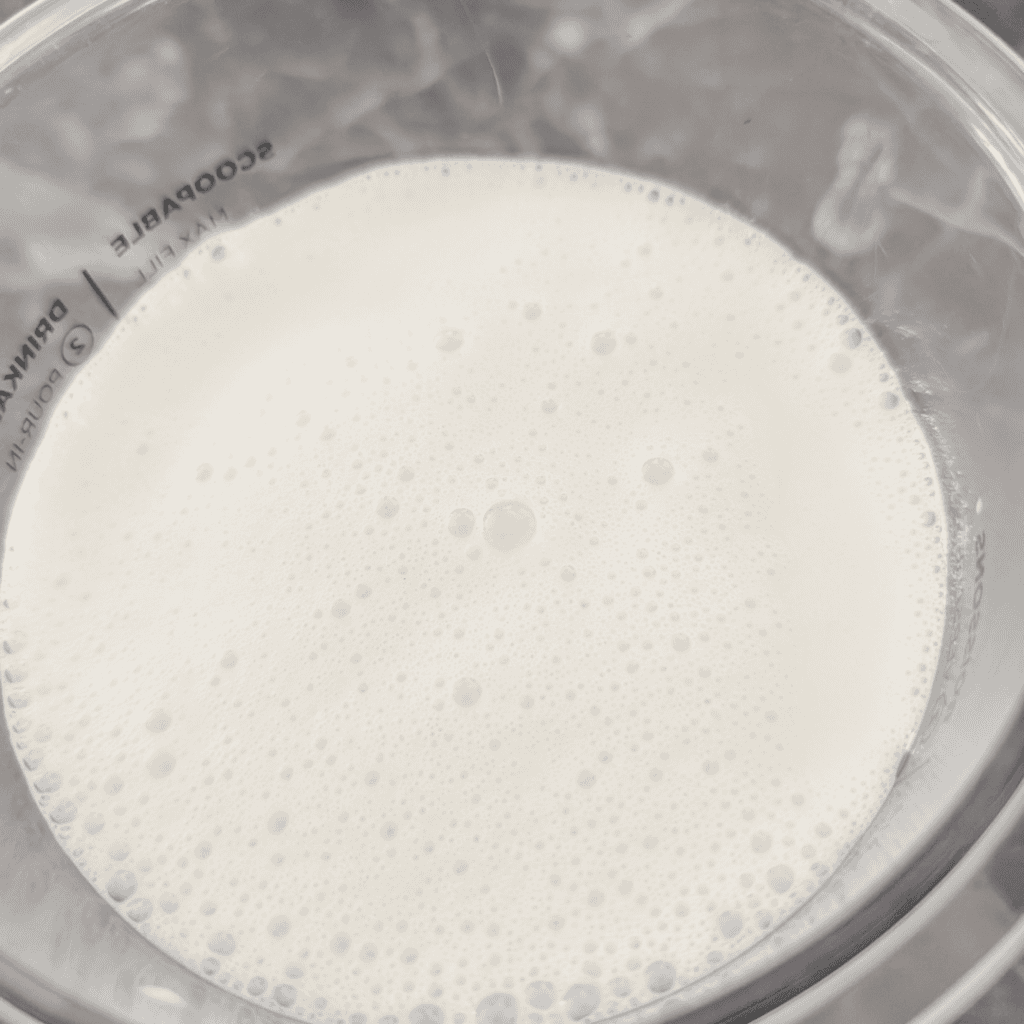
Once mixed, make sure the ice cream mixture remains below the max fill line on the Ninja Creami container. Place the lid on the container and freeze on a level surface for a full 24-hour freeze. This longer freeze time helps create the best results and a more consistent texture when processed.
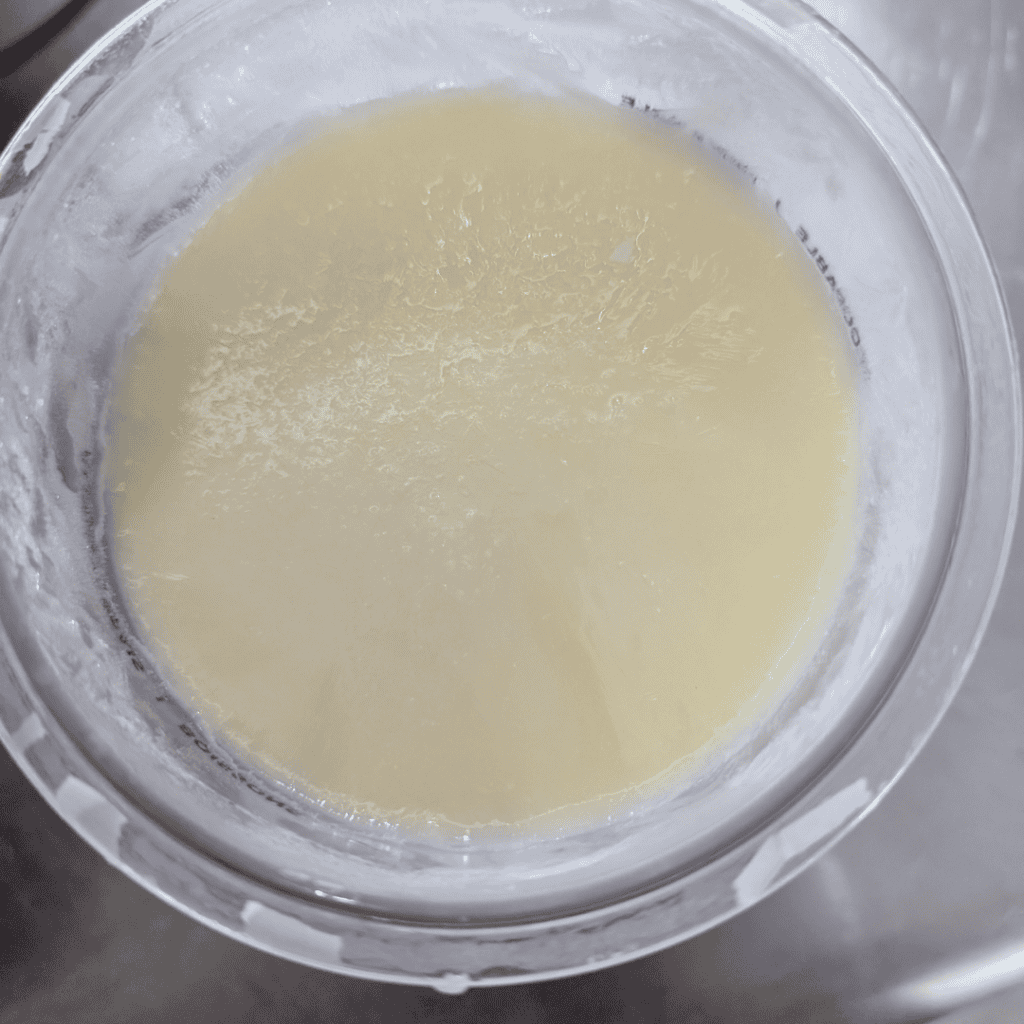
Once frozen solid, remove the lid and place the Ninja Creami pint container into the outer bowl. Secure the outer bowl according to the manufacturer’s instructions and install it in the Ninja Creami machine.
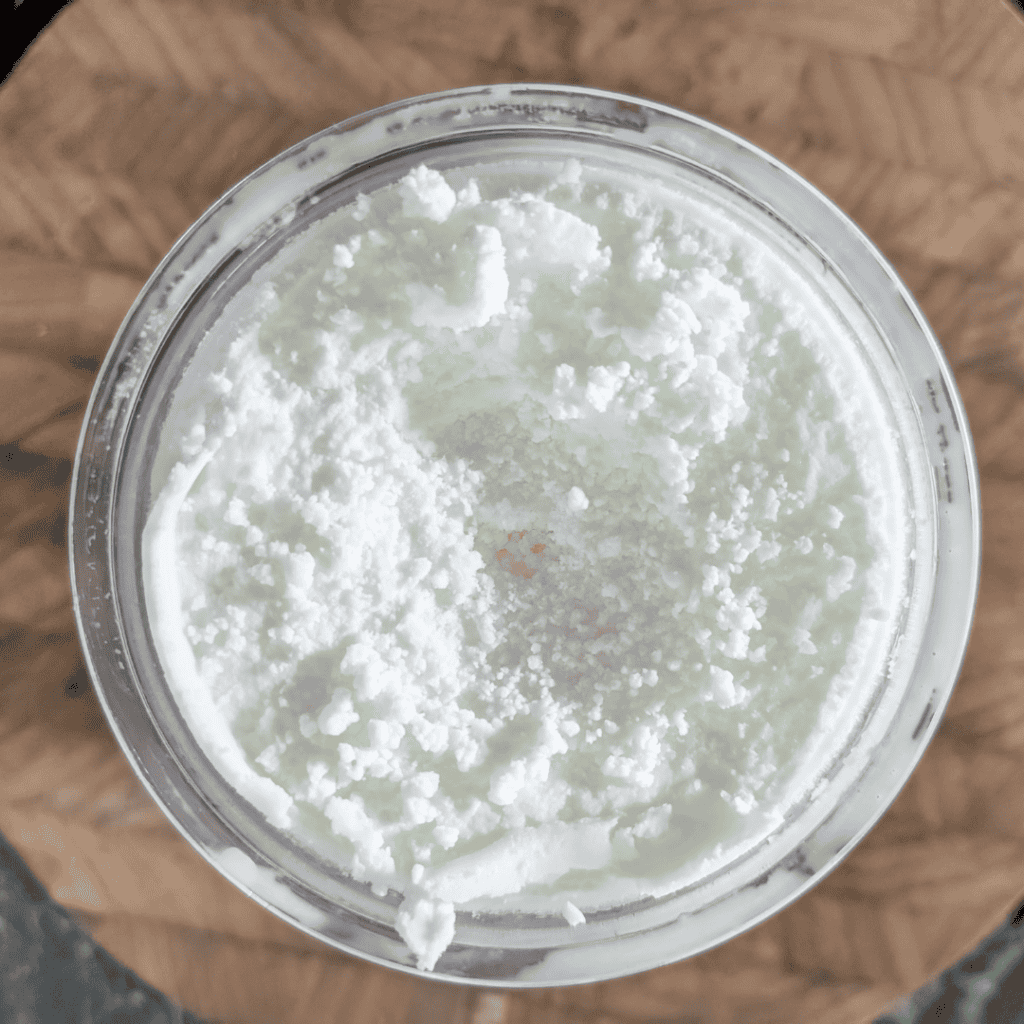
Select the Ice Cream function and allow the machine to complete the first spin. When the cycle finishes, inspect the ice cream mixture.
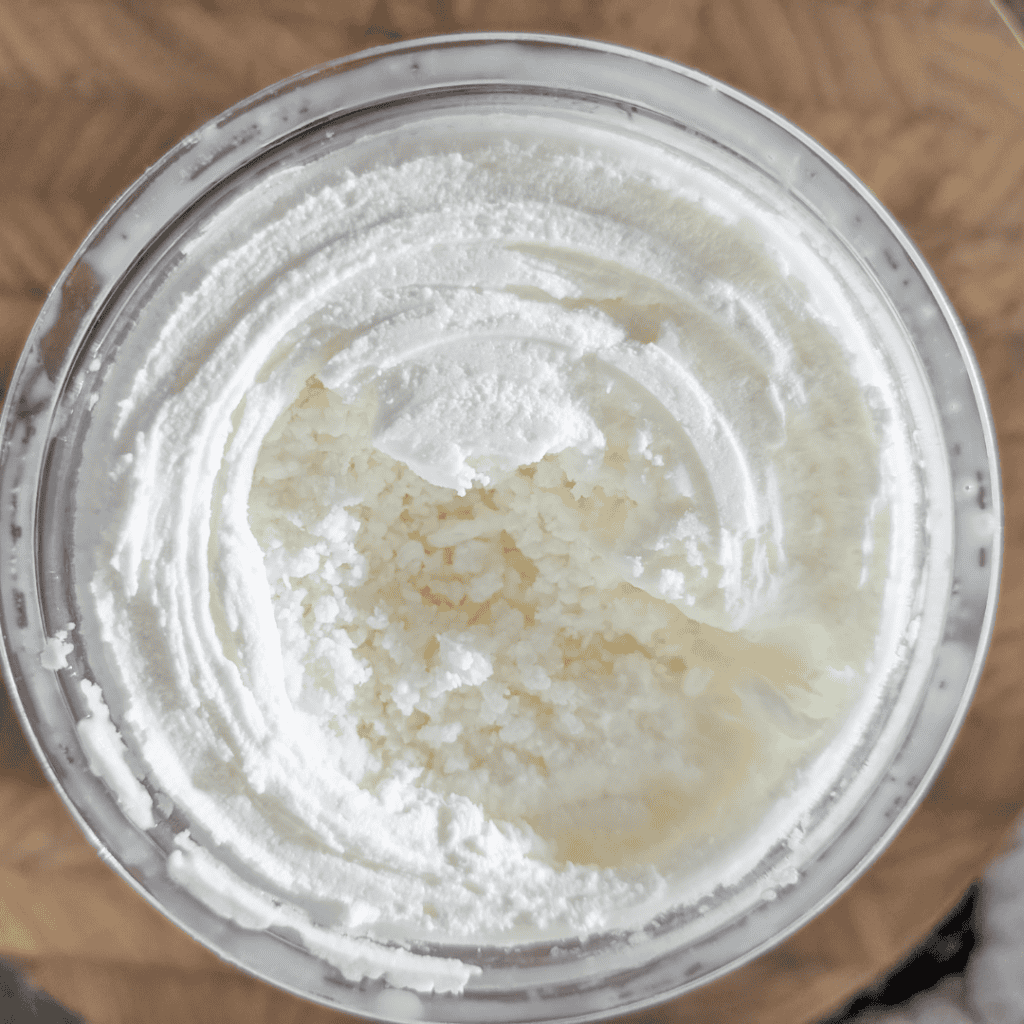
One thing I’ve learned after making a lot of Ninja Creami recipes is that a crumbly first spin doesn’t always mean the ice cream needs additional liquid. Many people immediately add milk and run a respin, but I like to check the texture first. Press gently on the surface with a spoon or your finger. If the mixture presses together easily, it may already be ready to scoop.
If you plan to add mix-ins such as chocolate chips, cookie pieces, fresh fruit, or candy pieces, this is the time to do it. Create a small well in the center of the ice cream according to the manufacturer’s directions, add your mix-ins, and run the Mix-In function. In my experience, there is usually no reason to run a respin before using the Mix-In setting because the Mix-In cycle provides additional processing and helps bring the ice cream together.
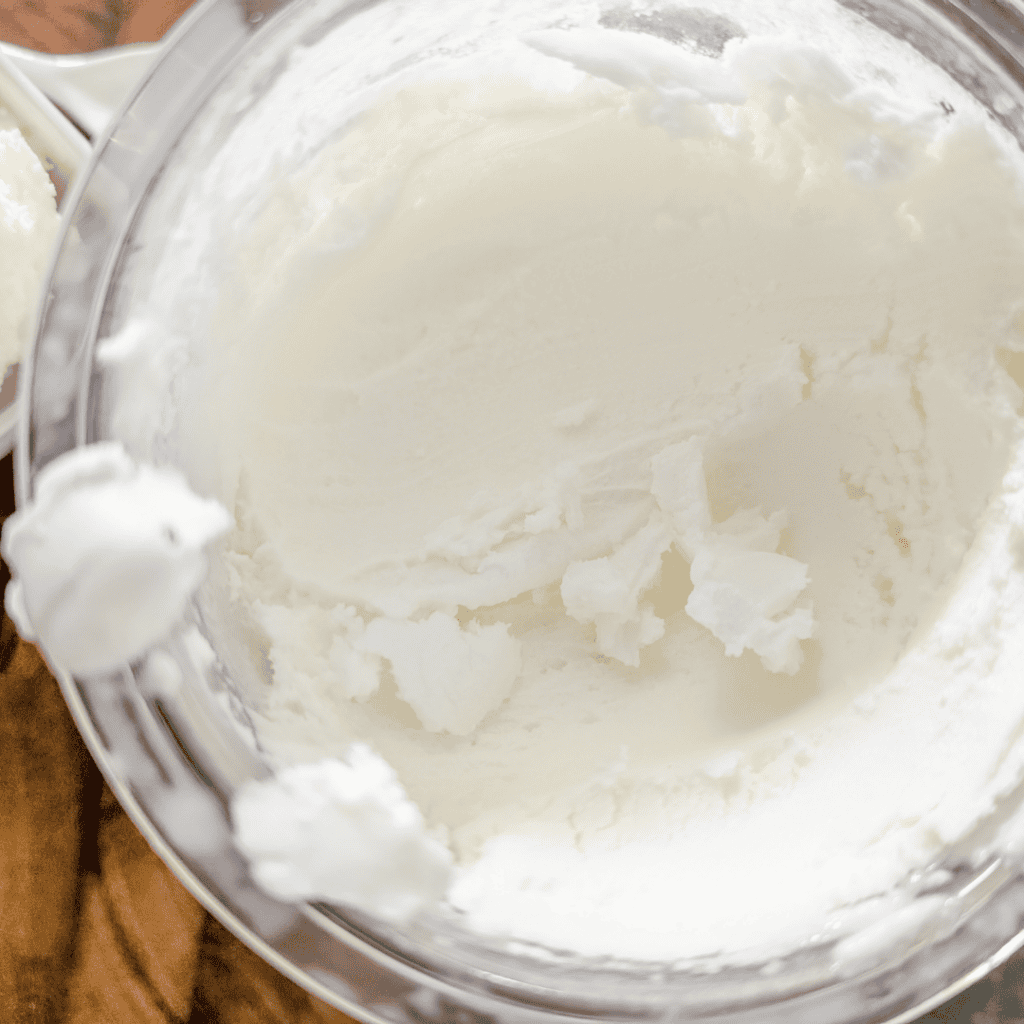
If you’re not adding mix-ins and the ice cream still appears loose, dry, or powdery after the first spin, run a respin. In most cases, the second spin is enough to create a smooth, creamy texture similar to traditional hard-packed vanilla ice cream. Don’t be surprised if the surface still looks slightly powdery in places. This egg white ice cream base can appear drier than it actually is, but if it scoops smoothly and presses together easily with a spoon, it’s ready to enjoy.
If you’re storing leftovers, smooth the surface before returning the container to the freezer. I’ve also found that this egg white-based vanilla ice cream often becomes scoopable after sitting at room temperature for a few minutes, making a respin unnecessary in many cases.
Ingredients
Pasteurized Egg Whites: Add protein, improve texture, and help create a creamy ice cream without adding the extra fat found in cream cheese-based recipes. Because this recipe is frozen rather than cooked, I recommend using commercially pasteurized egg whites sold in cartons. Many Ninja Creami recipes use cream cheese to improve texture, but I prefer egg whites because they add body and creaminess while keeping the ingredient list simple and budget friendly.
Half-and-Half: Provides richness and creaminess without making the finished ice cream feel overly heavy. I’ve experimented with higher-fat creams before, but I find whipping cream can sometimes leave a greasy mouthfeel that isn’t my favorite in ice cream. Half-and-half gives this recipe a smooth, creamy texture while keeping it light enough for everyday desserts.
3.25% Milk: Creates a balanced ice cream base with enough fat for creaminess while keeping costs lower than recipes made with whole heavy cream.
White Sugar: Sweetens the ice cream mixture and contributes to a smoother finished texture.
Clear Vanilla Extract: Creates a classic vanilla flavor while helping maintain the bright white appearance of the finished ice cream. I chose clear vanilla for this recipe because I wanted a snowy white vanilla ice cream similar to the kind I remember from ice cream shops. Traditional vanilla extract works perfectly well, but it will tint the ice cream slightly darker. If appearance isn’t important to you, regular vanilla extract can be substituted.
Substitutions, Add-Ins and Variations
Traditional Vanilla Extract: Can be substituted for clear vanilla extract. The flavor will be similar, but the finished ice cream will have a slightly darker color.
Vanilla Bean Paste: Creates a richer vanilla flavor and visible vanilla bean specks. This is a great option if appearance is less important than maximizing vanilla flavor.
Heavy Cream: Can replace part of the half-and-half for a richer homemade ice cream, although it will increase the cost and calorie content.
One of the best parts about a simple vanilla ice cream base is how easy it is to customize. Try swirling in chocolate sauce for a chocolate vanilla variation, adding a spoonful of peanut butter, or mixing in small pieces of edible cookie dough after processing. Fresh fruit such as strawberries, blueberries, peaches, or cherries also pairs beautifully with this classic vanilla ice cream. Once you have a reliable vanilla base, the possibilities are nearly endless.
Expert Tips, Serving and Storing Suggestions
Tip #1: Freeze For The Full 24 Hours: A complete 24-hour freeze produces the best texture and allows the Ninja Creami machine to process the ice cream base properly.
Tip #2: Don’t Rush To Add More Liquid: A crumbly first spin does not automatically mean the ice cream is dry. Press the mixture gently before deciding whether a respin is needed.
Tip #3: Use The Respin Function First: Most crumbly ice cream bases simply need additional processing rather than extra milk or cream.
Tip #4: Keep The Base Simple: This recipe was designed as a budget-friendly vanilla ice cream. The simple ingredients help create a classic vanilla flavor without specialty products.
Tip #5: Smooth The Surface Before Refreezing: If you’ve scooped some of the ice cream and plan to refreeze the rest, use the back of your scoop or spoon to flatten the surface as much as possible before returning the pint container to the freezer. A smoother surface allows the Ninja Creami blade to process the ice cream more evenly if you decide to spin it again later.
Tip #6: You May Not Need To Respin Leftovers: Many people assume leftover Ninja Creami ice cream always needs another spin after being refrozen. In my experience, this isn’t always true with egg white-based ice creams. Let the pint sit at room temperature for a few minutes and check the texture first. Often, it softens into a scoopable consistency similar to a firmly frozen traditional ice cream without requiring a respin.
Tip #7: Respin Only When Necessary: If the leftover ice cream is still too firm after sitting for a few minutes, then run a respin. This helps avoid unnecessary processing while still giving you a creamy texture when needed.
Because this is a simple vanilla ice cream, it fits just about any occasion. Serve it after a summer barbecue, alongside a warm fruit crisp in the fall, or as an easy dessert for family dinners throughout the year. It’s also a great freezer staple to keep on hand when guests drop by unexpectedly and you need a quick dessert.
I particularly enjoy serving this ice cream with baked desserts fresh from the oven. The contrast between a warm dessert and a scoop of cold vanilla ice cream is hard to beat, whether it’s apple crisp, cobbler, pie, or a simple fruit dessert.
Store leftover ice cream in the Ninja Creami pint container with the lid attached. If the ice cream becomes too firm after refreezing, simply process it again using the Ice Cream setting or a respin before serving.
FAQ

Ninja Creami Vanilla Ice Cream (Clear Vanilla Extract)
Equipment
- Ninja Creami Deluxe
- Ninja Pint
- Mini Milk Frother or Mini Immersion Blender
- Ice Cream Scoop
- Tablespoon
Ingredients
- ¼ Cup Egg Whites Pasteurized
- 1 Cup Half and Half Cream 10% Creamer
- 1 Cup 3.25% Milk Homogenized Milk
- ¼ Cup White Sugar
- 2½ Tbsp Clear Vanilla Extract
Instructions
- Add the egg whites, sugar, directly to a Ninja Creami Deluxe pint container. Mix with mini milk frother (mini immerison blender) just until sugar crystals mix in.¼ Cup Egg Whites, ¼ Cup White Sugar
- Add the half and half with the vanilla mix again.1 Cup Half and Half Cream, 2½ Tbsp Clear Vanilla Extract
- Top with the 3.25 milk cover with pint lid before freezing.1 Cup 3.25% Milk
- Freeze for 24 Hrs.
- Remove the frozen pint from the freezer and place it into the Ninja Creami Deluxe outer bowl according to the manufacturer's instructions.
- Install the bowl in the machine and process using the Ice Cream setting.
- After the first spin, check the texture. If the mixture presses together easily with a spoon, it may already be ready to scoop.
- If the ice cream appears loose, dry, or powdery, run a respin.
- If adding mix-ins such as chocolate chips, cookie pieces, fruit, or candy, create a small well in the center of the ice cream, add the mix-ins, and use the Mix-In setting. In most cases, there is no need to run a respin before using the Mix-In function.
- Serve immediately for a classic ice cream consistency.
Notes
- This recipe was developed using a Ninja Creami Deluxe.
- Clear vanilla extract helps keep the finished ice cream bright white.
- Pasteurized egg whites improve texture and add protein without requiring cream cheese.
- A crumbly appearance after the first spin does not always mean additional liquid is needed.
- Many egg white-based ice creams become scoopable after sitting at room temperature for a few minutes.
- If storing leftovers, smooth the surface before returning the pint to the freezer.
- For best results, freeze the base for the full 24 hours before processing.