Homemade Chocolate Syrup
If you’ve been craving a rich chocolate syrup that actually tastes like real chocolate, you’re going to love this easy recipe.
Made with just a handful of basic ingredients—unsweetened baking chocolate, white sugar, salt, and a cup of boiling water—this glossy, pourable sauce is the best chocolate syrup for drizzling, mixing, and dipping.
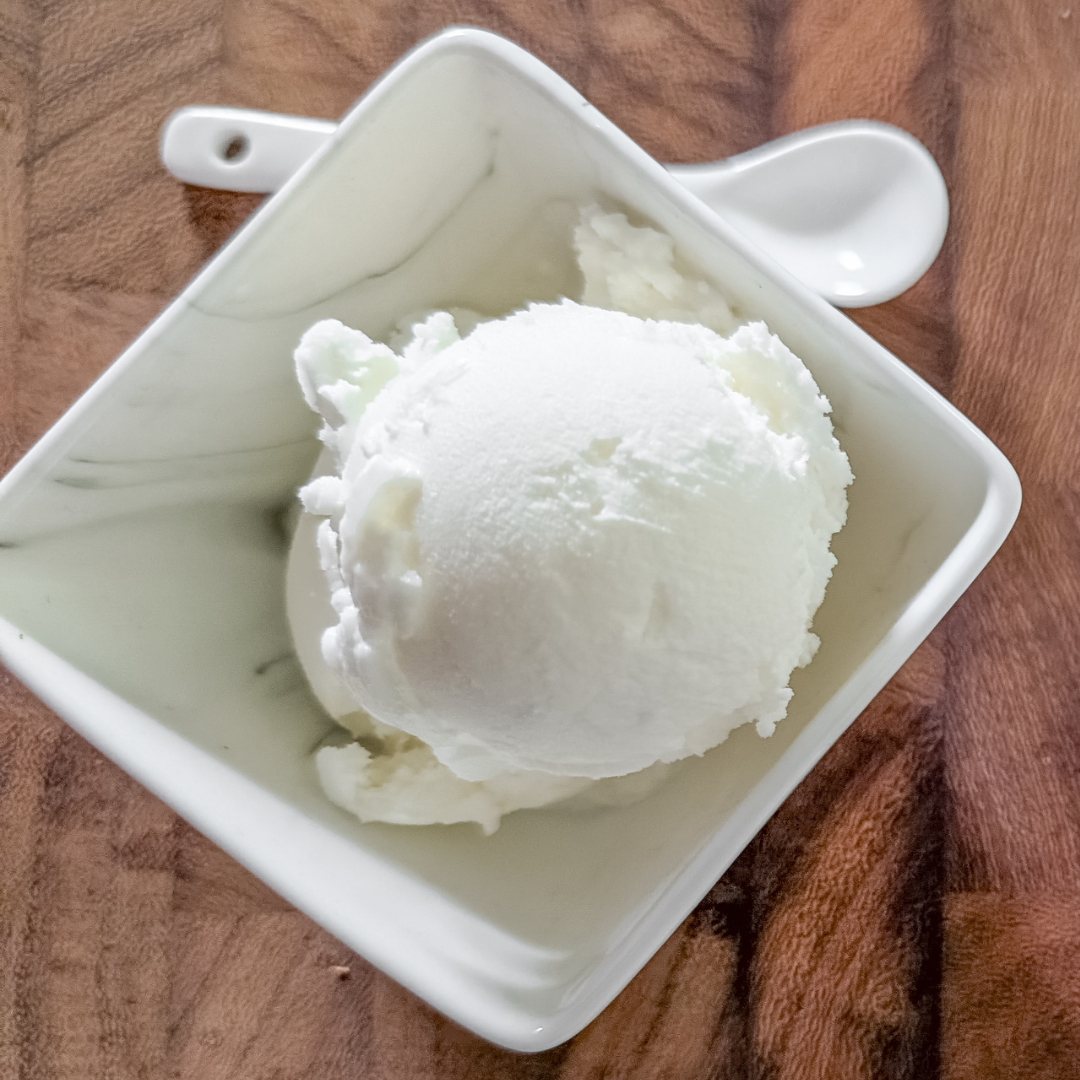
It’s smooth enough to swirl into chocolate milk or iced coffee, thick enough for an ice cream topping, and so good over warm homemade brownies or even fresh fruits.
When you make your own homemade chocolate syrup, you skip the high fructose corn syrup and artificial flavors for something real, simple, and totally delicious.
I started making this recipe when the price of store-bought syrup went up—again—and the ingredient list got longer and harder to pronounce.
I wanted something that used simple ingredients I already had at home, without compromising flavor.
This is now our go-to chocolate sauce for sundae nights and sneaky spoonful’s.
It’s great for the whole family and makes dessert time feel just a little more homemade.
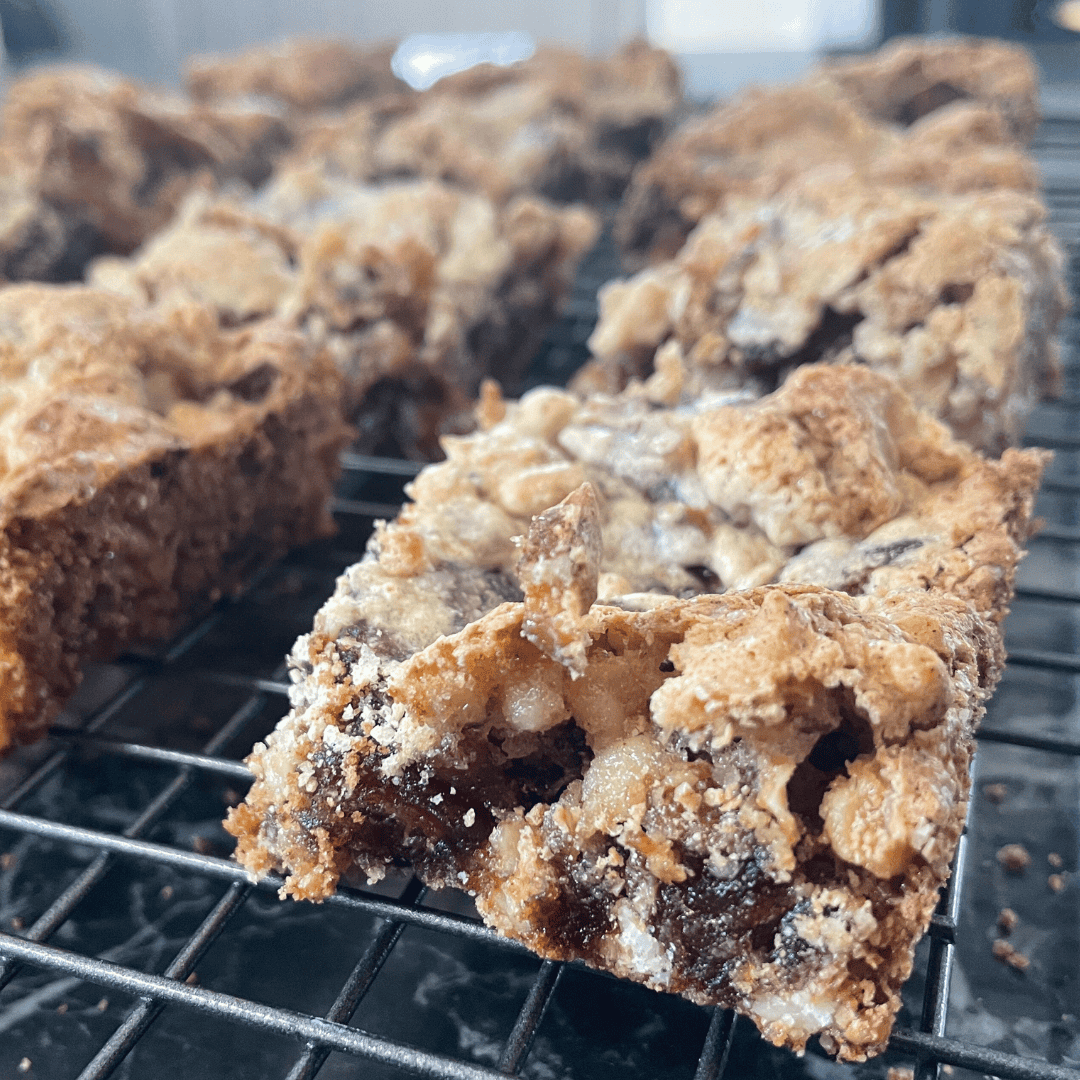
This sauce goes great with my eggless banana brownie recipe fresh from the oven the brownies are moist and cake like perfect for a drizzle of this homemade chocolate sauce.
Why You’ll Love This Homemade Chocolate Syrup Recipe.
Deep, real chocolate flavor. This isn’t just a sugar bomb—it’s made with unsweetened chocolate, giving it that rich chocolate syrup depth you can actually taste.
Skip the additives. No high fructose corn syrup, no preservatives—just your own homemade chocolate syrup using what’s already in your pantry.
So many uses. Pour it over your favorite desserts, stir it into chocolate milk, or try my favorite way: spooned over warm brownie sundaes.

The Canadian Comeback of Homemade Syrups.
In Canada, there’s always been a pull toward homemade treats—especially when store-bought options start to feel more like chemistry projects.
Homemade chocolate sauce became a kitchen staple in the mid-century, when desserts like chocolate cake and ice cream sundaes were a big part of Sunday suppers.
Today, with rising costs and more families focused on real chocolate and whole ingredients, rich chocolate syrup made at home is making a sweet little comeback.
Think of this as chocolate gravy for dessert—smooth, warm, and ready to go on just about everything.
How to Make It This Homemade Chocolate Syrup Recipe.
Start with a medium saucepan over medium heat, using a non-stick pot if possible.


Drop in the unsweetened chocolate squares and slowly melt them, moving them constantly with a rubber spatula.
Once the squares are fully melted and glossy, stir in your white sugar and salt.


Be ready—the second sugar hits the hot chocolate, it starts melting and can burn easily, so have your cup of boiling water ready.
Add it little by little, stirring constantly so everything blends together smoothly.


Bring the mixture to a gentle boil—this step ensures your sugar fully dissolves and you don’t end up with a gritty sauce.
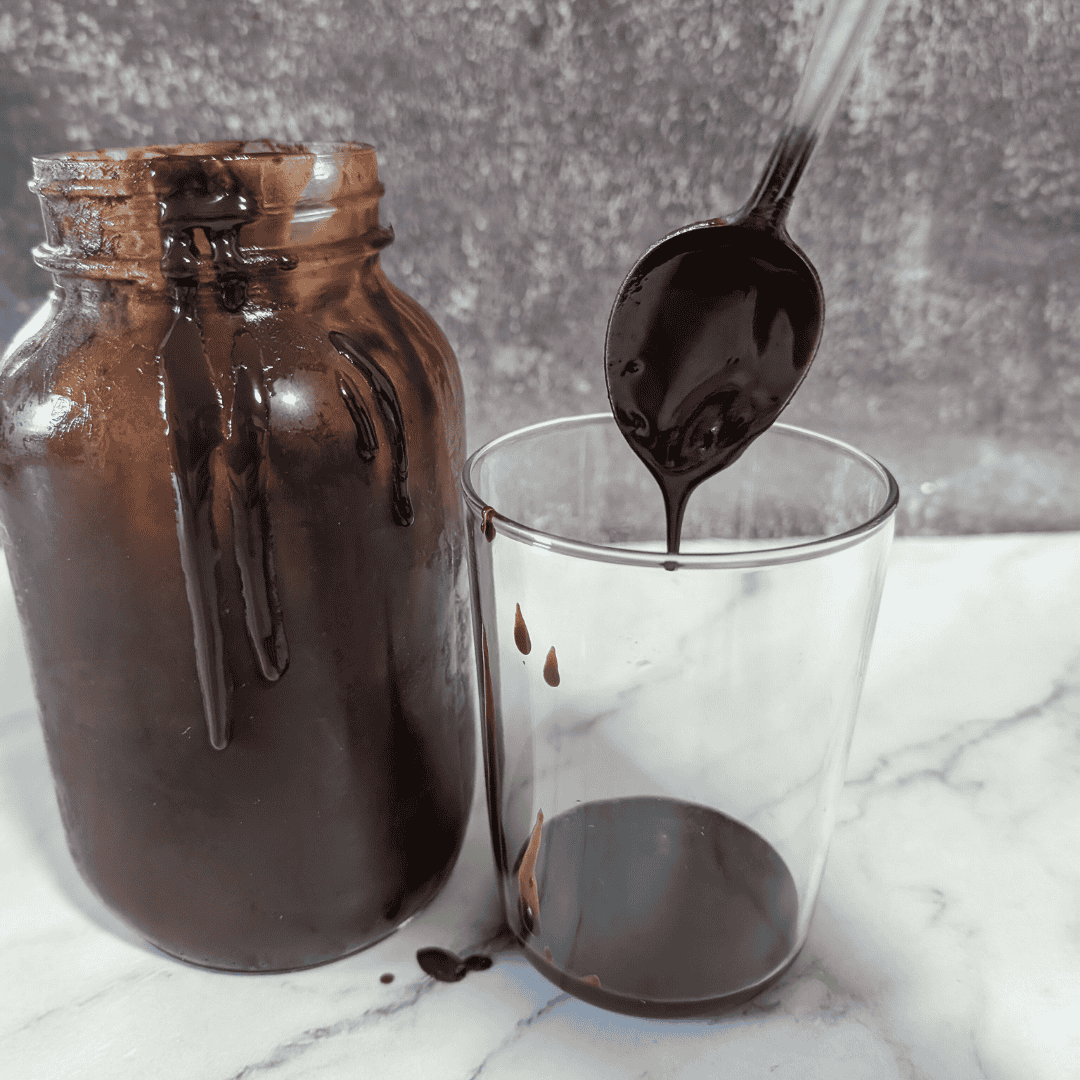
Remove from heat and allow it to cool before pouring into a clean glass jar.
Done!


Ingredients:
Unsweetened baking chocolate – 4 squares, real chocolate for that bold, authentic flavor.
White sugar – The sugar balances the bitterness and creates the syrup texture.
Salt – Just a little sharpens and deepens the chocolate taste.
Boiling water – Is essential to dissolve the sugar completely and smooth the sauce to silky pourability.

Substitutions and Add-Ins For This Homemade Chocolate Sauce Recipe.
Unsweetened Baking Chocolate- Remains-
Brown sugar – Swap in for white sugar for a deeper flavor.
Heavy cream – Replace ½ cup of water for a hot fudge sauce-style twist.
Vanilla extract – Stir in 1 teaspoon after cooking for extra depth.
Maple syrup – Add 2 tablespoons at the end for a Canadian touch.
Espresso powder – ½ teaspoon intensifies the chocolate flavor.


Expert Tips, Serving And Storing Suggestions For Sweet Chocolate Syrup.
Tip #1: Non-stick Pot-Use a medium saucepan that’s non-stick for easy stirring and cleanup. Chocolate syrup thickens quickly and you don’t want to waste a drop.
Tip #2: Boiling water is key. Cold or warm water won’t dissolve the sugar fast enough, and you’ll end up with gritty syrup.
Tip #3:Don’t walk away. Once the sugar is added, you’ve got to keep stirring—this is not the time to check your texts! Keep that rubber spatula moving.
Serve this homemade chocolate syrup over fresh baked brownies, chocolate cake, or scoop it generously onto vanilla ice cream.
It’s also excellent stirred into a cold glass of chocolate milk, swirled into iced coffee, or drizzled over pancakes and waffles.
Next time you need a fast dessert upgrade, think chocolate gravy style—it’s playful, indulgent, and totally worth it.
Once cooled, pour your syrup into a glass jar and store it in the fridge.
It keeps well for up to 2 weeks. If it thickens a bit, just warm slightly and stir before using.
Did you try this great homemade chocolate syrup recipe?
I’d love to hear how you used it! Did you stir it into milk, pour it over fresh fruits, or build a sundae masterpiece?
Leave a comment below, give it a rating, and tell me your favorite way to use this homemade chocolate syrup!

Homemade Chocolate Syrup (No Corn Syrup!)
Equipment
- Medium non-stick saucepan Heavy bottomed is best.
- Rubber Spatula
- Measuring Cups
- Glass Jar Sterilized
- Teaspoon
Ingredients
- 4 Squares Unsweetened baking chocolate I used Baker's Chocolate
- 1½ Cups White sugar
- 1½ Cups Boiling Water
- 1 Tsp Salt
Instructions
- Place a medium non-stick saucepan over medium heat.
- Add the unsweetened baking chocolate squares and stir constantly with a rubber spatula until fully melted and glossy.4 Squares Unsweetened baking chocolate
- Stir in the white sugar and salt. Be prepared to move quickly, as the sugar will begin to melt right away.1½ Cups White sugar, 1 Tsp Salt
- Slowly add the boiling water a little at a time, stirring constantly to prevent burning and help the sugar dissolve.1½ Cups Boiling Water
- Once all the water is added, bring the mixture to a gentle boil and let it bubble for about 30 seconds to ensure the sugar fully dissolves.
- Remove the saucepan from heat and allow the syrup to cool slightly.
- Transfer the cooled syrup to a glass jar or airtight container and store in the fridge.
Notes
- Use a non-stick saucepan. Chocolate can cling and burn easily—non-stick makes stirring and cleanup a breeze.
- Keep the spatula moving. Don’t walk away once the chocolate starts melting or after adding the sugar—this is a stir-constantly moment.
- Boiling water is essential. Cold or lukewarm water won’t dissolve the sugar quickly enough and can lead to a gritty texture.
- Add water slowly. Pouring it in gradually helps everything emulsify smoothly instead of seizing up.
- Let it boil briefly. A quick bubble ensures the sugar fully dissolves and the texture stays velvety, not grainy.