How to Roast Buttercup Squash (With Butter & Sage)
Buttercup squash is one of the lesser-known winter squash varieties, easily identified by its dark green skin and vibrant orange flesh. Still, once you learn how naturally sweet and creamy it is, it becomes an instant cold-weather staple. This simple butter-and-sage method brings out its earthy depth without adding anything extra, and it’s the perfect recipe if you’ve never cooked buttercup squash before. You can serve it with roasted meats, alongside weeknight dinners, or as part of a low-cost holiday brunch spread. And because this is a how-to guide as much as it is a recipe, the step-by-step instructions will walk you through cutting, prepping, and roasting your squash. It will turn out beautifully every time.
I grew up eating every kind of squash you can imagine. Living off-grid meant my mother grew an enormous garden, and she relied on squash because it kept well in cold storage all winter and was packed with fiber and vitamins like vitamin C. That said, I didn’t always enjoy the versions she made — not all squash varieties are equal. So when I spotted a buttercup squash at the local grocery store, I grabbed it fast.
My mom always cooked squash the same way, usually with brown sugar and butter. I decided to go in a different direction and pair it with sage rather than her standard sweet version. I try to avoid added sugar when possible, and honestly, this squash already has plenty of natural sweetness. Salted butter and sage turned out to be the perfect match.

Why You’ll Love This Recipe
It’s straightforward. With just butter, sage, and a single pan, this recipe keeps the focus on the natural flavor of buttercup squash. The step-by-step guide makes it perfect for beginners who want easy recipes with big payoff.
Naturally sweet. Buttercup squash has enough sweetness on its own, so the salted butter and sage bring balance without the need for brown sugar or maple syrup.
Makes plenty. A single squash goes a long way—serve it for dinner, add leftovers to soup, turn it into an easy roasted buttercup squash mash, or freeze portions for easy sides later on.
Canadian Food History + Squash in The Home Garden
Squash has deep roots in Canadian food history, long before modern kitchens existed. Early settlers quickly understood its value because it grew well in harsh conditions, stored beautifully through long winters, and provided steady nourishment when fresh produce was scarce. Growing your own squash is still surprisingly easy today—you don’t need anything fancy, just plenty of space for those wandering vines. And if you’re tight on room, vertical gardening can help contain the sprawl while still giving you an impressive harvest.
This squash fits right into that winter tradition. The Buttercup is one of those hearty winter squashes that rewards you with its growth’s great flavor and ability to withstand cold storage. Grow it in the summer from your local farmers market seedlings, store it through fall and winter, and roast it whenever you need a warm, satisfying side. Bringing it into your kitchen is a slight nod to those earlier foodways while still keeping things simple and practical for modern cooking. There are lots of squash varieties, but buttercup’s dense and tender flesh makes it a great option when you want something richer than acorn but easier to handle than pumpkin. In many homes, buttercup takes the place of pumpkin in savory dishes simply because its flavor is deeper and naturally sweeter.
If you love cooking with squash as much as I do, I also have recipes that use different varieties. My Chicken Farfalle with Butternut Squash Pasta is a great way to use up winter squash, and my Easy Succotash with Zucchini and Butternut Squash is a simple side you can make when your garden is overflowing.
How to Roast Buttercup Squash (Step-by-Step Instructions)
Buttercup squash has a tough outer shell, so take your time and work carefully. Always be mindful of knives slipping when applying significant pressure—this is one vegetable that doesn’t cut easily. Buttercup squash’s exterior may look intimidating, but once roasted, its interior softens beautifully.
1. Preheat the oven (350F) while preparing the squash.

2. Cut the squash safely. Place the squash on a steady cutting board. Using a sharp knife (heavy chef’s knife), start at the stem end and work the blade down around the rounded side toward the blossom end. Repeat on the opposite side. Once the cuts meet, the squash should pop open to reveal its deep orange flesh and stringy seeds, very similar to a pumpkin (they’re in the same family).
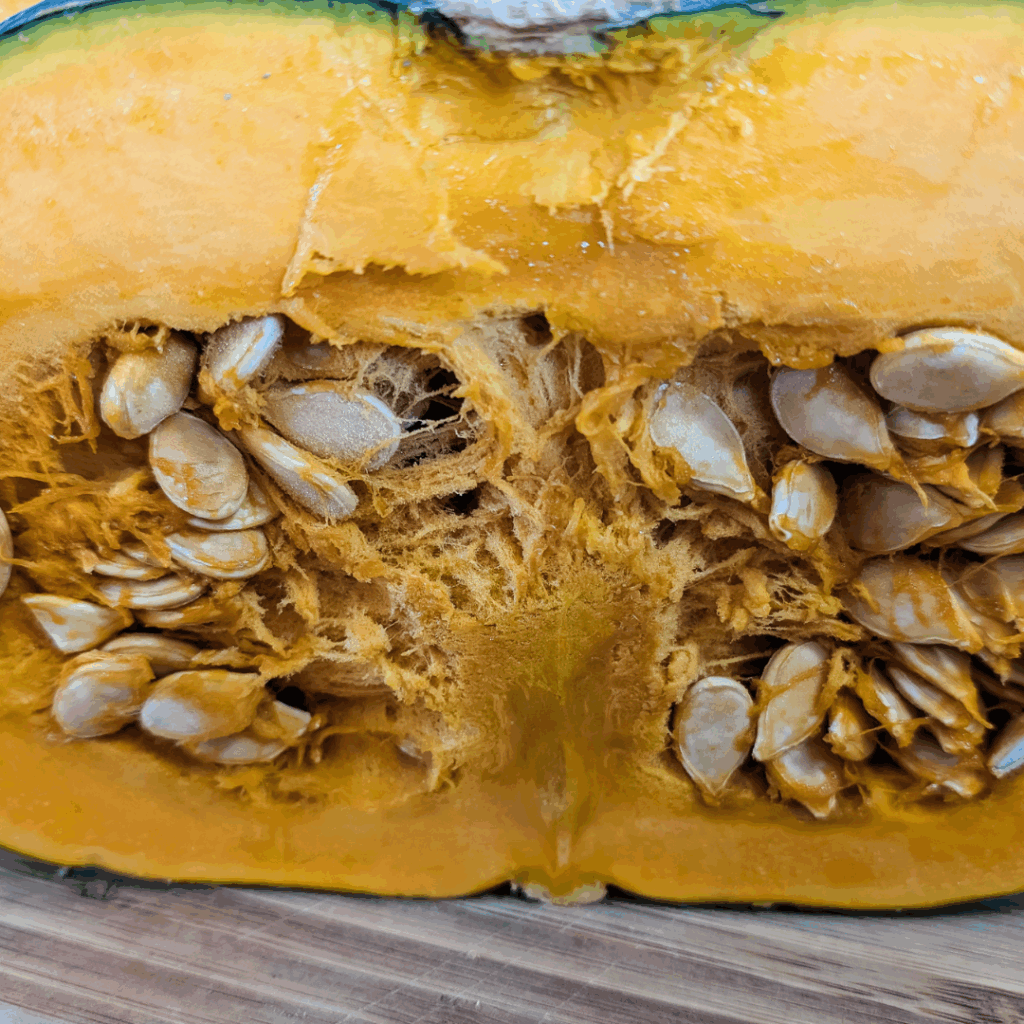
3. Remove the seeds. Use a spoon to scoop out the “guts” and discard them. Now cut each half in half again, giving you four pieces.

4. Prepare for roasting. Lay the squash pieces, cut side up, in a shallow roasting pan or baking dish.

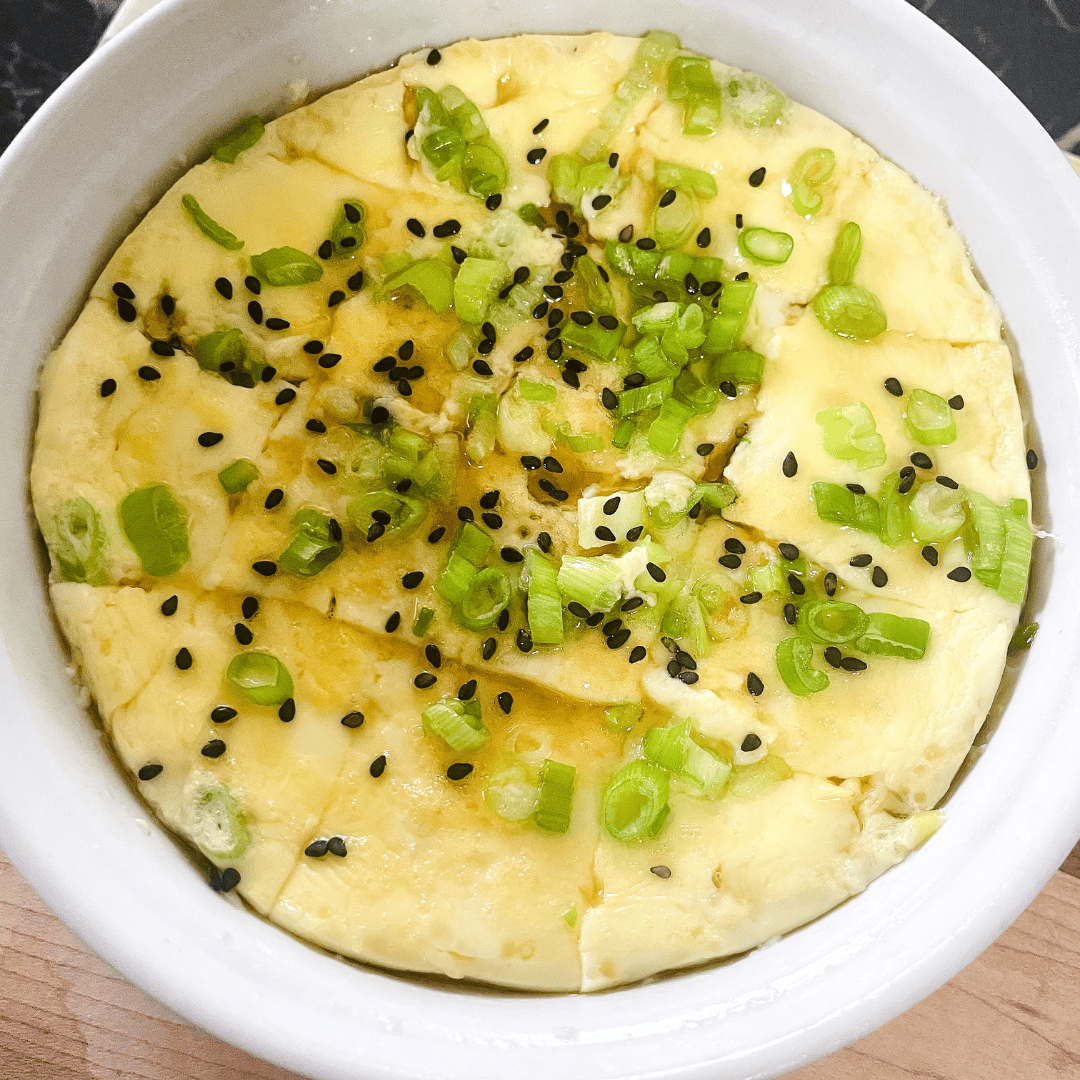
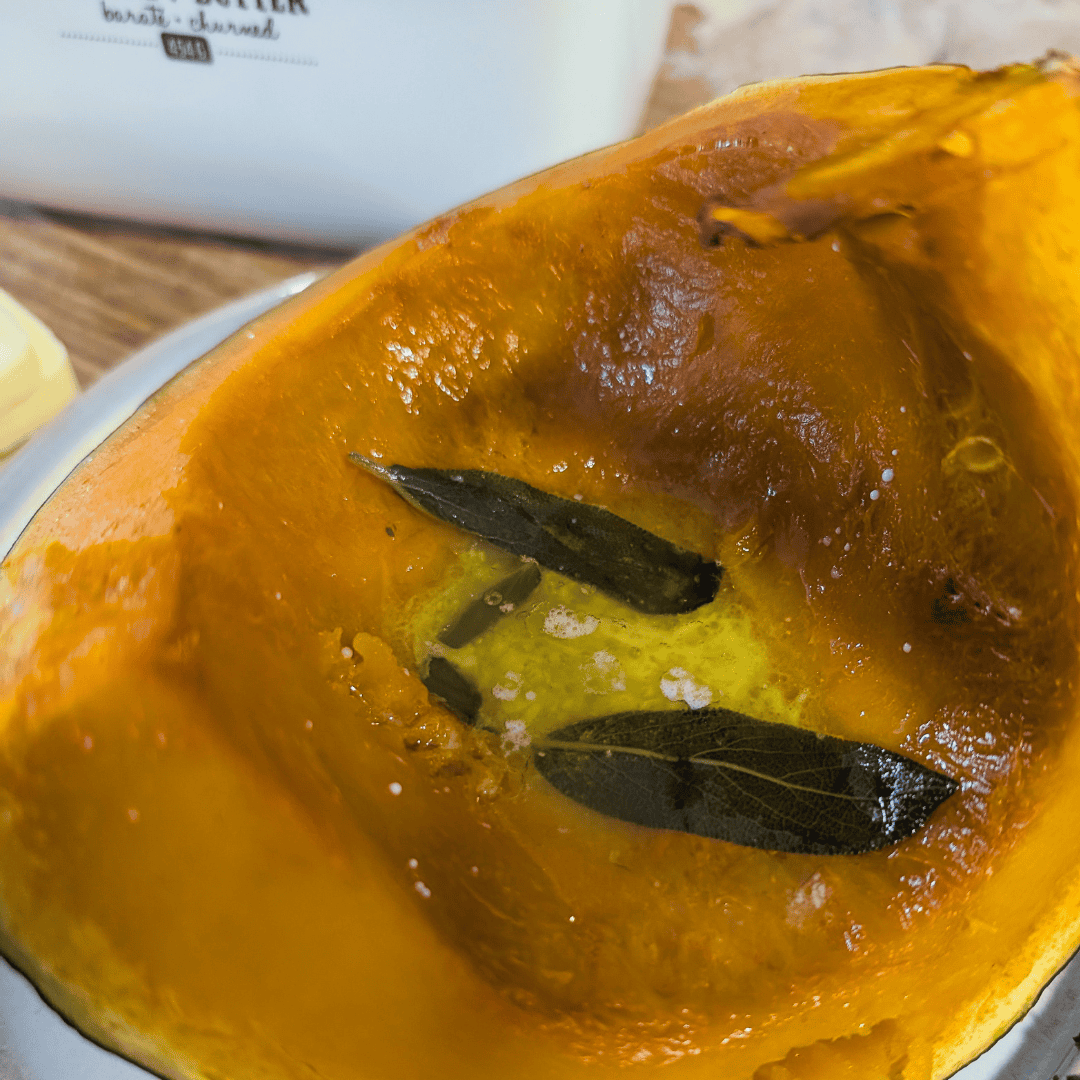
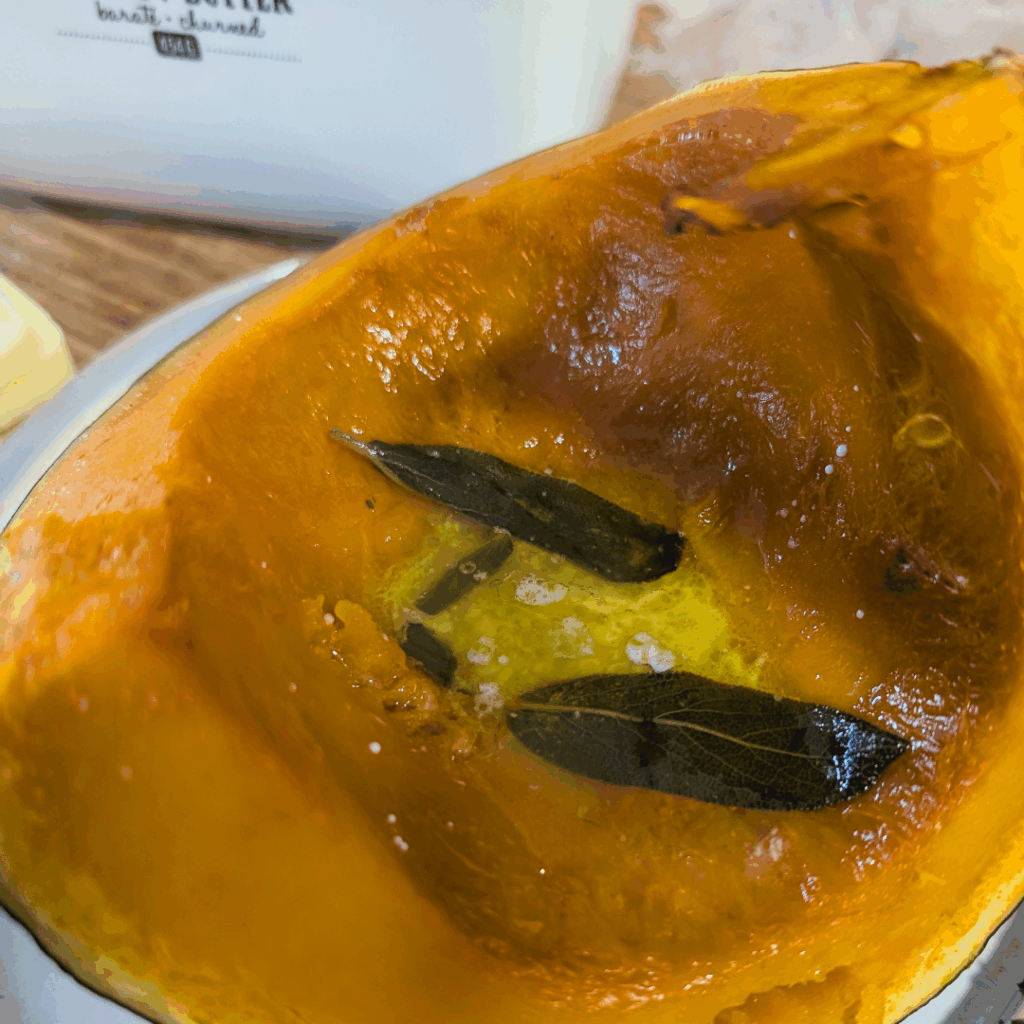
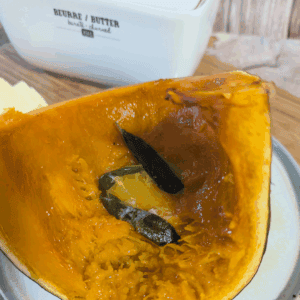
5. Add butter and sage. Place a generous pat of salted butter in the cup of each piece. Lay two washed sage leaves on top. As the squash roasts, the butter melts and the sage infuses it with aromatic flavor that sinks into the flesh.


6. Cover tightly with foil. Wrap the entire pan with foil, sealing the edges well. This traps heat and moisture, creating a mini convection environment that helps the squash cook evenly.
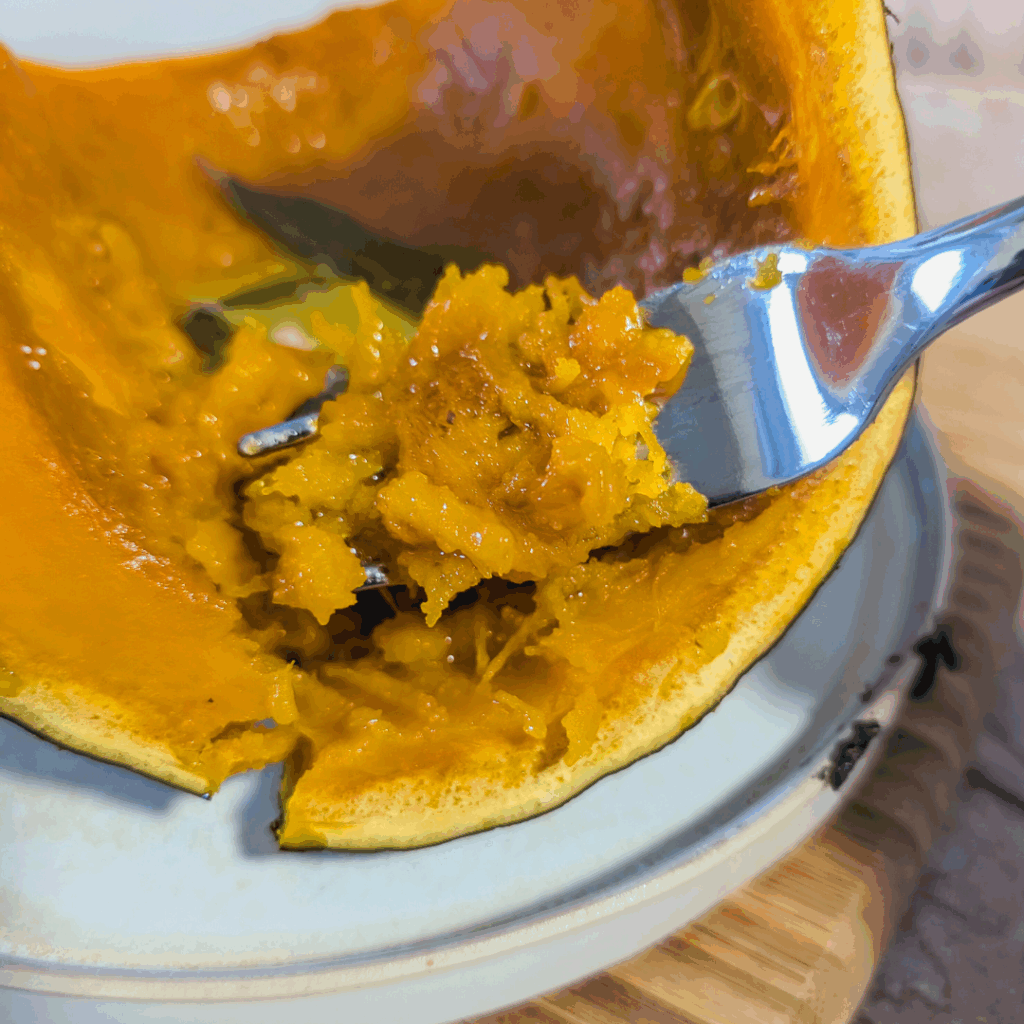
7. Roast. Place the pan in the oven and roast for 40 minutes. Remove and give the squash the fork test—fully cooked squash should poke easily, and the shell will be noticeably softer. A well-roasted buttercup squash almost feels “tamed,” a big contrast to its rugged, raw exterior.
(Some people cook buttercup squash whole and remove the seeds afterward, but that method requires heat-resistant hands and more time. I prefer the cut-and-roast method for simplicity.)
8. Serve as slices or mash. You can serve the roasted sections as-is, or remove the sage, scoop out the flesh, and mash it. Buttercup squash has a richer, deeper flavor compared to milder varieties like butternut. It makes a great side dish for simple dinners or festive meals.
9. A note about pets. The roasted skins are edible for most canine companions, though always test with a small piece first. Some dogs tolerate squash skins better than others, and too much fiber isn’t ideal.
Ingredients:
Buttercup squash: The star of the recipe, with its dense orange flesh that turns rich and creamy when roasted. This method also works for almost any type of winter squash, though thinner-walled varieties will need reduced cook times. I would love to thank the Stoll Family Farms in Alymer, Ontario for sharing their great produce with our local grocery store.
Salted butter: Adds richness and enhances the natural sweetness of the squash without needing added sugar. Lactancia butter always is a delicious addition to any meal.
Fresh sage leaves: Sage brings a gentle herbal depth that pairs perfectly with the earthy-sweet flavor of buttercup squash.
Salt and black pepper (optional) — Adjust to taste.
Substitutions & Add-Ins (If You Need Them) For This Squash
Swap the sage: Thyme or rosemary works in a pinch.
Use unsalted butter: You can always add a small pinch of salt after roasting or omit it altogether.
Try another squash: This method works with most winter squashes, from acorn to delicata.
Expert Tips, Serving And Storing Suggestions For This Buttercup Squash Recipe
Tip #1:Stabilize the squash before cutting. Buttercup squash has a hard shell, so make sure it’s sitting flat and steady before applying pressure with the knife.
Tip #2: Seal the foil tightly so the squash cooks evenly.
Tip #3: Roast until the shell softens — that’s when the tender flesh is at its best.
Buttercup squash is incredibly versatile once roasted. You can serve the quarters exactly as they are, with the melted butter and sage tucked into each piece, or scoop out the flesh and mash it. This makes a perfect side dish for roasted chicken, turkey, pork, or any hearty fall or winter meal. It’s also a great side dish for holiday spreads and fits beautifully on a Thanksgiving or Christmas table.
Once roasted, buttercup squash keeps in the fridge for 3–4 days. Just be sure to cover it well. It also freezes beautifully — scoop out the flesh, cool it thoroughly, and freeze for up to 3 months.
Warm any squash leftovers in the microwave or oven, adding a bit of butter if needed.
Before you go, I’d love to know — what type of winter squash do you enjoy most?
How to Roast Buttercup Squash (With Butter & Sage)
Equipment
- Sharp knife
- spoon To Scoop It Out
- Shallowing Baking Tray
- Aluminimum Foil
Ingredients
- 1 Butter Cup Squash Cut in quarters, deseeded
- 4 Tbsp Salted Butter
- 4-8 Leaves Sage Fresh (Use Less For Smaller Squash)
Instructions
- Preheat the oven to 350°F.
- Cut the squash safely into half and remove seeds. Discard seeds.1 Butter Cup Squash
- Cut the squash halves in half again and place cut side up on baking tray.
- Add a tbsp (pat) of butter to each.4 Tbsp Salted Butter
- Place one-three whole (washed) sage leaves on each squash piece.4-8 Leaves Sage
- Cover the baking tray with foil tightly.
- Place in oven and bake 40-45 minutes or until fork tender. (Fork should go easily through the skin too)
Notes
Amber Notes for Success
- Stabilize the squash before cutting. Buttercup squash has a tough exterior, so make sure it’s steady on your cutting board before using your knife. A stable base is the safest way to cut through the shell without slips.
- Cut side up is key. Placing the pieces cut-side up lets the butter melt into the natural “cup” of each quarter. This keeps the squash moist and lets the sage infuse gently as it roasts.
- Foil does the heavy lifting. Tightly sealing the pan traps steam and helps soften that dense, creamy flesh faster. If your foil is loose, the squash may roast unevenly or dry out.
- Test for doneness with a fork. The outer shell should feel noticeably softer, and the fork should slide into the flesh with almost no resistance. This is when buttercup squash tastes its best.
- Plan for leftovers. Buttercup squash yields more than you expect. Use leftover mash in soups, grain bowls, or freeze it flat in a bag for quick sides later.