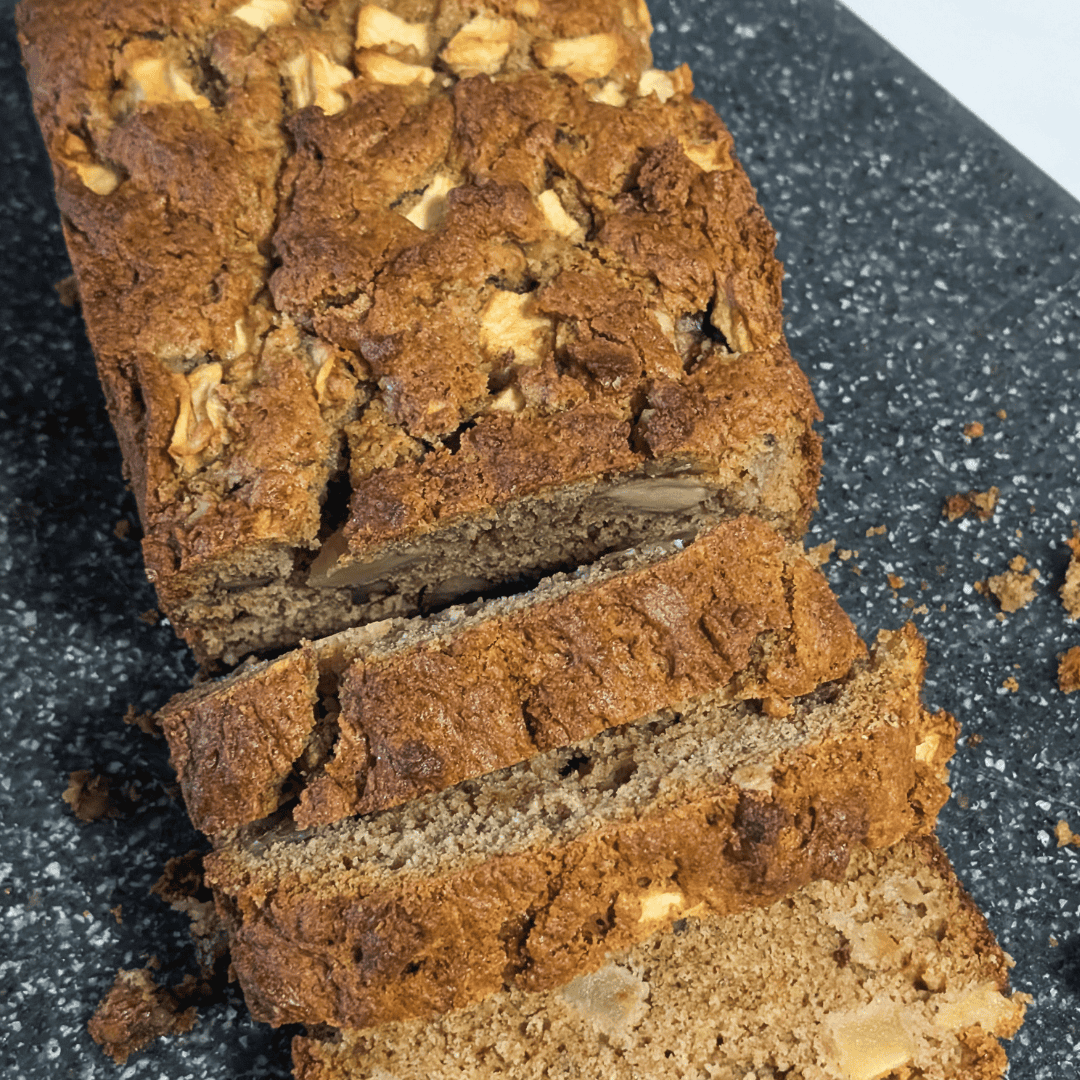
Apple Tea Bread (A Simple Loaf for Using Up Apples)
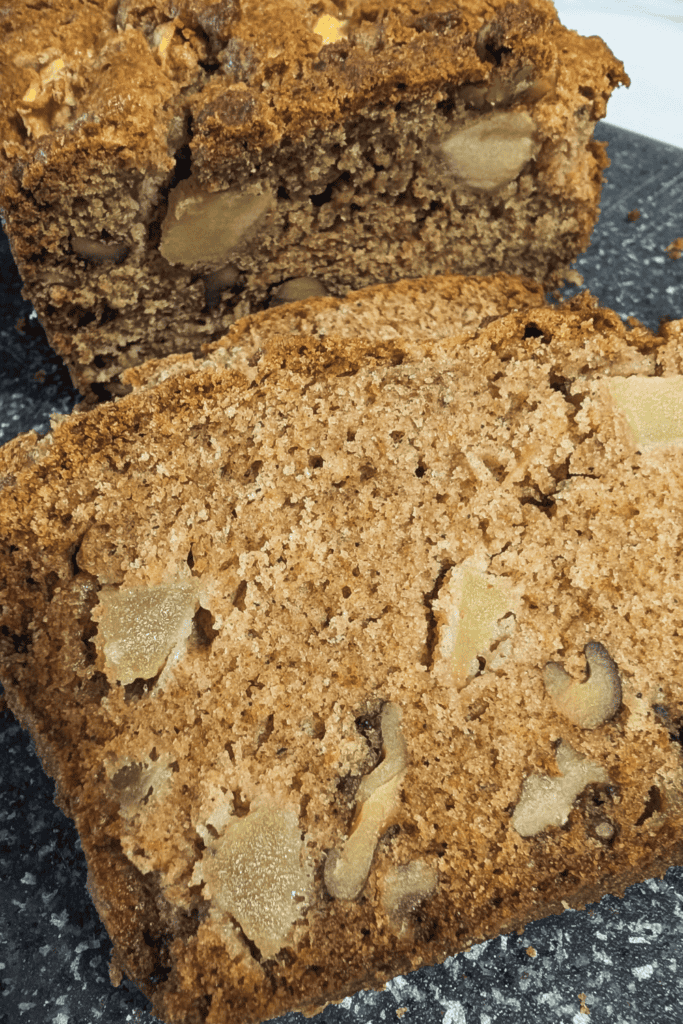
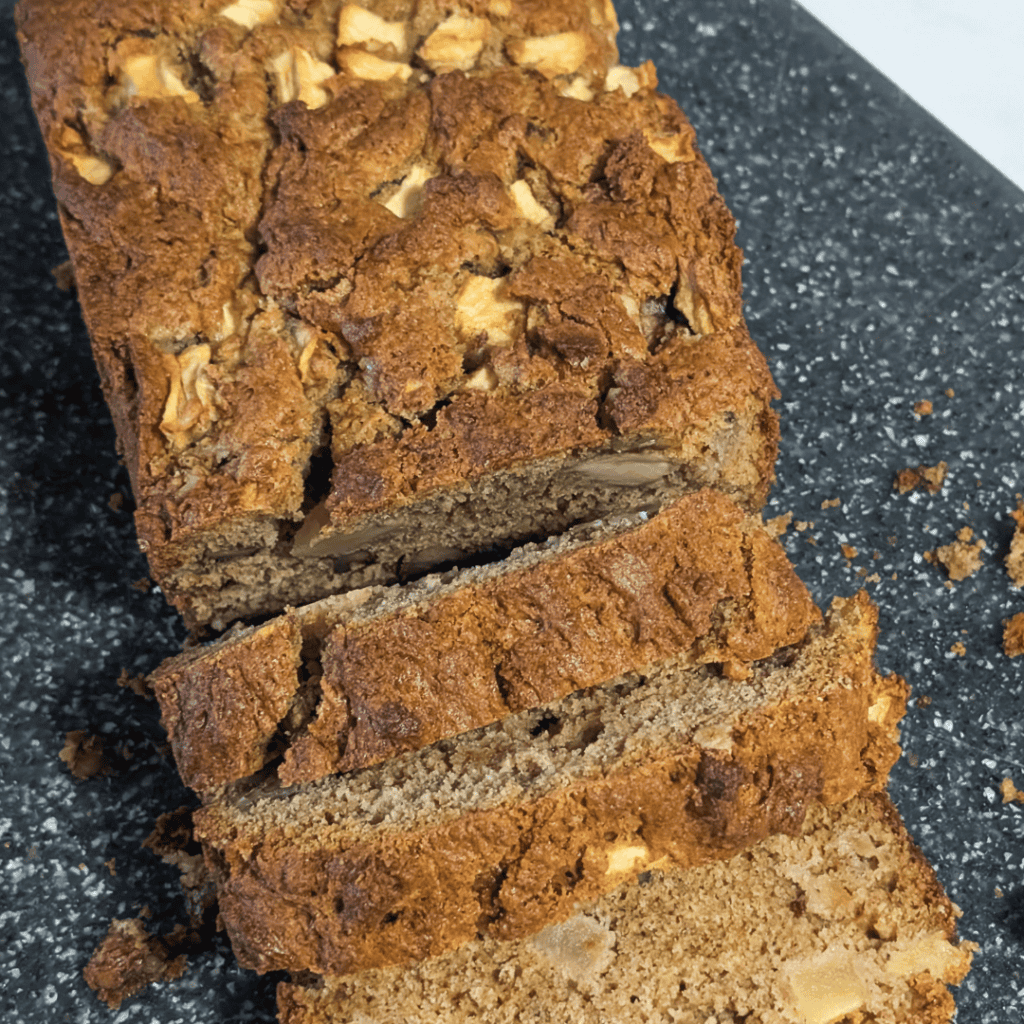
Pulled from the oven and steaming, this apple tea bread is a simple, sliceable loaf with a golden crust, warm spice, and chunks of apple throughout. It’s made with everyday pantry ingredients like brown sugar, flour, and butter, and finished with just enough cinnamon and nutmeg to enhance the apple flavor. The crumb is on the drier side, as you’d expect from a vintage-style tea bread, and the loaf holds together cleanly once cooled. The loaf is baked in a 9×5-inch pan, yielding approximately 8 to 10 servings, making it perfect for a small gathering or family treat. It’s the kind of quick bread that feels familiar from the first slice and easy to come back to.
I created this apple tea bread because I had apples on hand that were past their prime but still perfectly good for baking. I like apple-flavored baking in general, and this recipe lets the apples stay front and center rather than cooking them down into a sauce. I prefer cutting the apples into larger pieces so you get clear chunks of fruit throughout the loaf instead of a blended texture. When the budget is tight, I’ll often buy reduced apples specifically for baking, cut them up, and freeze them for later use — this kind of recipe makes practical use of what’s already in the kitchen without adding extra steps or ingredients.
This post may contain affiliate links. If you purchase through them, I may earn a small commission at no extra cost to you.
Why You’ll Love This Apple Tea Bread
It’s very easy to make. You only need one bowl and no special tools or tricky steps. If you can cream butter, stir, and pour batter into a pan, you can make this bread and pop it in the oven in under 15 minutes.
It tastes great. The golden crust, gentle spices, and apple pieces make this tea bread simple and satisfying. It’s less sweet than apple cake and isn’t meant to be dessert, just a good, balanced loaf.
It’s a great way to use up old apples. This recipe is perfect for apples that aren’t great for snacking anymore, but still work well in baking. I love any recipe that helps avoid food waste.
If you love baking with apples too then you will also want to check out my apple cinnamon biscuit buns with cream cheese frosting and my easy apple dumplings in a Dutch Oven.
A Bit of Canadian Apple History
Apple trees have been part of Canadian food traditions since early settlers planted many types for storage, baking, and cider. Different areas preferred different apples, and over time, these trees spread beyond farms to fence lines, roadsides, and old homesteads. In my local area of northern Ontario, you can still find old apple trees where people once lived and worked, often from mixed plantings instead of managed orchards. I grew up picking wild apples from roadside orchards, which makes their sharp tannins and dense flesh immediately recognizable.
Varieties like Granny Smith and Pink Lady grew in these areas, and when trees were left alone, they crossbred naturally. The apples in today’s so-called “wild” orchards are really a mix of old domestic apples that have adapted over time. Apples grown in tougher conditions often develop stronger flavor and higher acidity, which makes them especially well-suited to baking, even if they aren’t particularly sweet on their own. They might not look perfect, but they work especially well in recipes like apple tea bread, where taste and texture matter more than looks.
That’s why this recipe is flexible. You can use apples from your counter, a neighbor’s yard, or even a roadside tree. This style of baking comes from a long tradition of making the most of what you have, and it’s still a good approach today.
How to Make This Apple Tea Bread
Preheat your oven to 350°F.
This recipe yields one large loaf, making it perfect for a family brunch or tea time with friends, since it’s best eaten the same day. Use a 9×5-inch loaf pan for the best results. You can divide the apple bread batter into two smaller loaves if you prefer, but keep in mind the baking time will be shorter.
Grease your loaf pan well so nothing sticks, then set it aside.
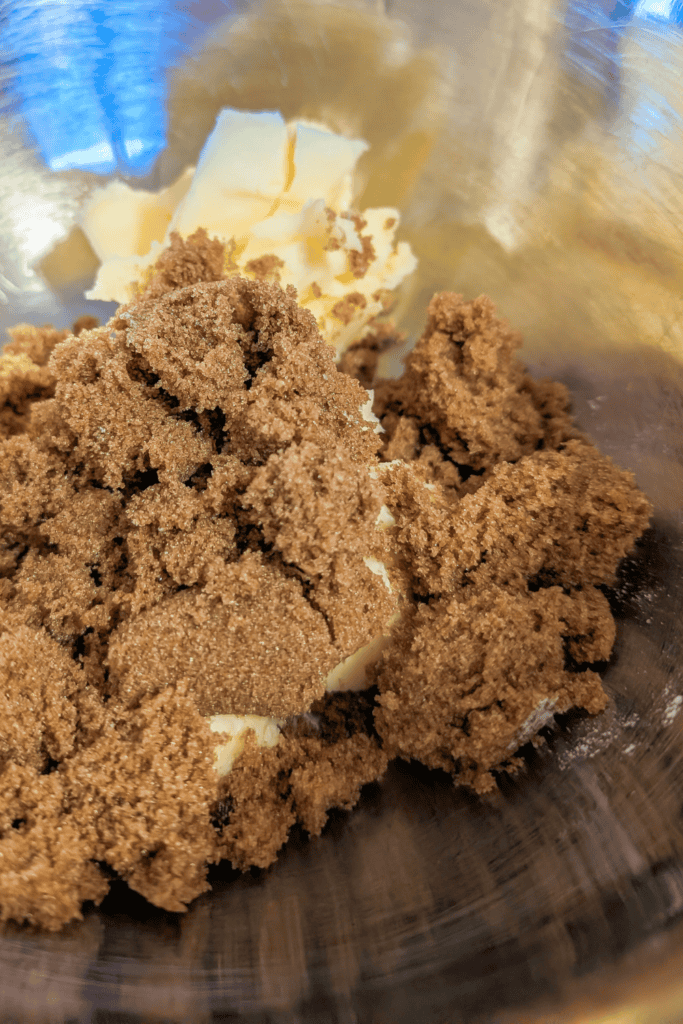
In a large bowl, cream the butter and brown sugar together until smooth and well mixed. It doesn’t have to be perfect; just make sure the sugar is blended into the butter.
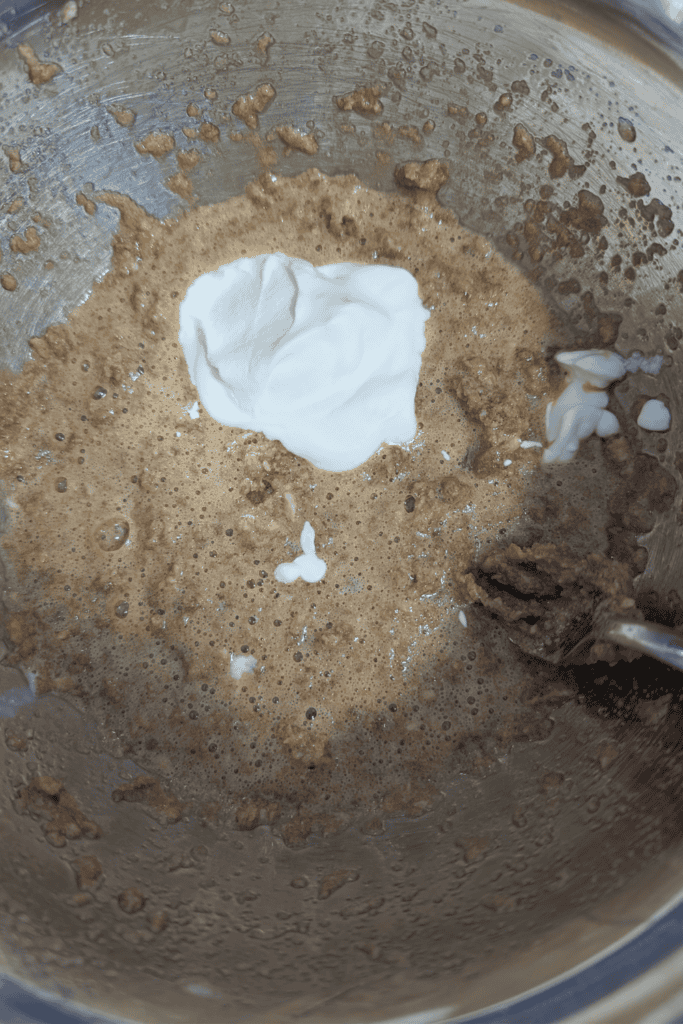
Add both eggs and sour cream beat until the mixture looks lighter and a bit creamy.
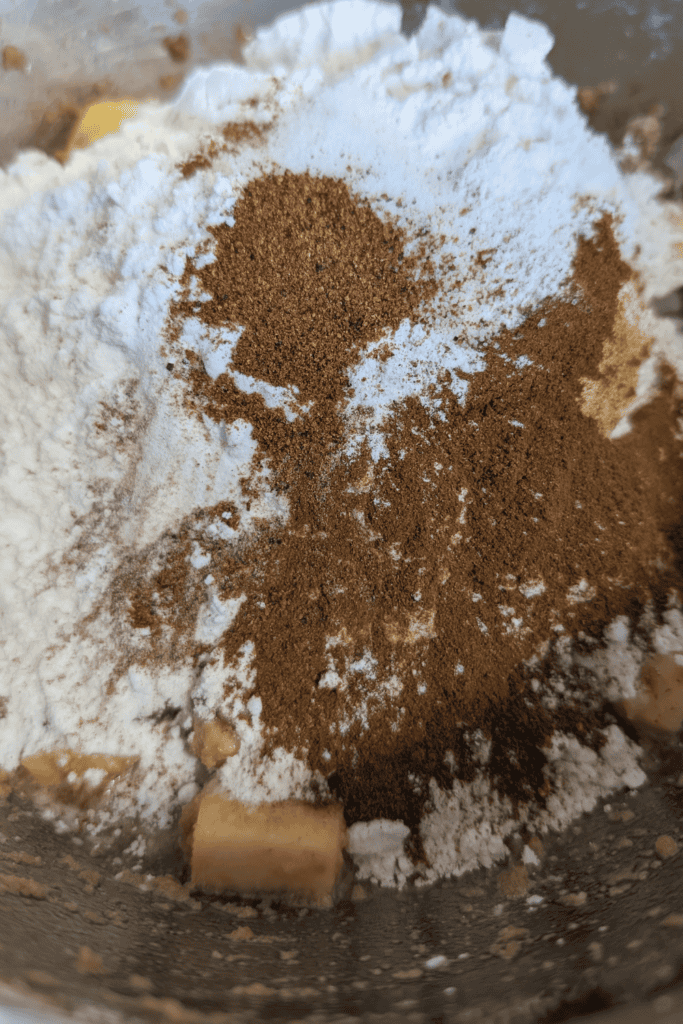
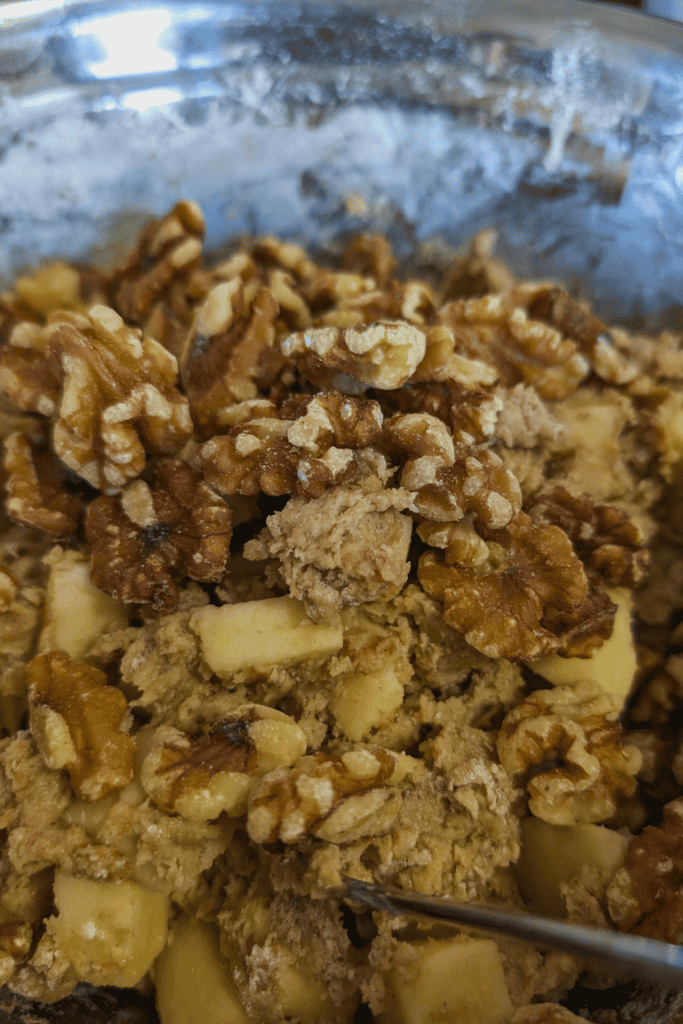
Next, measure all of your dry ingredients directly on top of the wet mixture. That’s right, it means flour, baking powder, baking soda, salt, and spices all go right in the same bowl as the creamed mixture. Mix everything until you have a thick batter with no big lumps of dry ingredients. I find that using my mixing tool and pushing the batter against the sides of the bowl is a simple old trick to break up any remaining lumps. And don’t forget to scrape both the sides of the bowl and the bottom when mixing by hand.
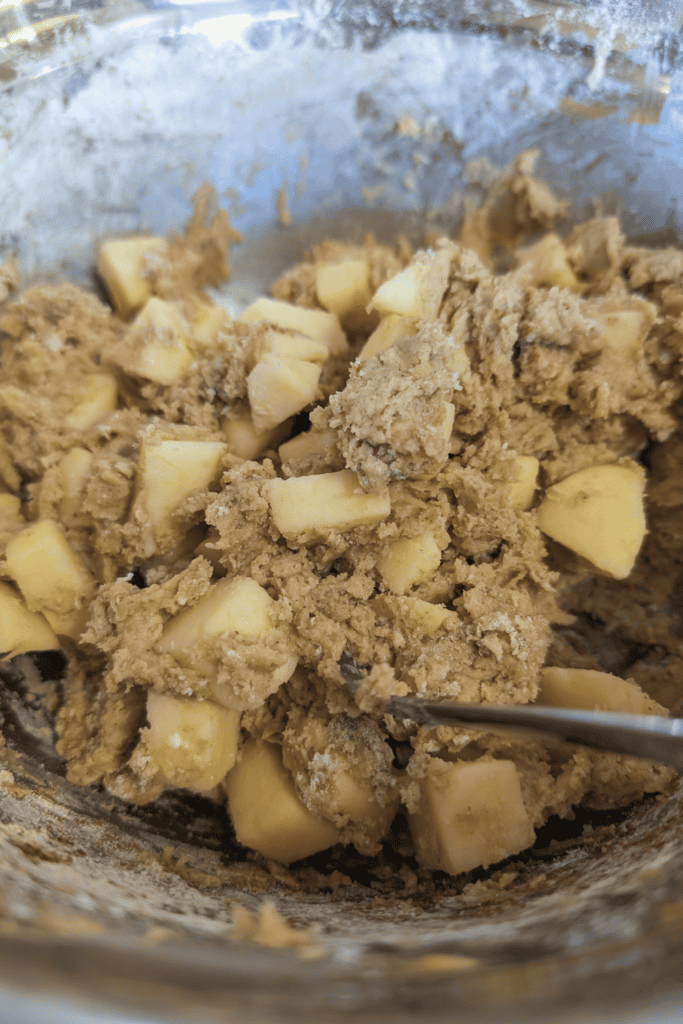
Fold in the apples and walnuts, mixing just enough to distribute them through the batter.
Dump the batter into your prepared pan and smooth the top lightly.

Place the loaf pan in the oven, on the center rack, and bake for about 1 hour for one large loaf. If you’re making two smaller loaves, start checking them at 45 minutes. The top of the loaf will be a deep golden brown when baked.
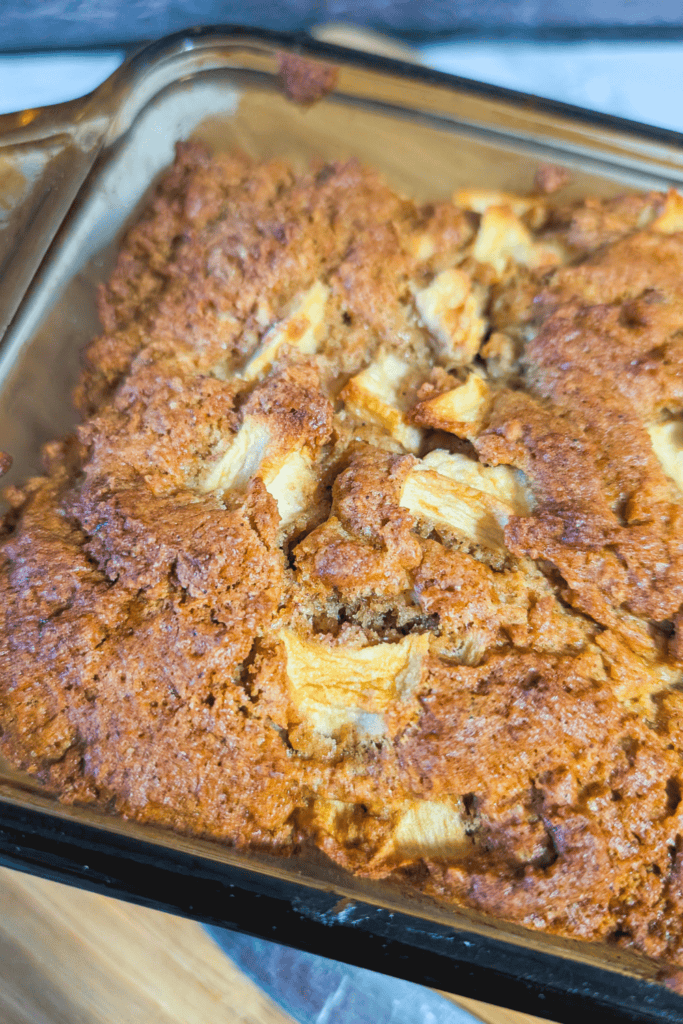
To test for doneness, insert a butter knife from the side of the pan, angling it downward and toward the center of the loaf. This old-school method lets you check the middle without breaking the crust or creating a deep hole in the top. If the loaf is slightly underdone and you poke straight down through the center, the bread can collapse as it finishes baking, which you don’t want. Checking from the side helps the loaf keep its shape while still letting you know when it’s ready.
Once baked, remove the pan from the oven and place it on a wire rack. Let the bread cool before slicing.
Ingredients:
Apples — Provide moisture, structure, and apple flavor; slightly older apples work especially well here. A lot of our store bought apples here are from the Manitoulin Island area.
Butter — Creates richness and helps form a firm but tender crumb when creamed with sugar.
Brown Sugar — Adds sweetness along with a deeper, caramel-like flavor that pairs well with apples.
Eggs — Bind the batter together and help the loaf rise and set as it bakes.
Sour Cream — Adds moisture and balances out the drier nature of a traditional tea bread.
All-Purpose Flour — Provides structure and keeps the bread sturdy enough to slice cleanly.
Baking Powder — Helps the bread rise evenly in the oven.
Baking Soda — Reacts with the sour cream to improve lift and texture.
Salt — Enhances flavor and prevents the bread from tasting flat.
Cinnamon — Adds warmth without overpowering the apple flavor.
Nutmeg — Adds depth and a subtle background spice.
Ginger — Contributes a light warmth that rounds out the spice blend.
Walnuts — Add texture and a bit of crunch throughout the loaf.
Substitutions & Variations For This Apple Bread Recipe
Apples — Any baking apple works; use diced for a chunkier texture or grated/shredded for a more even crumb.
Butter — Can be replaced with an equal amount of margarine; results will be slightly less rich.
Brown Sugar — White sugar can be used in a pinch, though the flavor will be lighter.
Eggs — Remains as is.
Sour Cream — Plain Greek yogurt can be used as a direct substitute.
All-Purpose Flour — Remains as is.
Baking Powder — Remains as is.
Baking Soda — Remains as is.
Salt — Remains as is.
Cinnamon — Can be adjusted slightly up or down to taste.
Nutmeg — Can be omitted if unavailable.
Ginger — Can be omitted or reduced for a milder spice profile.
Walnuts — Can be left out or replaced with another chopped nut.
Expert Tips, Serving & Storage Suggestions For The Quick Bread Recipe
Tip #1: Pan choice matters — Dark metal pans bake this loaf more evenly than glass.
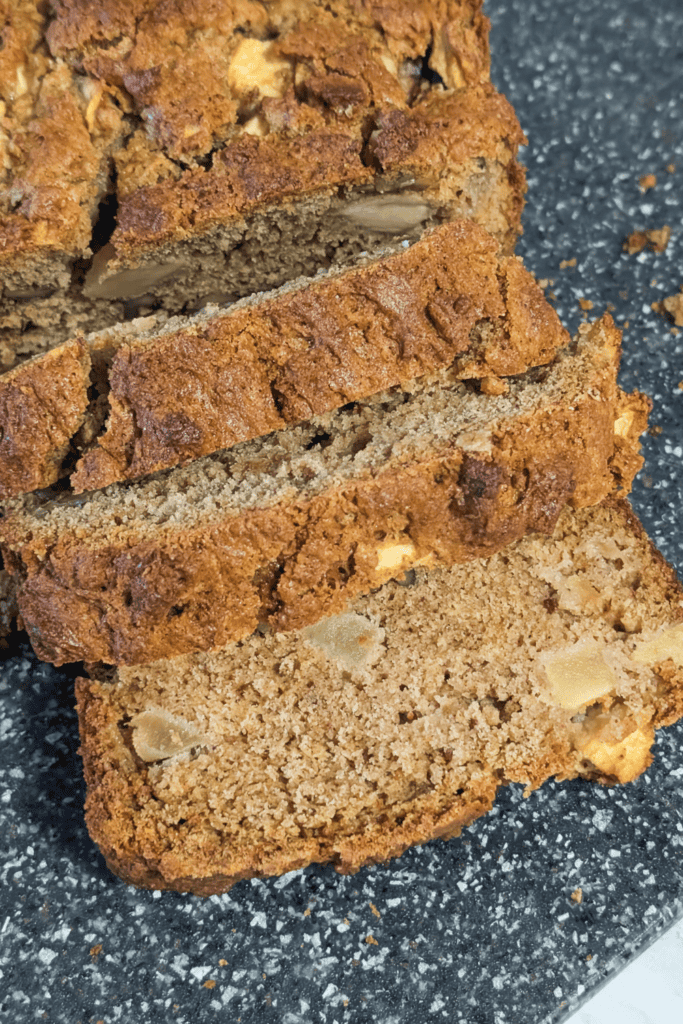
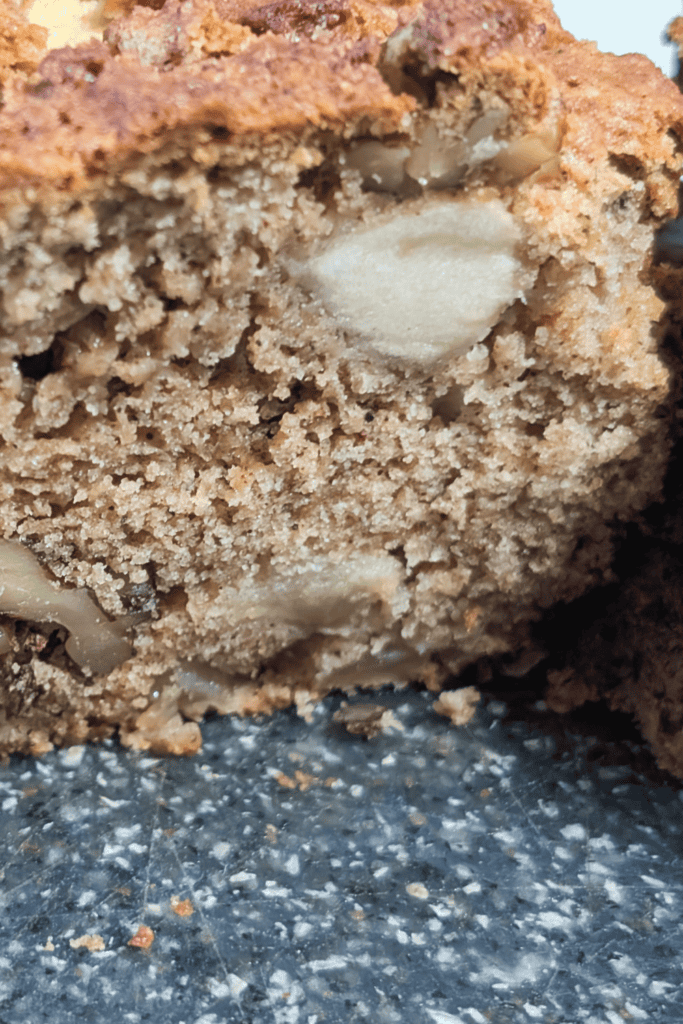
Tip #2: Mind the apple size — Larger pieces hold their shape as the loaf bakes, while smaller pieces will soften and blend into the crumb.
Tip #3: Let the loaf set before slicing — This bread has a sturdy crust and a crumbly interior, and the apple pieces need time to adhere to the crumb as it cools. Slicing too early can cause the loaf to break apart around the fruit, with chunks pulling loose instead of holding cleanly in each slice.
This apple tea bread is best served at room temperature once the loaf has fully cooled on a wire rack, when the crumb has set, and the slices hold together cleanly. Cut it with a sharp knife along the long side of the loaf for neat slices, especially when you hit larger chunks of apple or crunchy walnuts. It’s a simple slice-and-serve bread that doesn’t need toppings, though it works well alongside tea or coffee and fits naturally into a light snack or breakfast spread.
This apple tea bread is best kept at room temperature and eaten the same day it’s baked. However, if stored properly in an airtight container, it can remain fresh for up to two days at room temperature. Because it’s a drier, tea-style loaf, freezing and thawing will cause the crumb to break down and the apple pieces to separate, making the slices fall apart more easily. If you need to hold it for several hours, wrap the cooled loaf loosely and store it on the counter rather than refrigerating or freezing it.
Everyone likes fruit a little differently in baking. Do you prefer apples cooked down into more of a sauce, left in larger chunks, or finely shredded throughout the loaf? Is there a particular apple you like to use? Let me know how you like your fruit in baked goods — that choice alone can completely change how a recipe tastes.

Apple Tea Bread (A Simple Loaf for Using Up Apples)
Equipment
- Loaf Pan 9×5"
- Measuring Cups
- Tablespoon
- Teaspoon
- mixing bowl
- peeler
- Mixing Implement
Ingredients
- 1 Cup Apple Chopped into larger pieces/chunks
- ½ Cup Butter Softened
- ¾ Cup Brown Sugar Yellow also works
- 2 Lrg Eggs
- 2 Tbsp Sour Cream
- 2 Cups All Purpose Flour
- 2 Tsp Baking Powder
- 1 Tsp Baking Soda
- 1 Tsp Salt
- ¼ Tsp Cinnamon
- ¼ Tsp Nutmeg
- ¼ Tsp Ginger
- 1 Cup Walnuts Chopped
Instructions
- Preheat the oven to 350°F. Grease one loaf pan and set aside.
- In a large bowl, cream the butter and brown sugar until combined.
- Add the eggs and sour cream beat until the mixture looks lighter and creamy.
- Add the flour, baking powder, baking soda, salt, cinnamon, nutmeg, and ginger directly to the bowl. Mix until fully combined and no dry pockets remain.
- Fold in the chopped apples and walnuts.
- Transfer the batter to the prepared loaf pan and smooth the top.
- Bake for about 1 hour for one large loaf, or 45 minutes if dividing the batter into two smaller pans.
- To test for doneness, insert a butter knife from the side of the pan, angling it toward the center. If it comes out clean, the bread is done.
- Remove from the oven and place the pan on a wire rack. Allow the loaf to cool before slicing.
Notes
Amber’s Notes
- This loaf slices best with a sharp, thin-bladed knife rather than a serrated one, which can pull at the crumb and loosen the apple pieces.
- If your apples are very large, keep the chunks closer to bite-sized so they distribute evenly instead of sinking or clumping.
- This bread is meant to be plain and restrained; adding glazes or heavy toppings tends to overwhelm its texture.
- A darker crust is normal for this loaf and part of its character — don’t pull it early just to keep it pale.
- If baking for guests, plan to slice it shortly before serving rather than far in advance to keep the crumb intact.