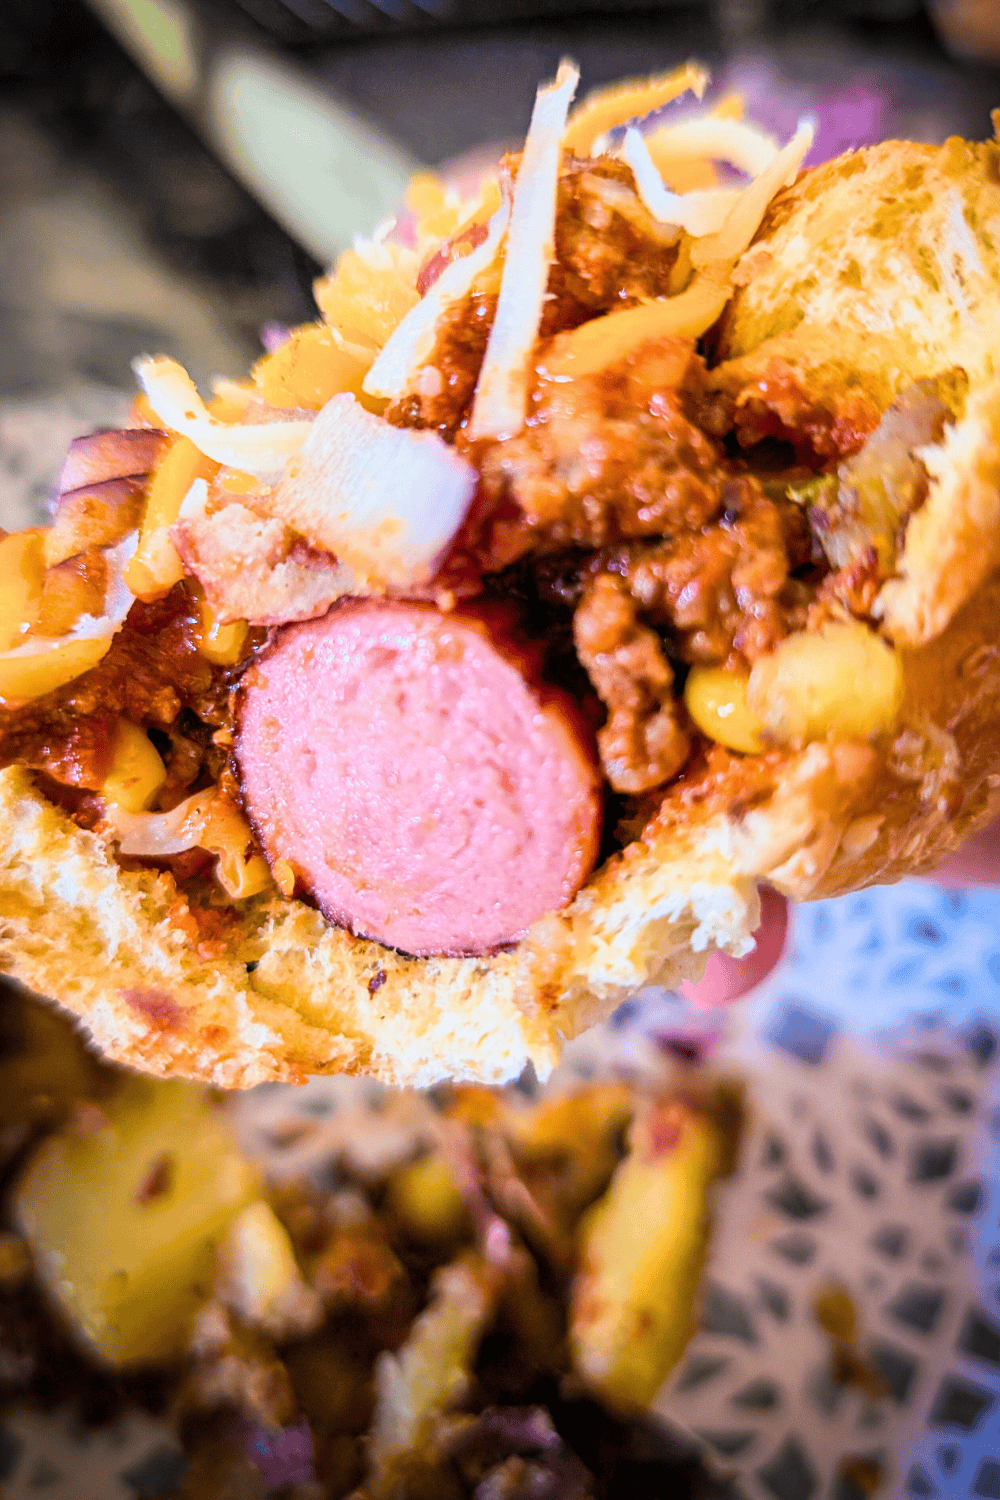
Homemade Chili Dogs
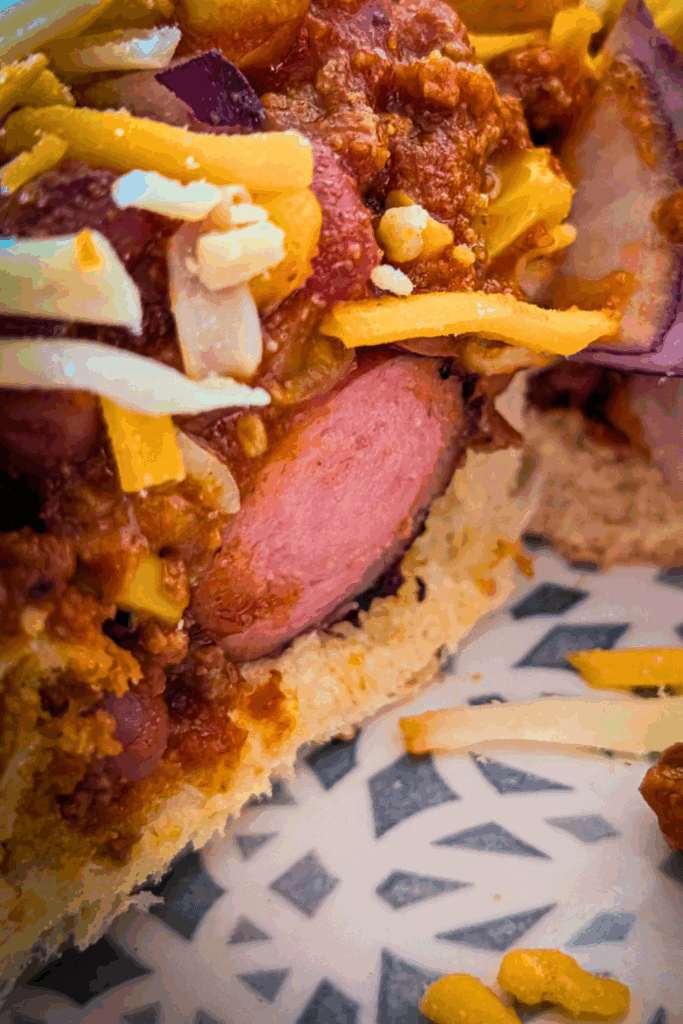
If there’s one summer meal that hits every nostalgic note and satisfies a severe hunger, it’s a chili dog. These Homemade Chili Dogs are layered with juicy all-beef hot dogs, a rich stovetop chili made from scratch, and all the classic toppings—melted cheese, crisp red onions, and soft toasted buns. Perfect for backyard BBQs, weeknight dinners, or a casual weekend cookout, this meal delivers comfort food energy with a side of smoky summer flavor.
Growing up, summer meant campfires—and campfires meant roasting wienies on a stick. I can’t tell you how many times mine fell right into the ashes, lost to the flames, while I poked around trying to get the perfect toast. It was messy, hilarious, and a core memory of every cottage trip or family camping night. So when my daughter asked if we could have a gourmet chili dog night, I couldn’t resist. These loaded dogs are a nod to my childhood summer fumbles but with way better toppings and a grill that doesn’t leave your dinner in the dirt.
If you love all things chili, you’ll appreciate that this chili serves double duty, not just as a topping for these amazing hot dogs but also as a chili cheese fry topping.
Why You’ll Love These Chili Dogs
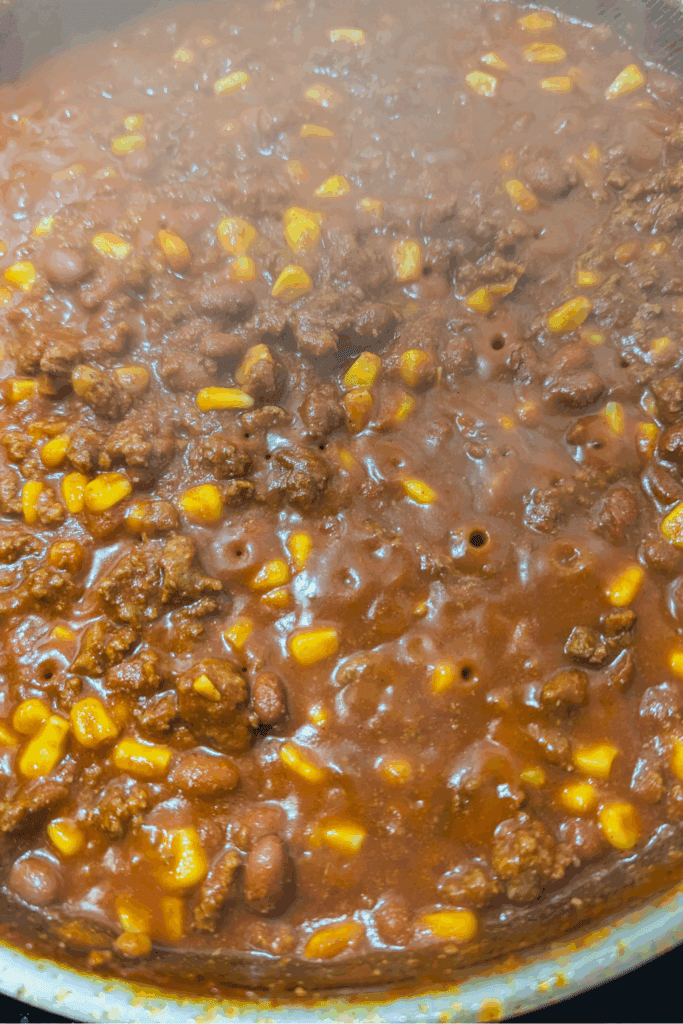
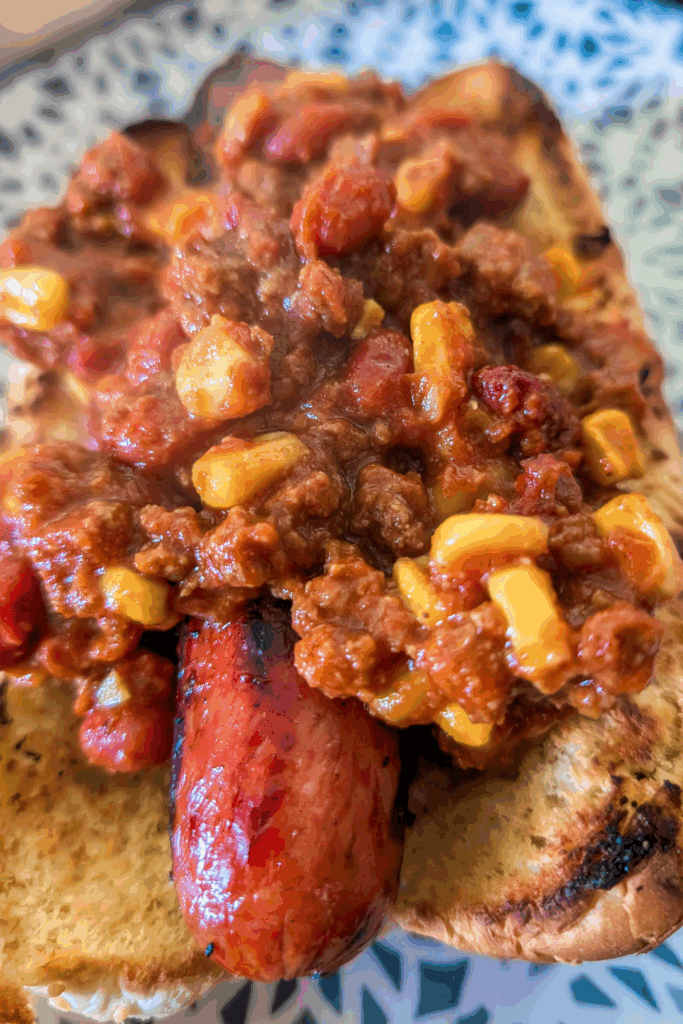
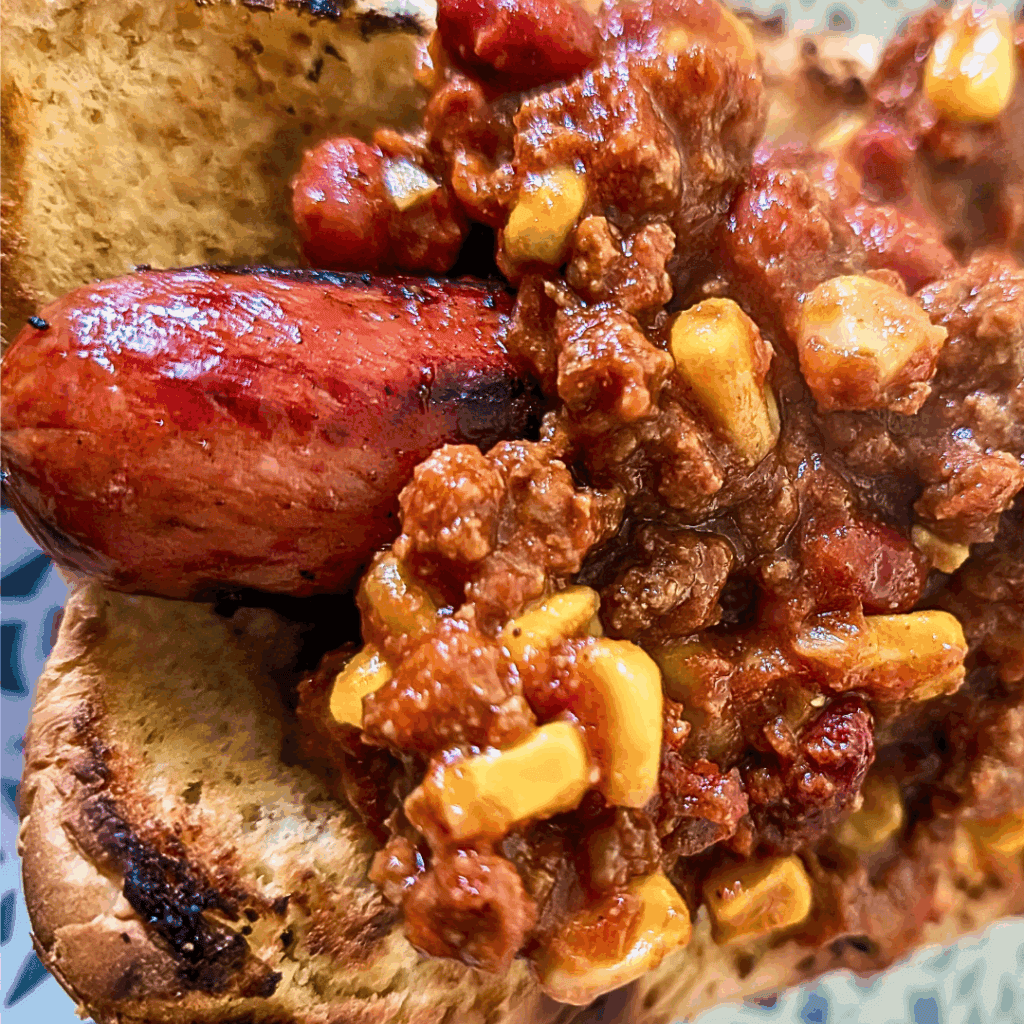
The Chili Is Everything: This stovetop chili is rich, thick, and loaded with beans, corn, and spice, with a hint of heat. It’s the same base I use for my Chili Cheese Fries—low effort, big flavor.
Easy BBQ Assembly: Grill the hot dogs, toast your buns, and load everything up.
Feeds a Crowd: This recipe yields enough chili to generously top 8–10 jumbo hot dogs.
Canadian Ballparks, Backyard Grills & Wieners on a Stick
We love our hockey, but don’t let that overshadow our love for ballpark food—because, yes, baseball is Canadian, too. From the early 1900s, cities such as Toronto, Montreal, and Vancouver had thriving minor-league teams and devoted local fans. Watching a game with a jumbo ballpark hot dog in hand has long been part of the summer tradition here.
Just as iconic? Roasting a wiener on a stick over a crackling campfire. Whether you’re deep in the woods or just steps from your deck, the ritual of turning a wienie over the flames is etched into our collective summer memories. That blend of backyard grilling and campfire cooking makes chili dogs feel especially homegrown.
Schneiders, the company behind the hot dogs I used, is a Canadian classic. Founded in 1890 in Kitchener, Ontario, it has been a staple on Canadian tables for over 130 years. That kind of heritage means something when you’re serving a chili dog that evokes nostalgia and a sense of place all at once.
Let’s Make These Homemade Chili Dogs With Stovetop Chili!
If you’ve never grilled hot dogs or made chili from scratch before—don’t worry. This section walks you through both. You’ll want to start with the chili first so it’s ready and warm by the time your hot dogs are grilled and your buns are toasted.
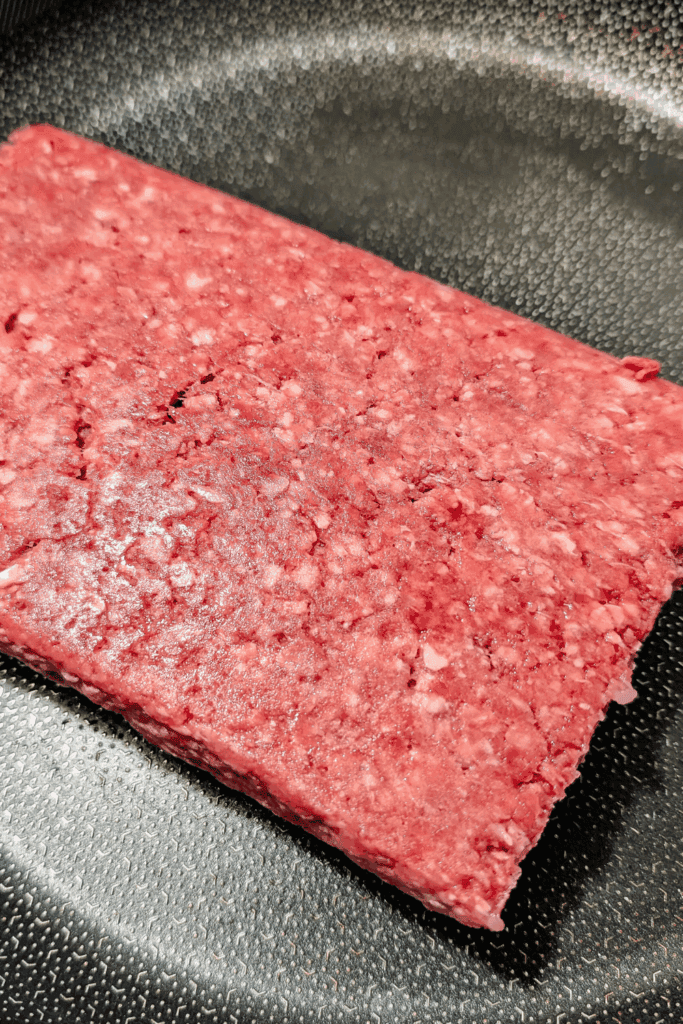
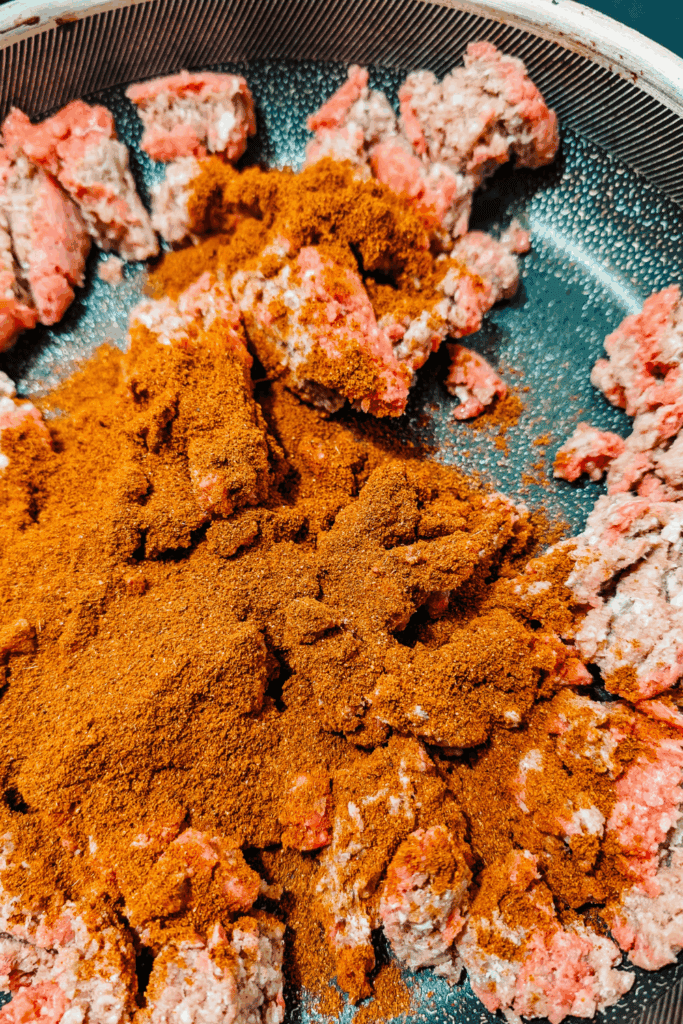
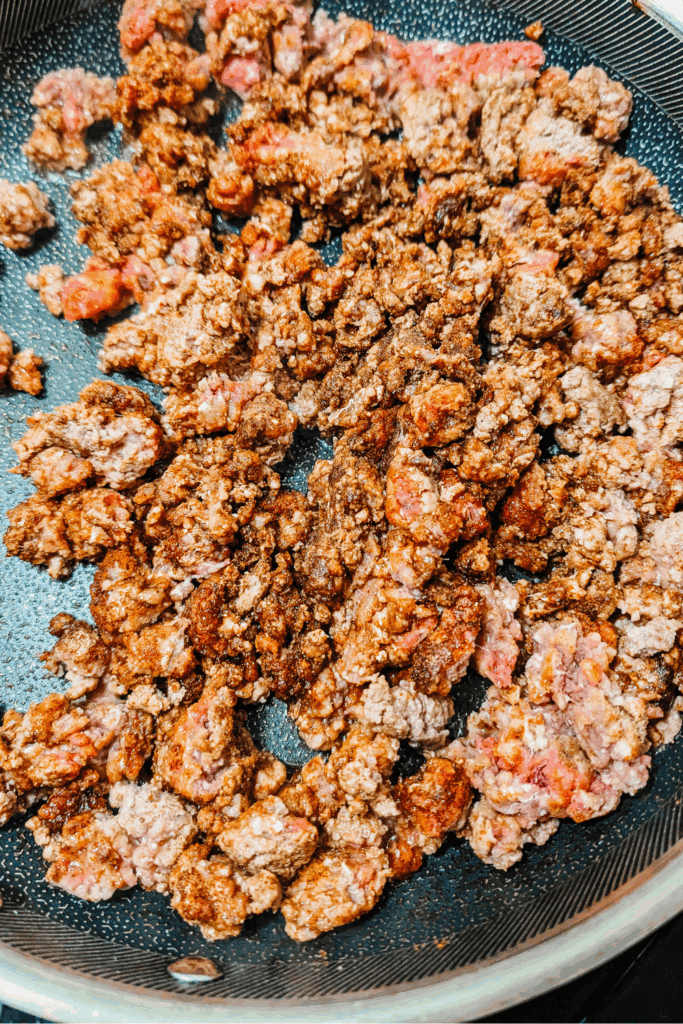
Grab a large frying pan or skillet and set it on the stove over medium-high heat. Add your lean ground beef and begin breaking it up as you would to make a meat sauce. Keep breaking it down into smaller bits as it browns, adding in the spice so it permeates the beef well. Stir everything thoroughly so that the spices are evenly distributed throughout the meat.
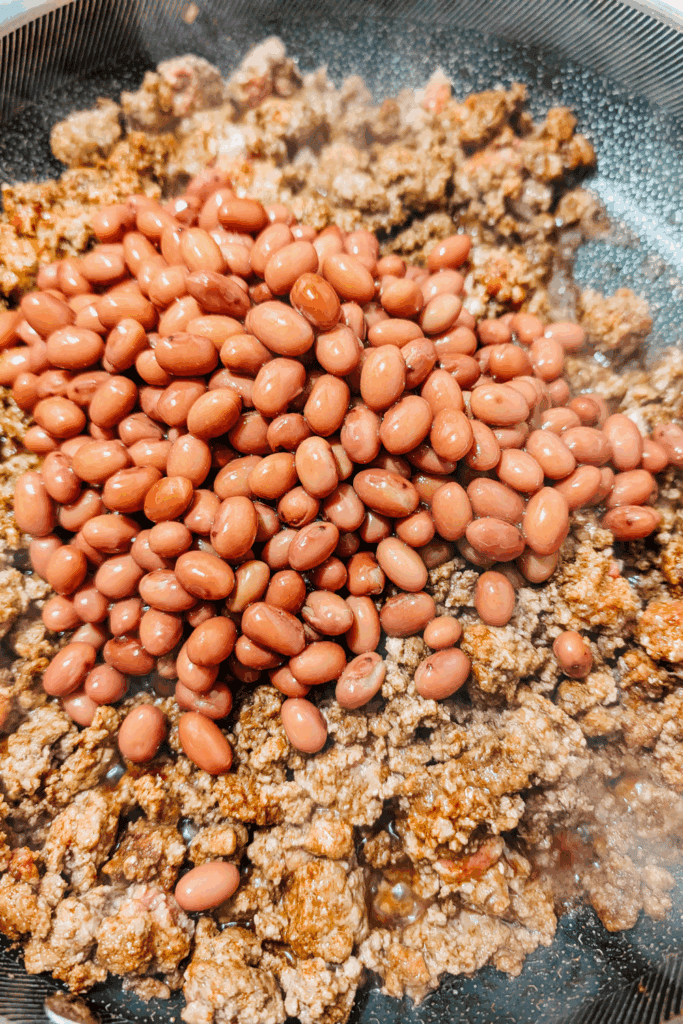
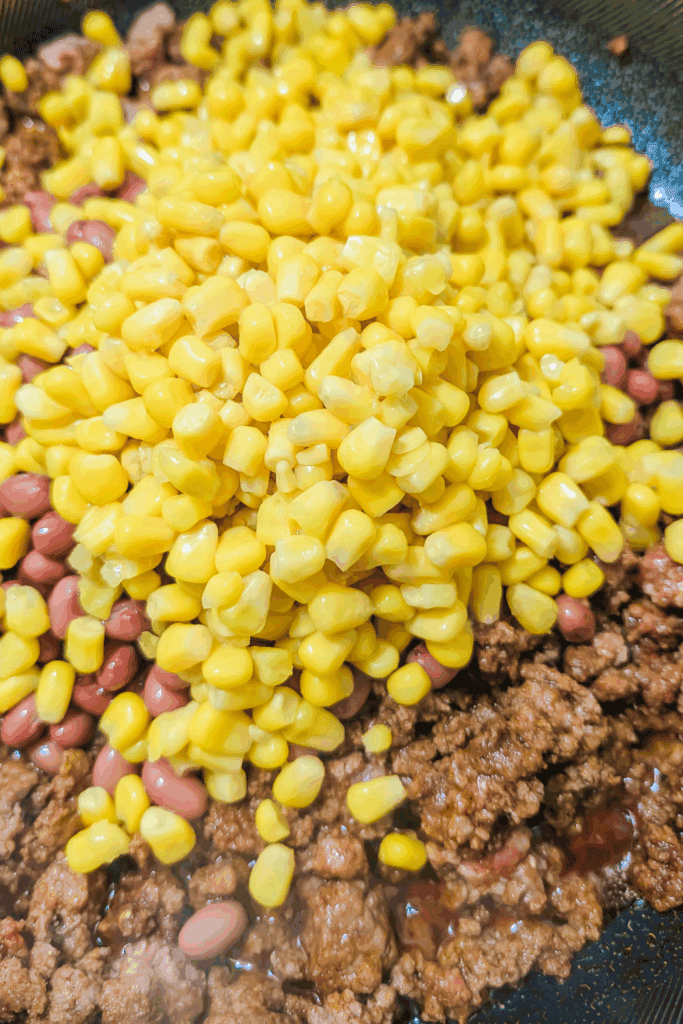
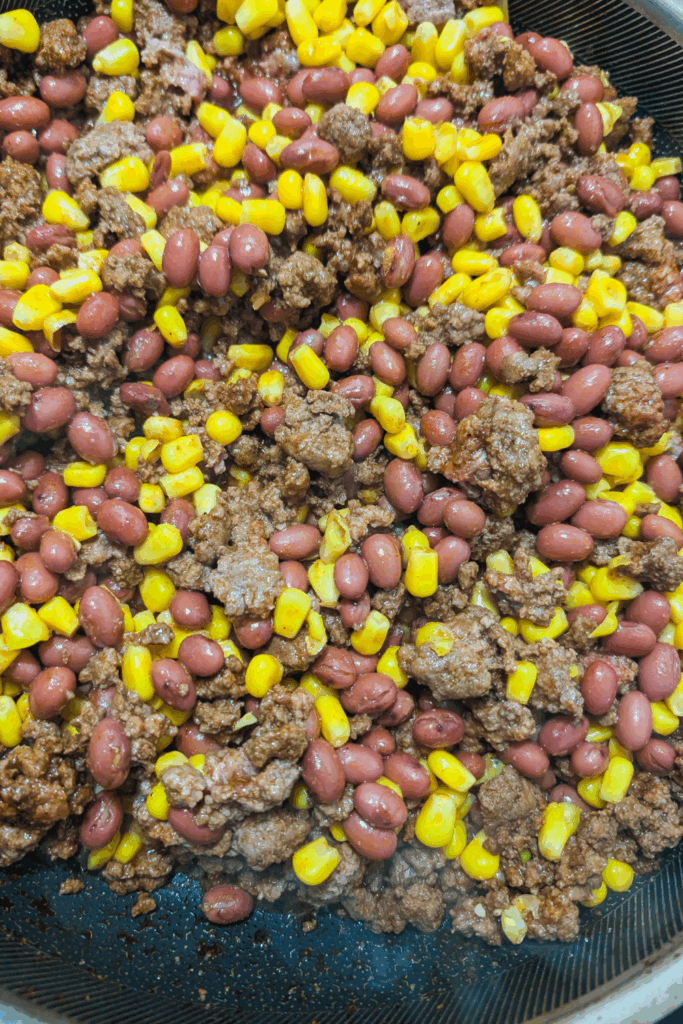
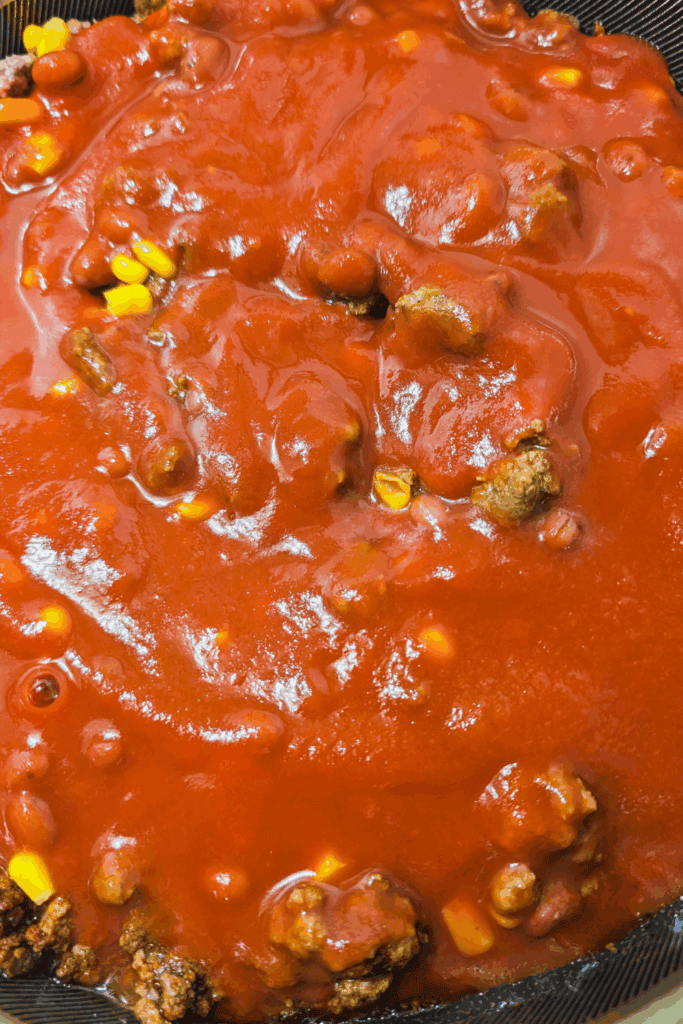
Now, drain the can of corn and the kidney beans and add them directly to the frying pan. Pour in three cups of tomato-based pasta sauce—something plain or lightly seasoned is perfect. Stir everything together so it’s evenly combined.
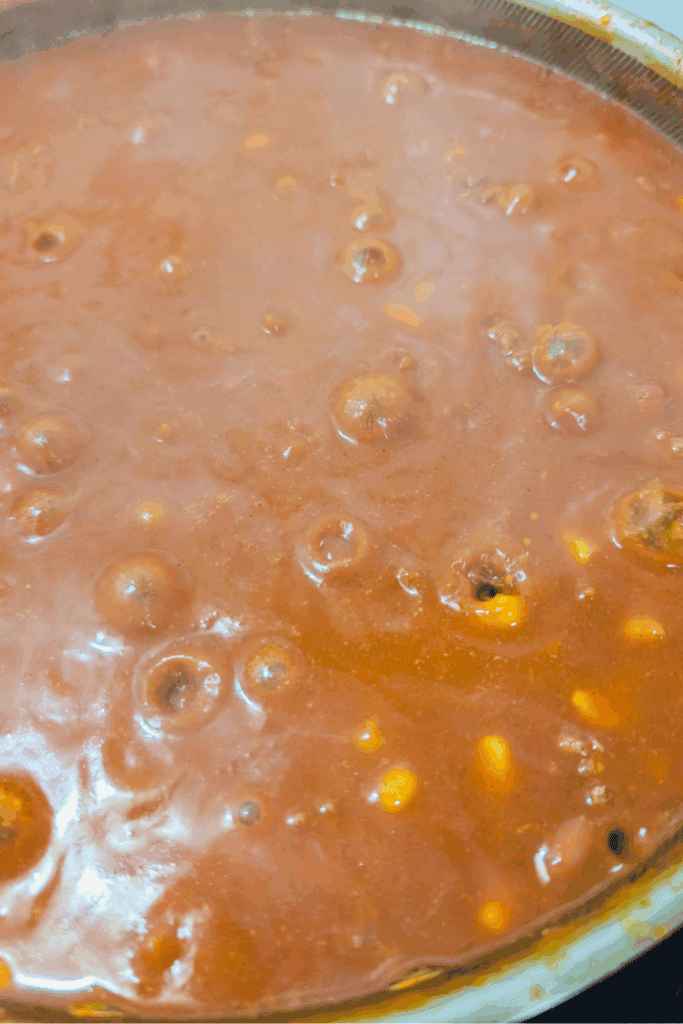
Reduce the element now to medium-low and let it simmer gently, uncovered while stirring occasionally. You’ll know it’s ready when the chili has thickened enough to sit on top of a hot dog without running everywhere. Once it’s done, you can cover the pan with a lid and keep it warm while you prep the grill.
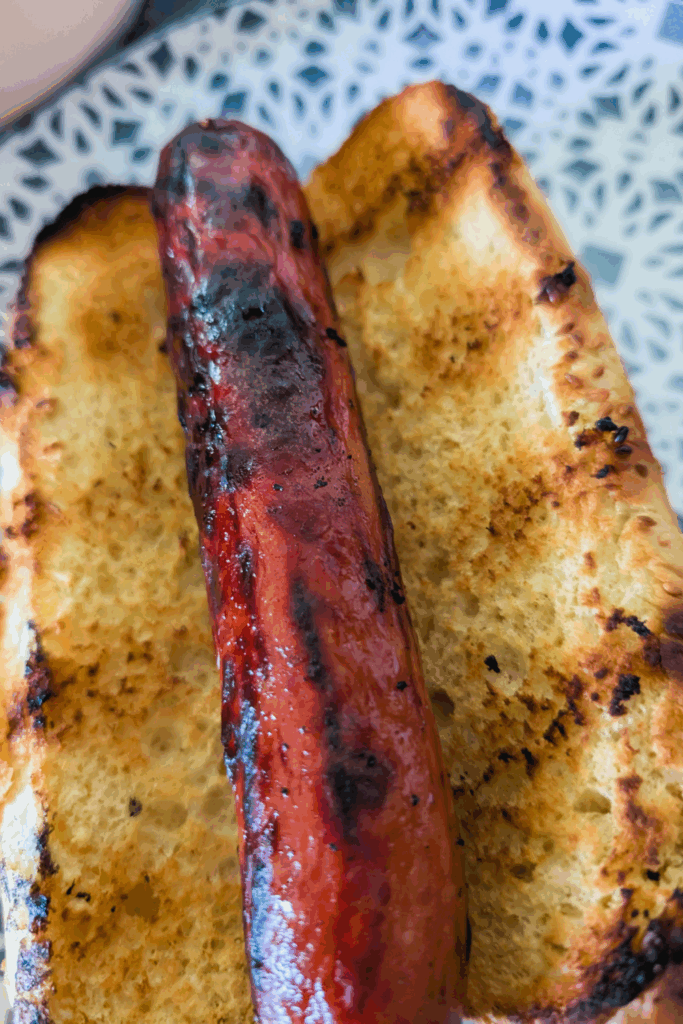
Turn that grill up, up, up for a well-toasted dog. We used a Coleman grill running at over 500°F, but if yours runs a little cooler, that’s fine—give the hot dogs an extra minute or two. Place the hot dogs directly on the grill grates. Let them cook for 5 to 8 minutes, turning occasionally so they develop an even char and that classic grilled exterior.
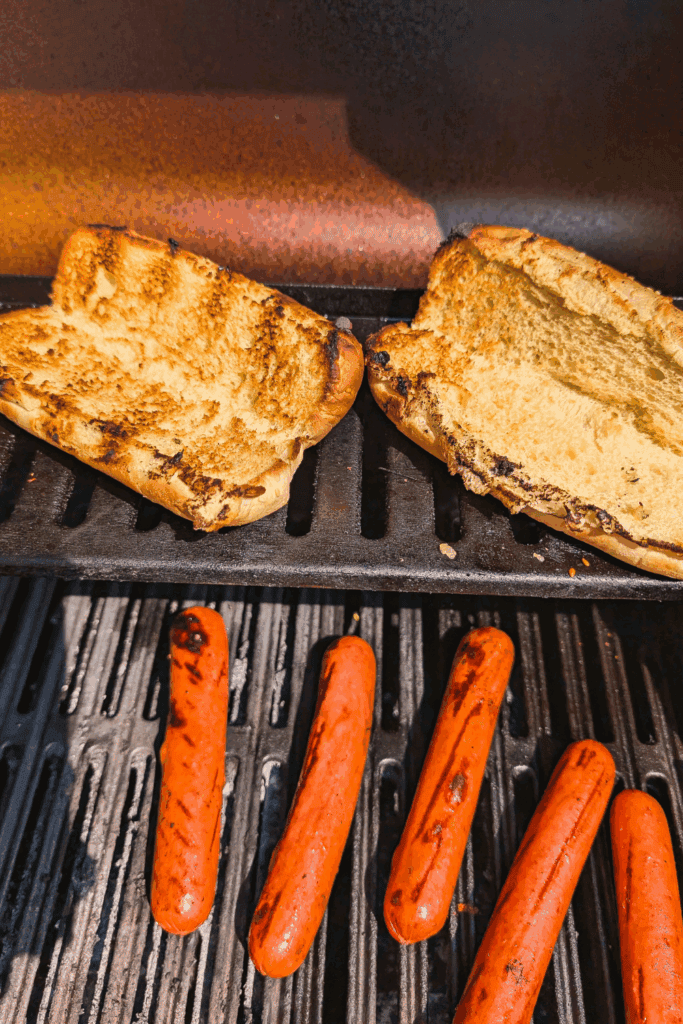
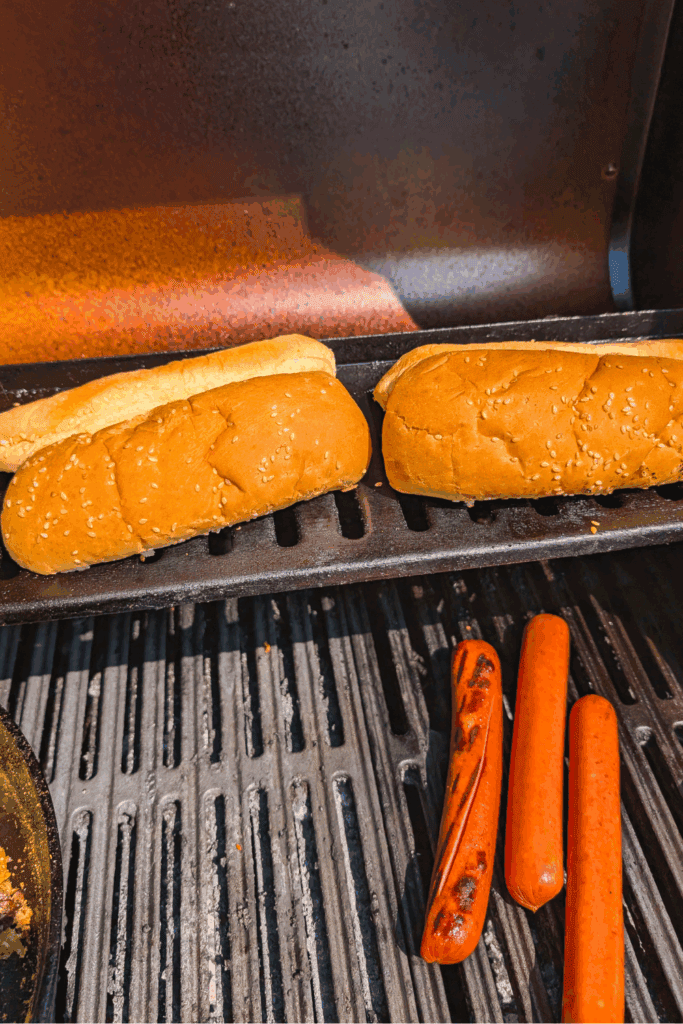
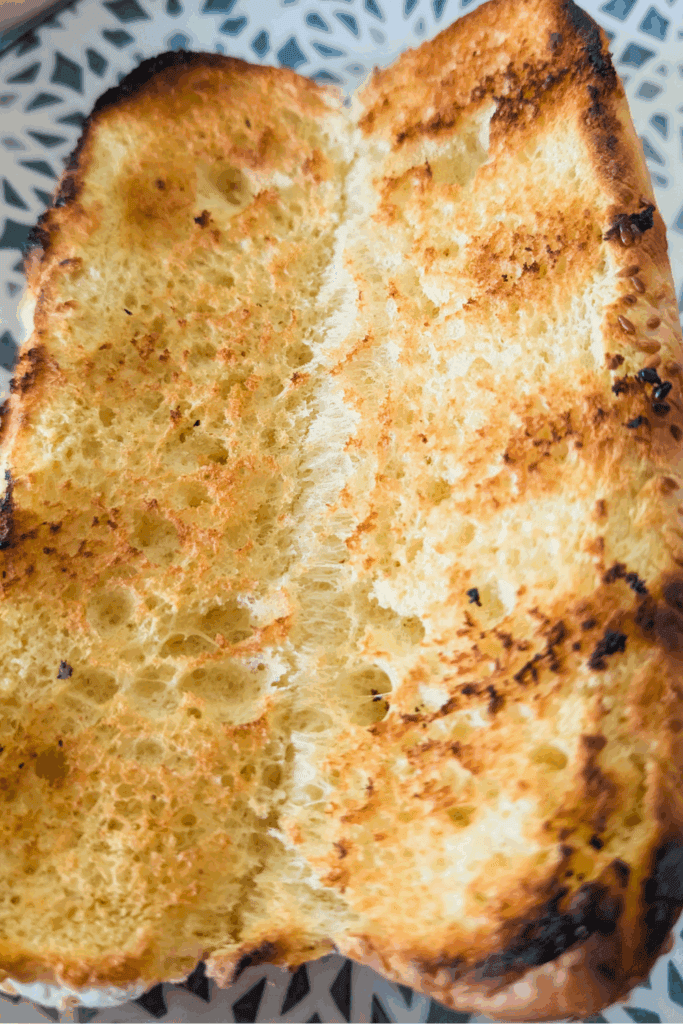
For the buns, place them on the upper rack of the grill for a minute or two open face down—just long enough to crisp them up without over-toasting. If your grill doesn’t have an upper rack, use the main grates, but keep a close eye on them. The sugar in many hot dog buns causes them to burn quickly. You’re looking for a little crunch and warmth, not a charred mess.
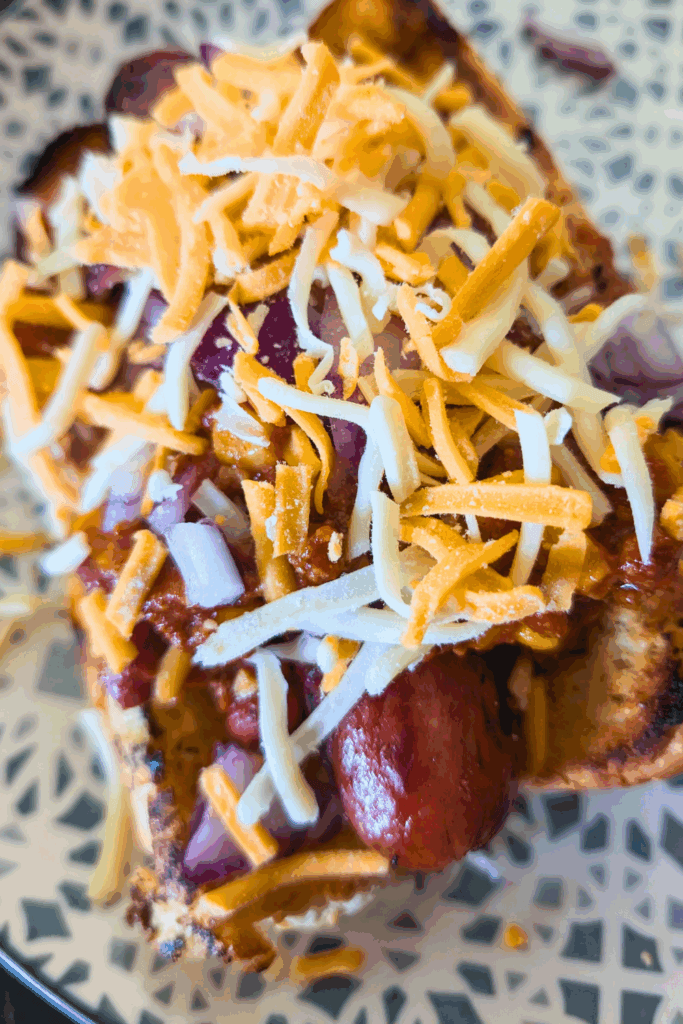
Now, to assemble your dogs, start by tucking a grilled hot dog into each toasted bun. Spoon a generous scoop of hot chili over the top, making sure it spreads across the full length of the dog. While the chili is still steaming, sprinkle shredded cheddar cheese and diced red onions over it, allowing the cheese to melt. This part is a great way to set up a chili dog table for your next summer cookout, complete with little bowls of all the extra fixings.
If you have leftover chili, it’s just as good spooned over baked potatoes, nachos, or on its own the next day. And if you’re looking for something even heartier for a weekend meal, try my Pork and Beef Dutch Oven Chili.
Ingredients:
Note to my Canadian readers: You’re not alone if you’re sourcing these ingredients without relying on U.S.-based imports. Given our country’s current challenges, supporting Canadian-owned businesses and Canadian-made products matters more than ever. Every little bit helps keep our food systems strong, our neighbors employed, and our dollars in our communities.
You will now find more Canadian content on the blog as I continue to source Canadian food brands and products.
And to our American friends—we still love you! We always have and will. But when possible, we’re leaning toward local to keep our shelves stocked and our people supported.
Jumbo Hot Dogs – All-beef jumbo dogs with a firm bite and smoky grill flavor. We used Schneiders, a Canadian company founded in 1890.
Hot Dog Buns – Soft but sturdy, large enough to hold chili without falling apart. Wonder Bread’s Ball Park Franks Buns with Sesame Seeds are made in Canada and toast beautifully on the grill.
Lean Ground Beef – Forms the hearty base of the chili. Look for packages labeled ‘Canada ‘ or ‘Product of Canada ‘ to ensure the beef is locally raised and processed.
Kidney Beans – Add texture and a plant-based protein boost to the chili. Use canned beans for convenience. I use Unico brand beans all the time, and they are so firm and delicious in this chili.
Corn – Offers a slight sweetness and juicy pop that balances the spice in the chili. We used canned corn and drained well.
Tomato-Based Pasta Sauce – Binds the chili together with a bit of acidity and depth. A lightly seasoned or plain sauce, such as Canadian Red Tomato Basil Sauce, works well.
Chili Powder, Garlic Powder, Ground Cumin – These dry spices bring warmth, depth, and that unmistakable chili flavor.
Cheese – Shredded cheddar or a Tex-Mex blend adds a creamy richness that melts beautifully into the hot chili. We used Black Diamond Shredded Mozza Cheddar Cheese Blend.
Red Onion – Finely diced for a crisp, sharp topping that cuts through the richness.
Optional Toppings – Think sliced jalapeños, pickled banana peppers, or sour cream for extra flair and flavor.
Substitutions & Add-Ins For These Tasty Chili Dogs
Hot Dogs – Swap all beef for regular jumbo dogs, turkey dogs, plant-based dogs, or European-style smoked sausages if preferred.
Hot Dog Buns – Use brioche rolls, sourdough hoagie buns, or gluten-free options for dietary needs.
Lean Ground Beef – Ground turkey, pork, or a meatless crumble can work well in the chili.
Kidney Beans – Substitute with black beans, pinto beans, or a lentil blend for a twist.
Corn – Try frozen corn or fresh corn, or leave it out if you prefer.
Tomato Sauce – Crushed canned tomatoes or tomato passata can be used as a substitute for jarred sauce.
Chili Powder, Garlic Powder, Ground Cumin – Use a store-bought chili seasoning blend or adjust spices to taste with smoked paprika or onion powder.
Cheese – Pepper Jack, Monterey Jack, or dairy-free shreds melt well and add variety.
Red Onion – White onion, green onions, or even pickled onions make outstanding swaps.
Optional Toppings – Add avocado slices, shredded lettuce, or a bit of caramelized onions.
Expert Tips, Serving And Storing Suggestions For Homemade Chili Dawgs
Tip #1: Toast, Don’t Burn – If your grill doesn’t have an upper rack, toast buns for no more than 30–60 seconds over direct heat. The sugar in the dough makes them prone to burning fast.
Tip #2: Keep Chili Warm – Let the chili finish first and keep it covered on the stove. It stays hot while you grill and helps the cheese melt instantly when you top it.
Tip #3: Preheat the BBQ Fully – Bring your BBQ to full temperature before grilling the hot dogs. This ensures even charring and helps lock in that smoky flavor.
Chili dogs are best served fresh off the grill, with the chili hot and the cheese just starting to melt. They make a fun centrepiece at summer gatherings and are easy to set up as a DIY bar—just lay out the toppings and let everyone build their own. This recipe is one of those simple summer wins—no-fuss ingredients, easy prep, and big flavor. If you’ve never made chili dogs at home before, let this be the one that converts you.
Store any leftover chili or BBQ hot dogs in an airtight container/s in the fridge for up to 4 days. You can freeze it, too—it reheats well for leisurely lunches on the go. If you’ve grilled extra hot dogs, keep them wrapped in foil and refrigerate for 2–3 days. Reheat gently in a pan or oven.
Have you tried this tasty recipe? I would love to hear how it worked out for your family. Was it a winner for dinner? Please drop me a comment and rate so others know how the recipe is.

Homemade Chili Dogs With Stovetop Hot Chili Recipe
Equipment
- Outdoor BBQ
- Frying Pan
- Spatula
- BBQ Tongs
- Tablespoon
Ingredients
- 3 Lbs Lean Ground Beef 1.5kg
- 4 Tbsp Chili Powder
- 1 Tbsp Garlic Powder
- ½ Tbsp Ground Cumin
- 1½ Cups Canned Corn 341ml, drained
- 2 Cups Canned Kidney Beans 540ml, drained
- 3 Cups Plain Pasta Sauce
- 8 Jumbo Hot Dogs Grilled
- 8 Lrg Hot Dog Buns Toasted
Instructions
- In a skillet over medium-high heat, brown the ground beef, breaking it up as it cooks.3 Lbs Lean Ground Beef
- Add chili powder, garlic powder, and cumin. Stir to coat the meat evenly with spices.4 Tbsp Chili Powder , 1 Tbsp Garlic Powder, ½ Tbsp Ground Cumin
- Drain corn and kidney beans and stir them into the skillet.1½ Cups Canned Corn, 2 Cups Canned Kidney Beans
- Add tomato sauce and stir well. Reduce heat to low and simmer 5–8 minutes until thick.3 Cups Plain Pasta Sauce
- Preheat grill to high heat (around 500°F). Grill hot dogs for 5–8 minutes, turning occasionally.8 Jumbo Hot Dogs
- Toast buns on the upper grill rack for 1–2 minutes or until crisp. Watch carefully to avoid burning.8 Lrg Hot Dog Buns
- Assemble: place grilled hot dog in bun, top with hot chili, cheese, and red onion.
- Serve immediately with your favorite sides.
Notes
🌭 Amber’s Hot Diggity Dawg Tips
- Toast, Don’t Burn – Hot dog buns toast quickly because of their sugar content. If your grill doesn’t have an upper rack, use the main grate but watch them like a hawk—30 to 60 seconds is plenty.
- Preheat the Grill Fully – Get your BBQ screaming hot before placing the hot dogs on. This helps them develop that crispy skin and iconic grilled flavor.
- Keep the Chili Hot – If the chili has been sitting and starts to cool, reheat it gently before spooning it over your hot dogs. The warmth helps melt the shredded cheese instantly and keeps the whole dog piping hot.
- Don’t Overcrowd the Bun – These are jumbo dogs, but leave enough room for toppings to sit securely. If you overload, it’ll get messy fast.
- Serve as a Build-Your-Own Bar – For casual gatherings, keep the hot dogs warm in a foil pack and chili in a covered pot. Set out buns and toppings so everyone can load up their own.