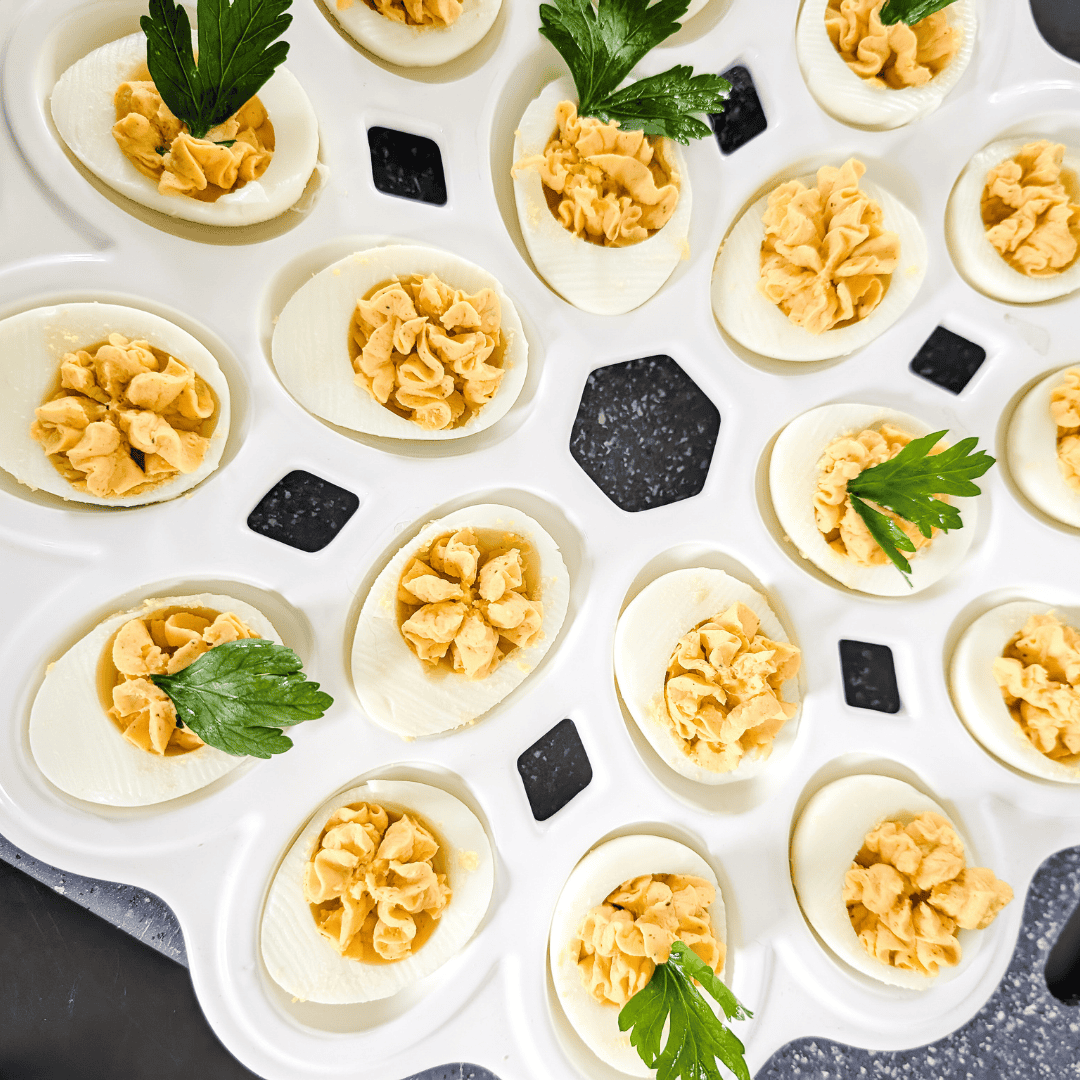
Traditional Devilled Eggs
There’s something deeply satisfying about a tray of devilled eggs — neat little bites filled with creamy yolk mixture, topped with a classic sprinkle of paprika. This isn’t a fancy take or a gourmet remix. It’s the classic devilled egg recipe your mom, aunt, or grandma probably made for every Easter brunch, backyard party, or holiday potluck. With simple ingredients and just the right balance of creamy and tangy, these eggs are an easy recipe you’ll come back to again and again.
Deviled eggs are one of those dishes that appear at every North American family event. From summer picnics and cookouts to Ukrainian Easter celebrations, they’ve been a staple on our table for generations. And honestly? I can’t stop eating these, they’re that good. They’re. There’s no one right way to make them, but there are a few wrong turns if your eggs aren’t cooked properly. Too runny? Too firm? Overcooked yolks that turn grey? Timing is everything. Small eggs? Boil for 6–8 minutes. Large eggs? You’ll need closer to 10 minutes. Once you nail the perfect hardboiled egg, everything else is easy. And when that creamy filling hits just right — oof, perfection.

If eggs are your favorite on a weekend, don’t miss my other favorites like Wild Lambsquarter Feta Frittata With Sun-Dried Tomato or the super popular Eggs in Purgatory which are great for every occasion.
Why You Will Love This Great Canadian Devilled Egg Recipe
Tried and True Texture – Smooth, creamy mashed yolks without any grainy bits or rubbery whites.
Easy to Customize – Classic enough to love as-is, but flexible if you want to add fresh herbs, bacon, or Dijon mustard.
Perfect for Every Occasion – Elegant enough for Easter brunch, casual sufficient for road trip snacks, and always a hit at holiday parties.
Devilled Eggs in Canadian Food Culture
Devilled eggs might trace their roots back to ancient Rome, but in Canada, they’ve carved out their own proud place on the table. They show up in everything from prairie potlucks to coastal brunches and backyard barbecues. Many families have their own secret twists — sweet relish in Ontario, yellow mustard in the Maritimes, a little dill on the Prairies. The version here? It’s the one passed down at church suppers and weekend gatherings.
And let’s not forget the Canadian egg farmers behind every carton. From coast to coast, these individuals work hard to bring us fresh, affordable eggs while keeping animal care and sustainability at the forefront. Cracking open a Canadian egg means supporting real families, many of whom have been doing this for generations.
Let’s Make This Classic Family Favorite Devilled Egg Recipe.
Place eggs in a saucepan and cover them with warm water. Bring to a boil over high heat. Once the water is bubbling, reduce to a gentle boil and cook for 10–12 minutes for large eggs. Immediately transfer the eggs in their shells to an ice bath or rinse them under cool, running water until you have cold eggs that you can safely handle.
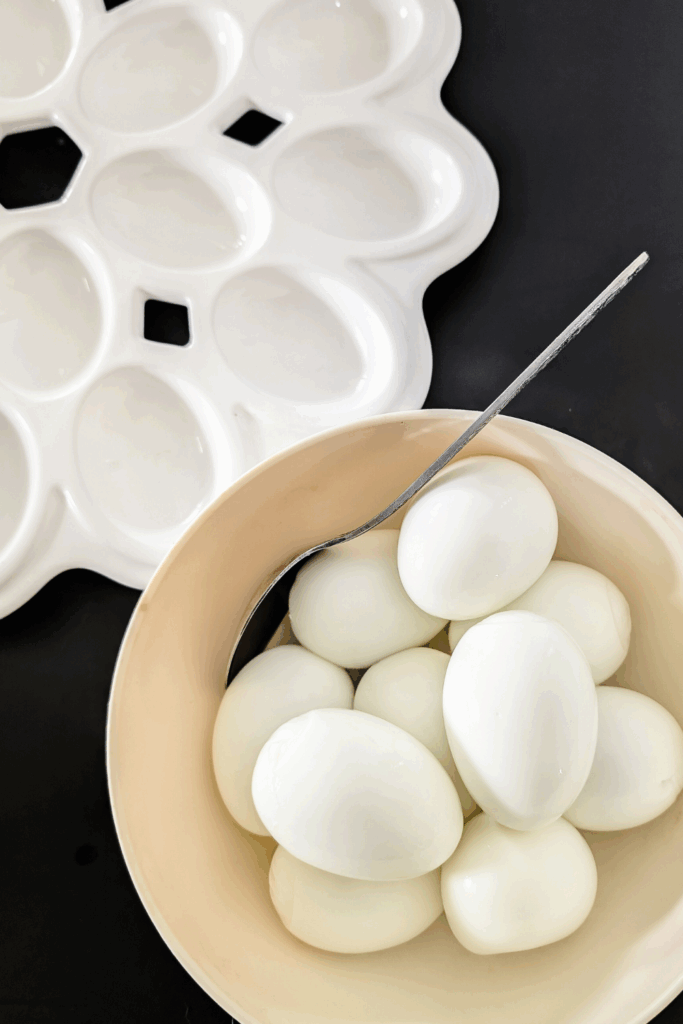

To peel, gently tap the small end of each egg and slide a teaspoon just under the shell. The membrane should release, making it easy to peel the egg whites cleanly. (Pro tip: Poking a tiny hole in the fat end before boiling helps steam escape and makes peeling easier.)


Slice eggs lengthwise through the yolk using a sharp knife. Carefully remove the hardboiled egg yolks with a teaspoon and place them in a small bowl. Add mayo, paprika, and black pepper. Mix until you achieve a smooth, egg yolk-like mixture.
Spoon the yolk filling back into the white halves, or use a piping bag with a star tip for a ruffled look. Add a light sprinkle of paprika on top and garnish with fresh herbs if desired. Arrange the deviled egg halves on a serving platter. Cover them loosely with plastic wrap to prevent rubbing the egg yolks and making a mess, or store in an airtight container with a lid that allows for space if making ahead of time.

Ingredients:
Note to my Canadian readers: You’re not alone if you’re sourcing these ingredients without relying on U.S.-based imports. Given our country’s current challenges, supporting Canadian-owned businesses and Canadian-made products matters more than ever. Every little bit helps keep our food systems strong, our neighbors employed, and our dollars in our communities.
You will now find more Canadian content on the blog as I continue to source Canadian food brands and products.
And to our American friends—we still love you! We always have and will. But when possible, we’re leaning toward local to keep our shelves stocked and our people supported.
Large eggs – Boiled until firm with bright yellow yolks. The base for a classic appetizer.
Mayonnaise – Helps create a creamy filling. Adjust based on texture preference. I used Kraft Miracle Whip for this classic deviled egg recipe. As a long standing consumer of Kraft products I am happy knowing they are prepared in Canada.
Paprika – For flavor and that essential sprinkle of paprika look.
Black pepper – Brings balance and depth.
Fresh dill or flat-leaf parsley (optional) – Adds color and herby contrast. Fresh dill or flat-leaf parsley (optional)** – Adds color and herby contrast. This easy to grow herb does well in kitchen herb gardens and outdoor containers in the summer months.
Substitutions and Add-Ins For This Creamy Devilled Egg Recipe.
Large Eggs: You can use smaller-sized eggs, but you will need to adjust the mayo slightly.
Mayonnaise: Use your favorite mayonnaise brand in the recipe.
Paprika: Swap for smoked paprika for more depth.
Piping Bag Alternative: Use a Ziploc bag with the corner snipped off.
There are many great ways to dress up a deviled egg from a crisped piece of bacon to adding a few minced chives into the egg mixture.

Expert Tips, Serving And Storing Suggestions For Your Eggs.
Tip #1: Boil Eggs Based on Size – Your cook time matters. Small eggs cook faster; large eggs need the full 10–12 minutes.
Tip #2: Easy Peel Hack – This pinhole trick, combined with an ice bath, yields cleaner egg whites every time.
Tip #3: Filling Method = Mood-Based – Use a piping bag with a star tip when you’re feeling fancy, or grab a small spoon for a no-fuss scoop.
This easy devilled egg recipe is a great anytime go-to. Serve devilled eggs on a chilled serving platter at holiday parties, brunch spreads, or tucked between pasta salads and easy appetizers. Devilled eggs can be made ahead of time. Store the eggs in an airtight container or cover them with plastic wrap. Best enjoyed within 3 days — if they last that long. Perfect for egg lovers, this is a favorite recipe that belongs on every side dish list!
Not recommended to freeze.
If you loved this recipe (or have your own twist on it), please take a moment to rate and leave a comment below. Your feedback means the world — not only does it help other egg lovers find this recipe, but it also allows this little blog to keep growing, one classic devilled egg at a time.

Classic Canadian Devilled Eggs
Equipment
- pot
- Small Bowl
- Tablespoon
- Teaspoon
Ingredients
- 10 Lrg Eggs Hardboiled
- 2-3 Tbsp Mayo
- 1 Tsp Paprika
- ¼ Tsp Black Pepper
- Fresh Herbs *Optional Garnish
Instructions
- Place eggs in a saucepan and cover with warm water.10 Lrg Eggs
- Bring to a boil over high heat, then reduce to a gentle boil and cook for 10–12 minutes.
- Transfer to an ice bath or rinse under cool running water until eggs are fully chilled.
- Gently tap the small end of each egg and peel, using a teaspoon to lift the shell cleanly.
- Slice eggs lengthwise with a sharp knife and remove the yolks using a small spoon.
- In a mixing bowl, mash yolks with mayonnaise, paprika, and black pepper until smooth and creamy.2-3 Tbsp Mayo, 1 Tsp Paprika, ¼ Tsp Black Pepper
- Spoon or pipe the yolk filling into the egg white halves.
- Garnish with a sprinkle of paprika and fresh herbs, if desired.Fresh Herbs
- Arrange on a serving platter, cover loosely with plastic wrap, or store in an airtight container.
Notes
Amber’s Secret Tips for Devilled Egg Success
- Prick a hole before boiling – Use a clean pushpin to poke a tiny hole in the fat end of each egg. It helps release pressure and steam, making peeling a breeze.
- Ice bath is a must – Don’t skip it. It halts the cooking instantly and helps the shell separate from the whites.
- Use older eggs – Slightly older eggs peel more easily than fresh ones. If you just bought a carton, save it for baking and use last week’s eggs here.
- Mash thoroughly – Use the back of a spoon or a fine mesh sieve for ultra-smooth yolks. Lumpy filling is harder to pipe and not as pleasant to eat.
- Balance the mayo – Start with less and add more slowly — you want creamy, not soupy.
- Salt matters – If your yolk mixture tastes a little flat, a tiny pinch of salt can round it out. Taste before serving!
- Use a piping bag with a star tip – For an elegant finish that takes seconds. No bag? A Ziploc with the corner snipped off works too.
- Make ahead but smart – Prep your filling and whites separately, then fill just before serving for the freshest presentation.
- Serving tip – Keep them cold! A chilled platter or even a plate nestled into a baking dish filled with ice will keep your eggs picnic-perfect.