Easy Creamy Nutella Ice Cream in Ninja Creami
This easy creamy Nutella ice cream in the Ninja Creami combines rich chocolate hazelnut flavor with mild espresso notes for a smooth homemade frozen dessert with soft scoopable texture. This recipe, designed for the Ninja Creami Deluxe machine, blends Nutella’s rich, nutty flavor with a bold espresso kick, all wrapped in a creamy base of milk and cream. Even if you don’t have a Ninja Creami machine, you can easily make this delicious ice cream right at home with your churn or food processor.
This ice cream recipe is simple: it uses only four simple ingredients: heavy cream, 2% milk, Nutella, and espresso powder. The Ninja Creami Deluxe 11-in-1 Ice Cream maker ensures that the whole experience is effortless, resulting in creamy and utterly delicious ice cream.
Indulging in the perfect blend of Nutella sweetness and bold coffee notes, this treat is versatile, ideal for any season, and bound to become a household favorite. In fact, you can omit the espresso powder and enjoy straight Nutella ice cream, which is perfect for World Nutella Day! (Feb 5th)
Discover how to make Ninja Creami ice cream recipes in a food processor without specialty ice cream containers. Mix all the ingredients as you would for the recipe, but freeze them in an ice cube tray instead of as a solid block. These ice cubes can then be processed in a food processor or blender in an ice-crush setting. While the results will not be as creamy, they will still be tasty. The plus side to making a Ninja Creami ice cream recipe vs most no-churn ice creams is that they don’t generally contain sweetened condensed milk with a distinct flavor that can be overpowering.
If you love this rich, creamy ice cream, follow along for more great flavors. Try our fruity taro blackberry ice cream for a lighter, refreshing flavor!
Quick Answer
This Ninja Creami Nutella ice cream recipe combines Nutella, cream, milk, and espresso powder into a creamy homemade frozen dessert with rich chocolate hazelnut flavor and mild coffee notes.
If you enjoy making homemade frozen desserts, try my Blueberry Ninja Creami Ice Cream or Biscoff® Cookie Butter Ice Cream follow for more easy Ninja Creami flavors.
Cost Rating: 🍳🍳 2 Pan — Moderate Cost (High Yield)
Cost guideline:
Cost Per Batch: ~$7–$10
Cost Per Serving: ~$1.75–$2.50 (based on 4 servings)
The biggest cost in this Ninja Creami Nutella ice cream recipe comes from the chocolate hazelnut spread and espresso powder. Since the recipe uses a relatively small amount of espresso powder per batch, the container stretches well into future homemade ice cream recipes, coffee drinks, and baking projects.
Milk helps stretch the ice cream base economically while still maintaining a creamy consistency. Because this homemade Nutella ice cream has a rich chocolate hazelnut flavor, smaller scoops tend to feel fairly satisfying, helping the recipe stretch further than lighter frozen desserts.
Why You’ll Adore This Nutella Mocha Ice Cream Recipe:
Convenience with the Ninja Creami: Whipping this decadent treat is a breeze with the Ninja Creami Ice Cream Machine. Say goodbye to the hassle of traditional churners and hello to homemade ice cream bliss.
Irresistible Flavor: The sweetness of Nutella meets the boldness of espresso in every creamy spoonful of this decadent ice cream.
Customizable and Versatile: This recipe is your canvas. Whether you want to experiment with different mix-ins or a dairy-free alternative, the choice is yours. Get creative and tailor your ice cream experience to perfection.
Creamy Texture: The Nutella and cream create a smooth creamy consistency without needing pudding mix or condensed milk.

Budget Tip:
Off-brand chocolate hazelnut spreads generally work well in this homemade Nutella ice cream recipe and can lower the overall cost considerably. Less expensive instant espresso powders or strong instant coffee powders can also still provide good mocha flavor without purchasing premium espresso products.
If you regularly make homemade frozen desserts or coffee drinks, the larger jars of chocolate hazelnut spread and espresso powder become much more economical over time since they can be reused in milkshakes, baking recipes, frostings, and future Ninja Creami recipes.
Let’s Dive Into Making This Sumptuous Homemade Nutella Mocha Ice Cream:
This ice cream recipe requires just a handful of ingredients: heavy cream, milk, Nutella, and espresso powder. Remember, preparation is the key to perfect ice cream, so ensure your ingredients are ready.
Combine the heavy Cream, Nutella, and espresso powder in a mixing bowl or your blender. Whisk or blend them together thoroughly until you have a homogenous milk mixture. This step is crucial for ensuring every spoonful of your ice cream bursts with Nutella and coffee goodness. You can then add the milk, stirring or whisking well.


Once your ice cream base is well-mixed, pour it into the freezable container that came with the Ninja Creami machine. Be sure to fill the container evenly; aim to fill it to the max fill line to allow room for expansion during freezing.
Next, cover the container tightly and place it on a level surface in the freezer. The ice cream mixture should freeze for at least 24 hours. This extended freezing period ensures that your ice cream base reaches the perfect consistency for churning.


The next day, after the freezing period is complete, you’re ready to transform the frozen mixture into dreamy Nutella Mocha Ice Cream. Remove the container from the freezer and place it in the base assembly of your Ninja Creami machine.
Before proceeding, ensure the blade attachment is correctly installed in the lid assembly. With everything in place, lock the lid and select the ice cream setting on your Ninja Creami machine to begin churning.

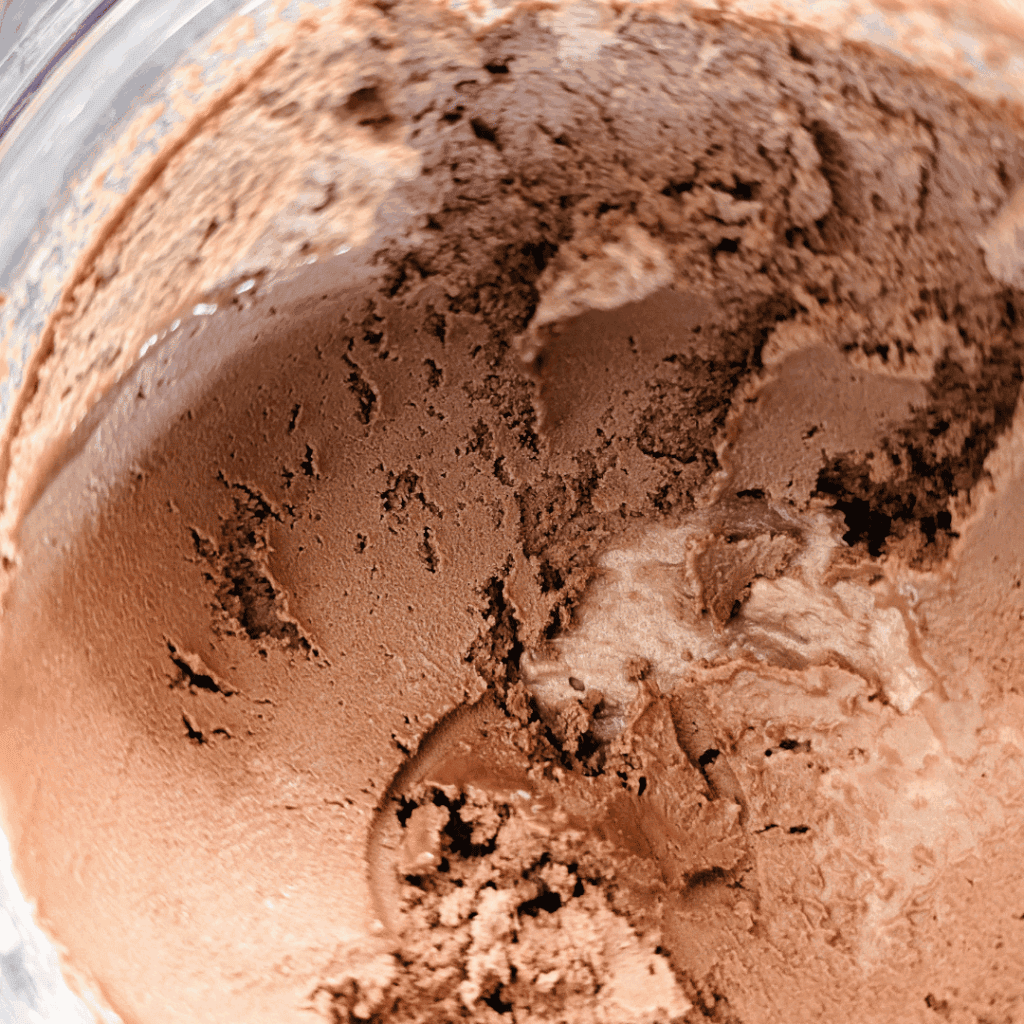
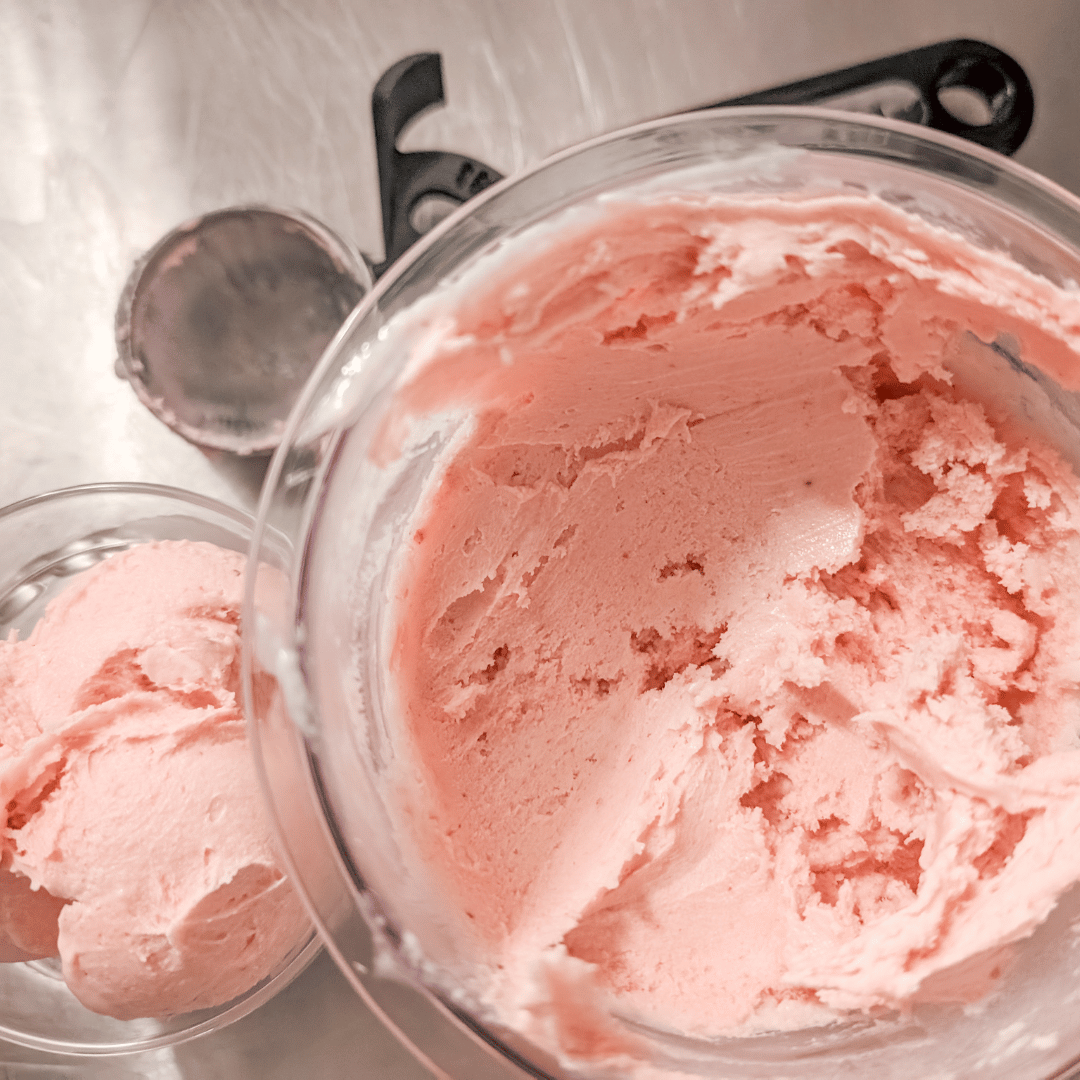
When it’s finished spinning, the frozen base transforms into a much creamier texture with a soft scoopable consistency.
Ingredients:
Heavy Cream: 18% Heavy Cream provides richness and a creamy texture, making the ice cream smooth and luxurious.
Milk: 2% Milk balances the richness of the cream, adding a bit of lightness to the ice cream while maintaining creaminess.
Nutella: The star ingredient that adds delicious hazelnut and chocolate flavors to the ice cream.
Espresso Powder: I used Nescafe Gold Espresso Powder, which gives the ice cream a deep coffee flavor, making it rich and aromatic.
Substitutions Or Add-Ins For This Homemade Nutella Mocha Ice Cream:
Heavy cream: I used 18% cream, aka table cream, for this recipe, which reduces the lasting mouthfeel that a heavier cream can cause. I also reduced the amount of cream to milk because creaminess comes a lot from adding Nutella. Should you wish to switch the cream ratio, I don’t recommend adding more cream than one cup, and you can definitely reduce the milk fat further if you want to. Just keep in mind reducing the fat content can increase the chances of crystallization in the ice cream as the water content will be higher.
Milk: If you wish to reduce the fat content further, use 1% milk or a milk alternative, such as almond milk. Remember that the ice crystallization will be higher in a lower-fat product lower-fat.
Nutella: This smooth and velvety chocolate spread is the basis of this ice cream recipe. If you wish to use an off-brand, that will likely turn out well, too.
Espresso Powder: If you don’t have espresso powder, you can use instant coffee powder. I recommend a strong coffee powder for a deeper flavor. Taste test the liquid base to be sure that the coffee flavor comes through, and adjust the coffee granules as needed for your preferred mocha flavor.
Add-ins for this creamy chocolate ice cream could include a Nutella swirl or a smattering of mini chocolate chips for a double dose of chocolate. I recommend using a semi-sweet chocolate chip so that the sweetness isn’t overpowering. Add some real hazelnut pieces for even more nuttiness in this rich ice cream.
If this is your first time using add-ins with the Ninja Creami Deluxe, the mix-ins setting butter by the power button will need to be used for a second spinning. First, spin the ice cream, remove the pint from the base, and scoop out a hole down the center of the ice cream. Add your preferred mix-in to the hole before returning the pint to the machine.
Expert Tips, Serving Suggestions, and Storage Advice For Your Nutella Mocha Ice Cream:
Tip #1: Mix Well: Thoroughly mix the heavy cream, milk, Nutella, and espresso powder until well combined to achieve a creamy consistency.
Tip #2: Proper Freezing: Ensure the ice cream base is completely frozen before using the Ninja Creami machine. To achieve the best results, allow at least 24 hours for freezing.
Tip #3: Leftover Ice Cream: Repurpose any leftover ice cream into delicious milkshakes for a refreshing treat.
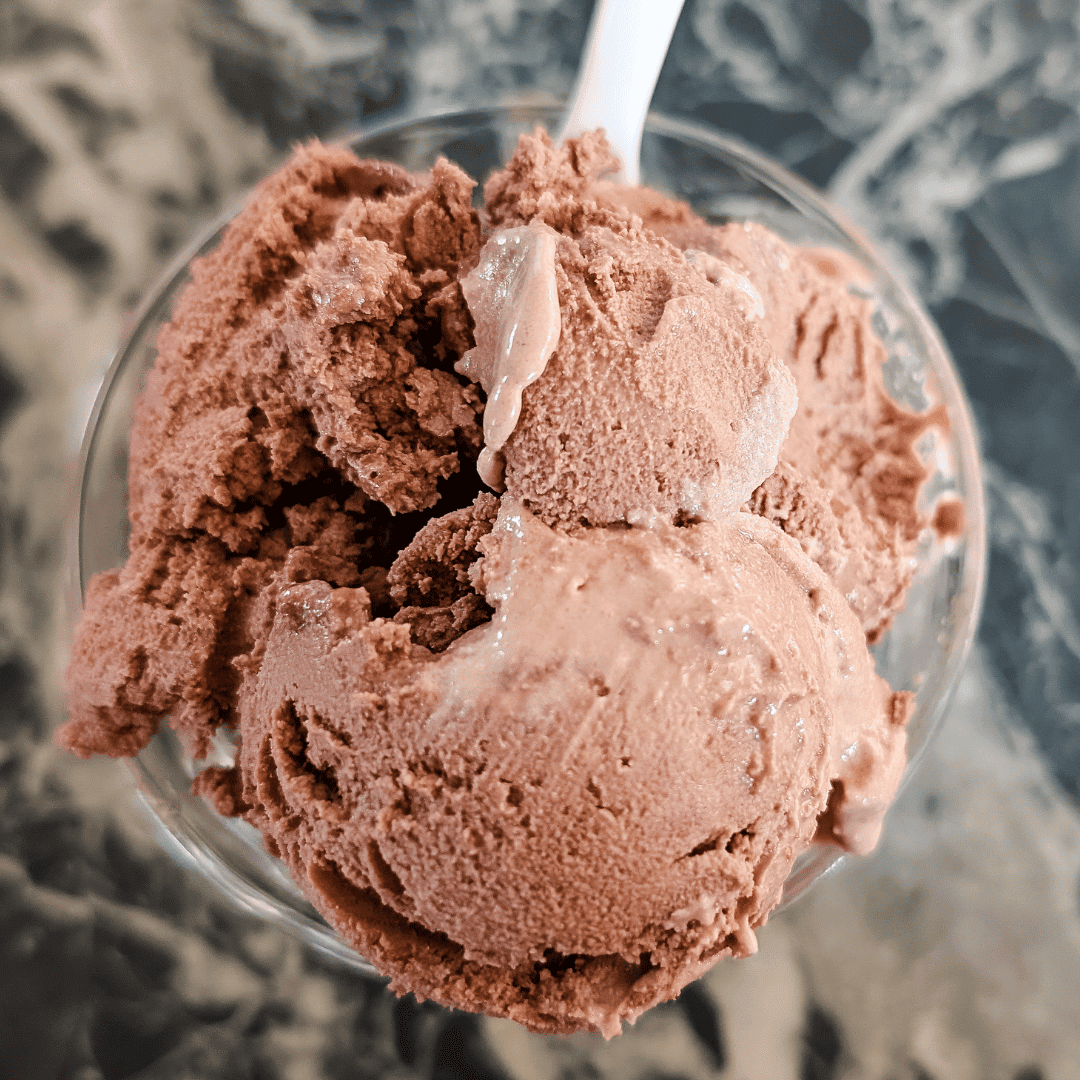
Serve the creamy Nutella ice cream shortly after spinning for the softest texture. Scoop it into chilled bowls or cones straight from your Ninja Creami Ice Cream Maker and savor the indulgent flavors with every spoonful. Using the deluxe ice cream maker’s setting, you can also use the creamy ice cream flavor to make a rich mochaccino. Be sure to drizzle a little caramel sauce on top for added flair.
If you aren’t eating all of the churned ice cream right away, go ahead and level, cover, and refreeze to enjoy later. You can also scoop your ice cream into a freezer-proof container to freeze and remove the already-spun ice cream to enjoy on a cone or in a bowl. Frozen homemade Nutella ice cream can be kept in the freezer for up to two weeks, although I am positive you will not have it last that long.
Keeping multiple Ninja Creami pint containers frozen ahead of time also makes it easier to rotate between different homemade ice cream flavors throughout the summer.
FAQ

Easy Creamy Nutella Ice Cream in Ninja Creami
Equipment
- Ninja Creami
- Blender Optional
- Whisk
- Freezable Pint
- Tablespoon
Ingredients
- 1 Cup Nutella
- 1 Tbsp Espresso Powder
- ¾ Cup 18% Heavy Cream
- 1 Cup 2% Milk
Instructions
- In a bowl or the blender mix the Nutella with the heavy cream and espresso powder.1 Cup Nutella, 1 Tbsp Espresso Powder, ¾ Cup 18% Heavy Cream
- Add in the remaining 2% milk and pour into the pint.1 Cup 2% Milk
- Cover with the plastic lid and freeze for 24hrs on a level surface.
- Remove and churn following manufacturers directions.
- Enjoy right away. Freeze unused portions for up to two weeks in freezer.
Notes
Notes
- Re-spinning can help improve texture if the Nutella ice cream appears crumbly after the first spin.
- Off-brand chocolate hazelnut spreads generally work well in this homemade Nutella ice cream recipe.
- Instant coffee powder may be substituted for espresso powder, although the mocha flavor may be milder.
- The Ninja Creami pint container should freeze flat for best texture results.
- Nutritional information is estimated and may vary depending on the brand of chocolate hazelnut spread or espresso powder used.