
Ham and Cheese Buns (No Yeast Recipe)
When you want something fresh from the oven that feels like comfort food but doesn’t take all morning to make, these ham and cheese buns (no yeast recipe) deliver. They’re soft, savory, and packed with sharp cheddar, tender ham, and flecks of green—all baked into golden drop-style buns with no kneading and rising time. Whether you’re planning a weekend brunch, need a lunchbox filler, or just want something warm and satisfying, this quick bread recipe will soon become the star of the table.
The best part? There’s no yeast, no kneading, and no rising time. These are true quick bread-style buns—just mix the dough ingredients in one large bowl, scoop onto a parchment paper-lined baking sheet, and bake until puffed with a golden brown crust. They freeze well, refrigerate well, and reheat beautifully the next day.
I first made these as a way to use up some fridge leftovers—and to be honest; I was also trying to avoid washing yet another muffin pan. It had been a long week, and the idea of scooping batter into cups and scrubbing them out later wasn’t exactly calling my name. So I kept things simple: mixed up my favorite savory muffin base, then dropped the dough straight onto a parchment-lined baking sheet. What came out were soft, cheesy ham and spinach buns with golden tops and no cleanup stress. They’ve been a staple ever since—easy to bake in batches and perfect for tossing into an airtight container for school lunches, afternoon snacks, or even a quick dinner. And yes—if you prefer a more structured shape, this easy recipe works just as well as baking it in a muffin tin.
If you’re looking for another savory ham idea, check out my jalapeño Havarti cheese biscuits—another variation that uses similar basic ingredients but with a spicy twist.
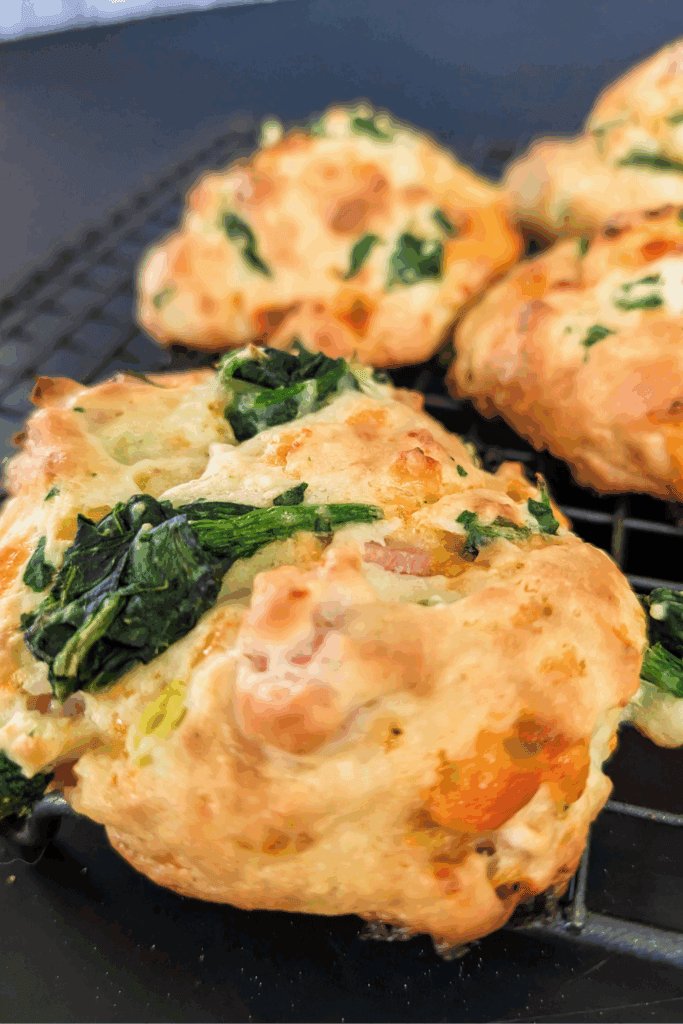
Why You’ll Love These Ham and Cheese Buns
One bowl, no fuss. These buns use simple ingredients and come together in a single large bowl. No fancy mixers or rising time is needed.
Fast and freezer-friendly. This quick bread-style recipe is ready in under 30 minutes and stored well in an airtight container or wrapped in plastic for meal prep.
Quick Snacking. The buns are perfect for lunchboxes and brunch boards. They travel well, taste amazing warm or cold, and are a savory ham treat that adds something special to any spread.
Cheddar, Cream, and Canadian Dairy Pride
Cooking with cheese has long been a staple in Canadian kitchens, especially regarding comfort food. Canada’s dairy farms—many family-run for generations—produce high-quality milk and cream used to craft everything from sharp aged cheddars to smooth spreads.
One iconic example is MacLaren’s Imperial Sharp Cheddar Cheese, a creamy, boldly flavored cheese spread that’s been around since 1891. Made in Stratford, Ontario, MacLaren’s is carefully aged to give it that distinctive tang that works well in baking, on crackers, or stirred into warm dishes.
Whether for cheese buns like these, a lunchbox sandwich, or the classic holiday cheese ball, using Canadian dairy products like MacLaren’s is a way to celebrate our food heritage—and make everyday recipes a little more special.
Let’s Make These No Yeast Ham and Cheese Buns
Start by preheating your oven to 425°F. You’ll want a big baking sheet ready—line it with parchment paper so nothing sticks, and cleanup is a breeze.
Grab your largest mixing bowl—this makes a decent-sized batch, so you want room to work. First, measure your dry ingredients: flour, baking powder, sugar, and salt. Stir everything together really well. This step is crucial because it evenly spreads the leavening so the buns rise properly in the oven.
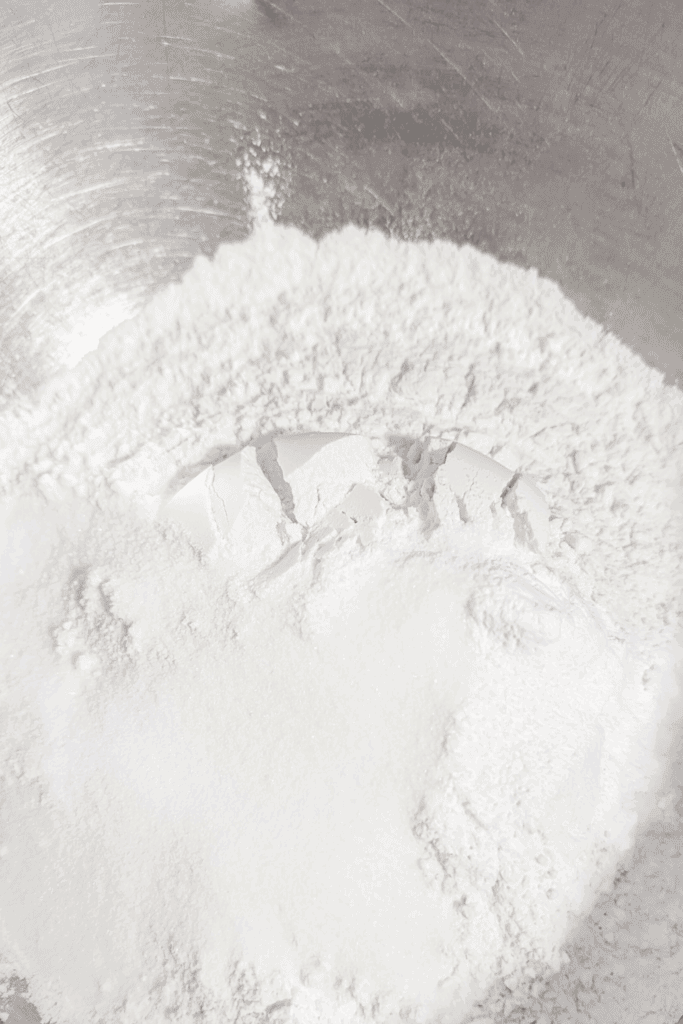

Now, mix the baking soda and water mixture in a cup until the baking soda has dissolved. Add the baking soda water to the dry ingredients and stir around.
Next, mix the eggs and sour cream in a separate bowl before adding the dry ingredients. Then, slowly add the milk, stirring as you do so.
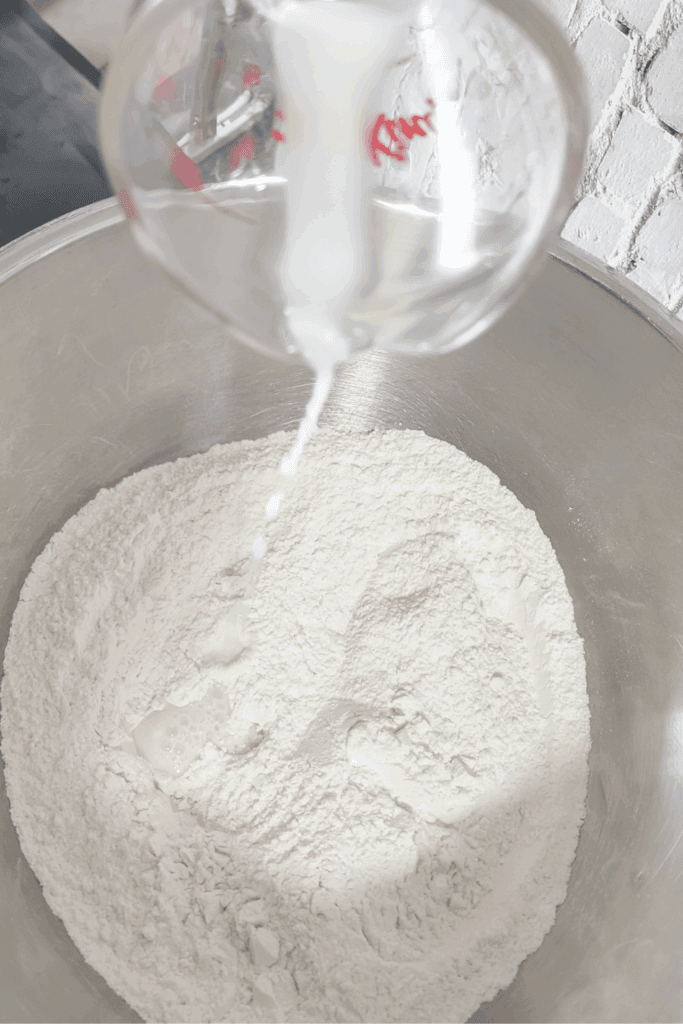
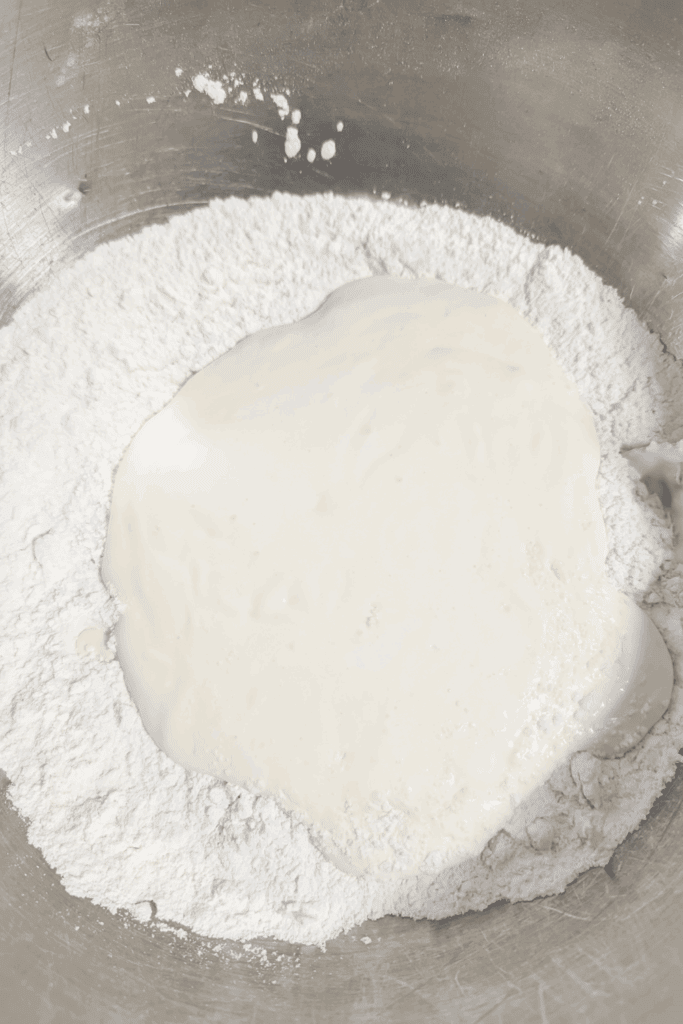

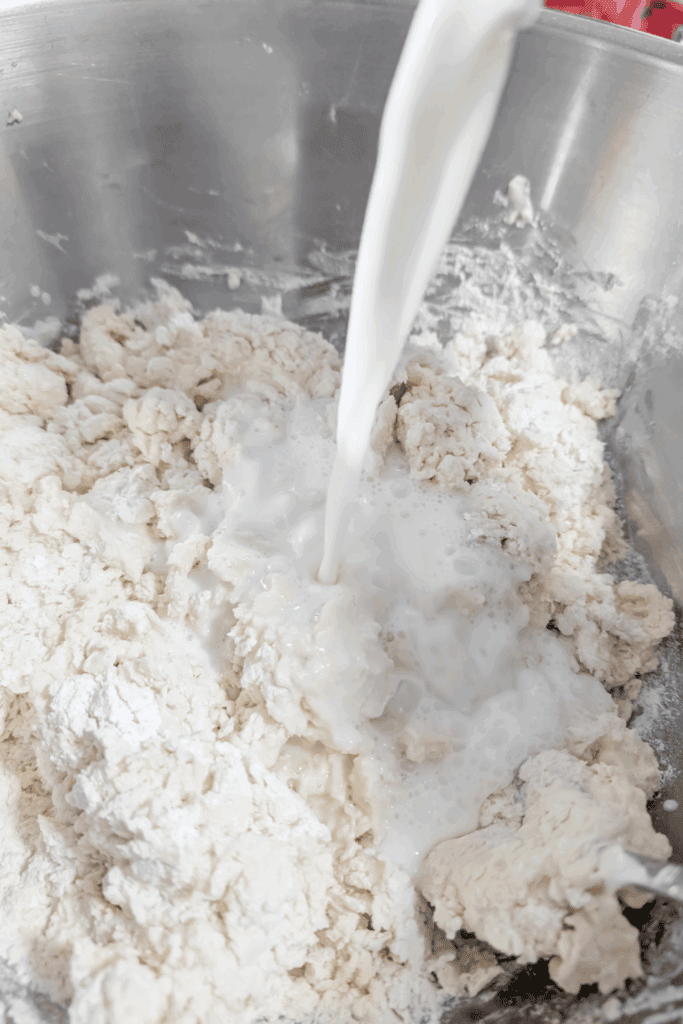
Once the bread batter is blended, it turns into a thick, sticky batter—exactly what we want. Be sure to scrape the sides of the bowl as you work.
Now it’s time for the fun part—folding in the good stuff. Add in your finely chopped or cubed ham (whatever you’ve got, even leftover holiday ham works), your greens (either the green part of a leek or a good handful of finely chopped spinach), and a generous amount of grated cheddar. Stir gently to combine, just until everything’s spread through the dough. If the mixture looks too wet or loose, sprinkle another tablespoon or two of flour. Just keep in mind: the more flour you add, the firmer and chewier the final texture will be. These are supposed to be soft, so don’t overdo it.
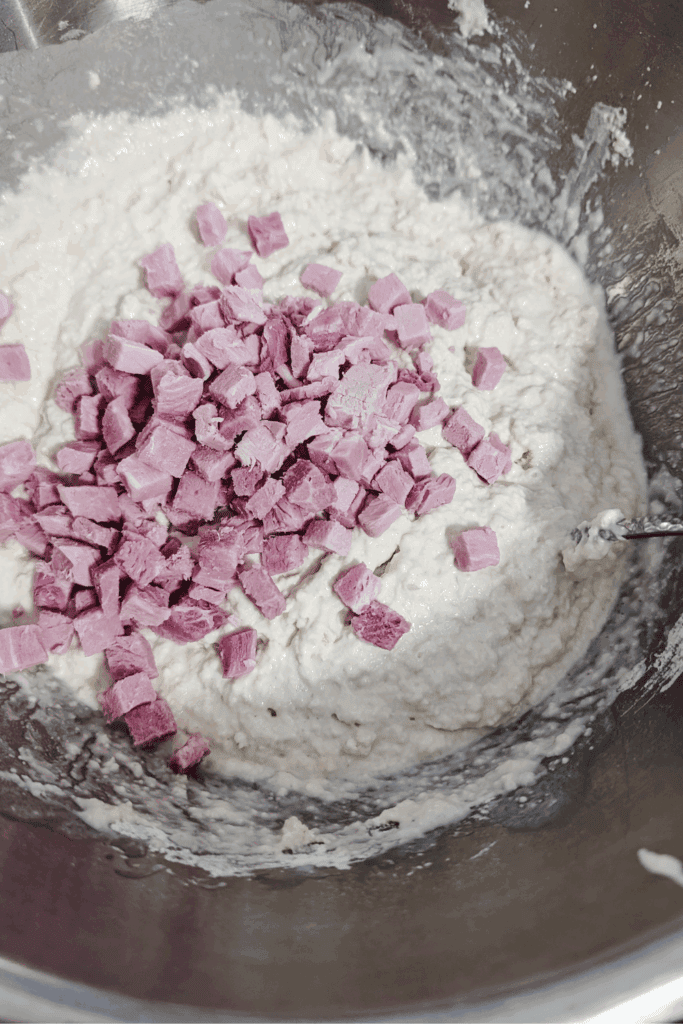

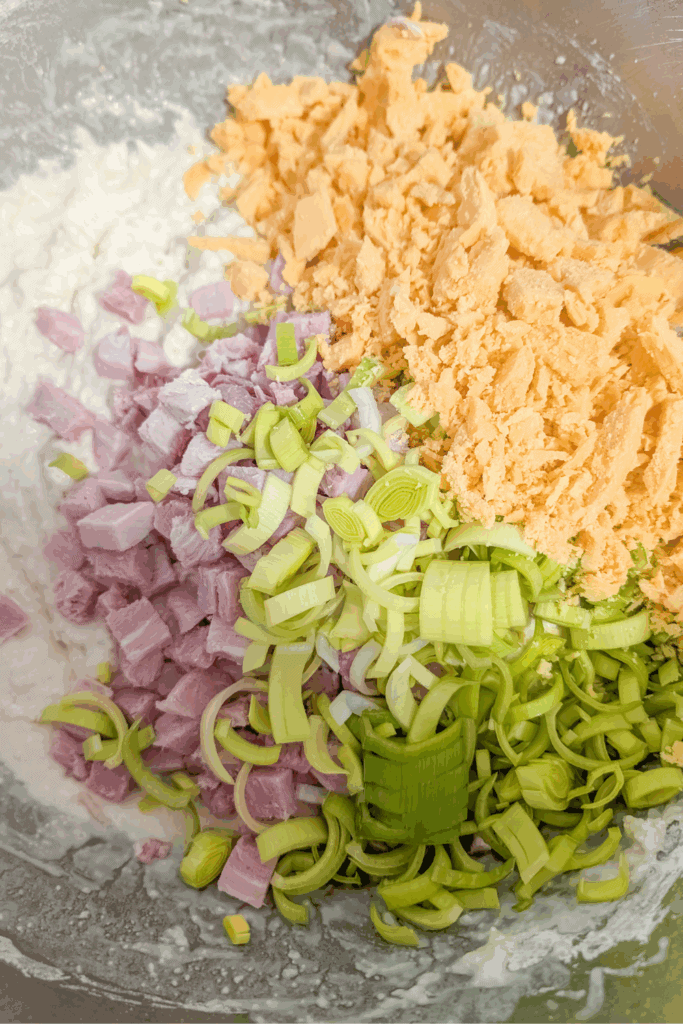
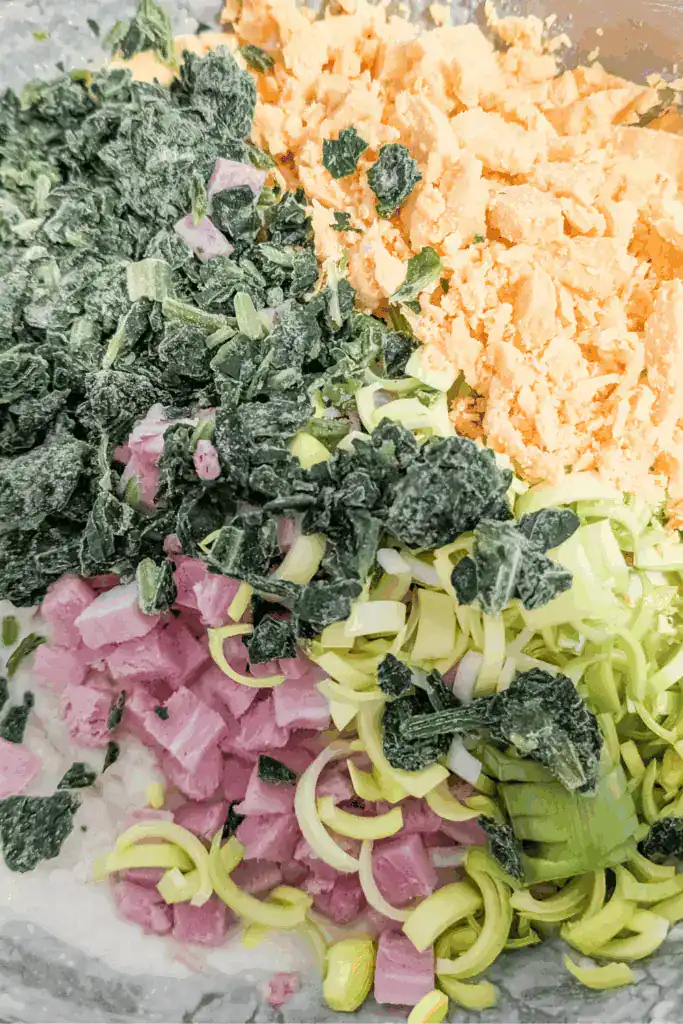
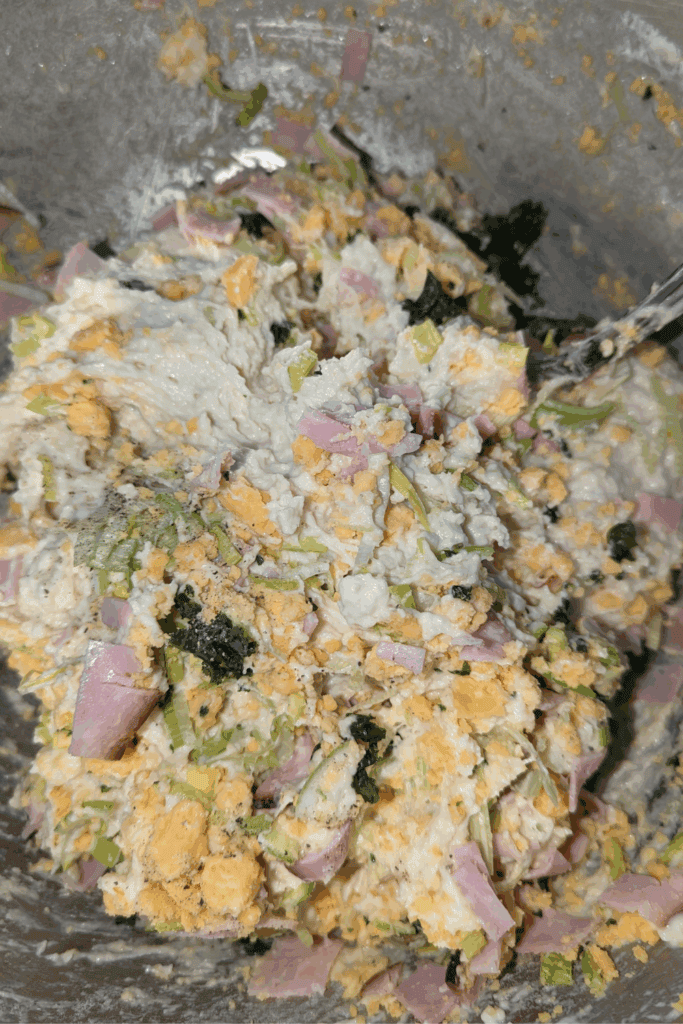

Using two spoons or a cookie scoop, drop the batter in equal blobs onto your parchment-lined baking sheet. They’ll puff up nicely as they bake but don’t spread much—leave an inch or so between each. You can make them big or small, depending on whether you’re going for full-sized buns or smaller rolls for brunch or snacking.
Slide the baking tray into the preheated oven and bake for 15 to 20 minutes. You’ll know they’re done when the tops have a nice golden brown crust and spring back when you gently press them with your finger. Once out of the oven, let them cool on a wire rack for a few minutes before serving. That’s it!
These buns are best enjoyed fresh from the oven when the melted cheese and ham are warm. However, they do make a satisfying cold bun as well. Due to the meat and cheese, you must store them in the fridge.
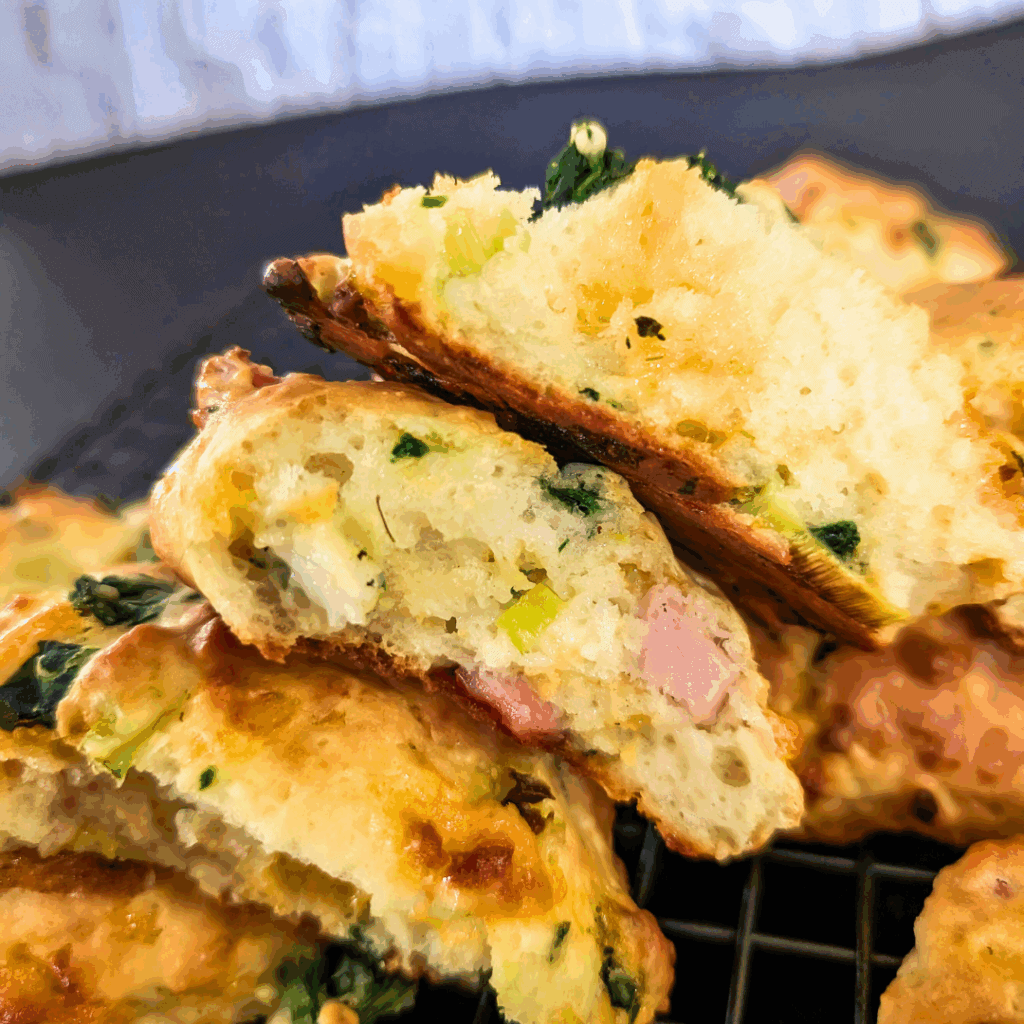
Ingredients:
These savory drop buns use sour cream, ham, leeks, spinach, and sharp cheddar for a soft, tender texture with plenty of savory flavor and no rolling or shaping required.
All-purpose flour: Provides the structure for the buns while keeping the texture soft and biscuit-like.
Baking powder: Helps the buns rise and creates a lighter, fluffier texture.
Sugar: Adds a small amount of sweetness, helps retain moisture, and encourages a little golden color as the buns bake.
Salt: Enhances the savory flavors of the ham and cheese.
Large eggs: Add moisture and structure, helping the dough hold together once baked.
Sour cream: Adds richness and tang while helping keep the buns tender and moist.
Baking soda: Works with the other ingredients to add lift and help create a lighter crumb.
Water: Used to dissolve the baking soda before it is mixed into the dough.
Milk: Adds moisture and helps create the smooth, scoopable consistency needed for drop buns.
Savory ham: Adds salty, meaty flavor. Deli ham, cubed leftovers, or baked holiday ham all work; chop it finely so it distributes evenly.
Leeks: Add a mild onion flavor that softens as the buns bake. Use the green part, wash it well, and slice it finely.
Spinach: Adds color and a mild vegetable flavor without overpowering the ham and cheese. Chop it finely before adding.
Cheddar cheese: Adds creamy richness and a sharp cheese flavor. A strong aged cheddar works well here.

Substitutions and Add-Ins for Your Ham and Cheese Buns.
All-Purpose flour: Stick with all-purpose for best results, but if you’re experimenting, a half-and-half mix with whole wheat flour can work—just expect a denser texture. Avoid using cake or pastry flour; it’s too soft for this type of dough.
Baking powder: If you’re out of baking powder, you can make a quick homemade version using 1 part baking soda plus 2 parts cream of tartar. So, for every teaspoon of baking powder needed, use ¼ teaspoons of baking soda and ½ teaspoons of cream of tartar. Keep in mind that this only works if you’re also using an acidic ingredient like sour cream or yogurt in the recipe—which you are here. Don’t skip the leavening altogether, or your buns won’t rise.
Sugar-Remains-
Salt-Remains-
Large Eggs-Remains-But you can use smaller sizes if you have them instead.
Sour cream: Plain Greek yogurt is the best substitute if you don’t have sour cream. It offers a similar tang and creaminess, though the texture may be slightly thicker. You can also use full-fat plain yogurt, but avoid low-fat versions—they can make the buns too watery.
Baking Soda-Remains-
Water-Remains- Dissolving the baking soda in water first gives a better and more consistent result—especially in quick breads like this, where the timing and mixing are short. Please do not skip this vital step, as the result will vary.
Milk: Any milk will work here—whole milk, 2%, or even unsweetened plant-based milk like oats or almonds. Ensure they are unflavored and unsweetened, especially if you make these for savory lunches or brunch.
Savory ham: You can use any cooked ham—deli ham, cubed ham steaks, or even leftover glazed holiday ham. Just be sure to cut it into small, equal pieces so it mixes well and holds together in the dough. I have made this with leftover deli black forest ham slices.
Leeks: Finely chopped green spring onion or shallots are good backups if you’re out of leeks. A red onion will add more bite but works in a pinch.
Spinach: Baby spinach is ideal here, but frozen spinach (thawed and squeezed dry) can also work. If you want to return to the original version, you can also try finely chopped kale.
Cheddar cheese: You can swap in a good Swiss cheese, Havarti, gouda, or even some pepper jack. Mixing different cheeses is a fun way to change things up next time.
Looking for more tasty ways to use this recipe?
- A pinch of black pepper or garlic powder gives the buns a subtle kick.
- For a garden-fresh twist, stir in some chopped herbs like parsley, chives, or thyme.
- Add crumbled cooked bacon or sautéed mushrooms if you’re making these as a weekend treat.
- Shredded zucchini (well-drained) or grated carrot add moisture and color, but don’t go overboard, or the dough can get too wet.
Whatever you add, to keep the dough thick and scoopable, do not use too many ingredients with high moisture content. These cheese bread rolls work best when you stick to low-moisture mix-ins and don’t overload the dough ingredients.
Expert Tips, Serving, and Storage Suggestions For These Homemade Buns
Tip #1: Don’t overmix the dough. Overmixing leads to tough buns. Stir just until everything is combined—this keeps them light and tender.
Tip #2: Use parchment paper. It prevents sticking and gives you evenly baked bottoms with minimal cleanup.
Tip #3: Tip #3: Leave appropriate space on the pan. These buns will relax and spread a little as they bake, so be sure to leave some space between each one on the baking sheet.
Serve these savory ham and cheese buns slightly warm, or pack them up for a delicious bread snack at school or work. They’re perfect for a brunch table, light lunch, or picnic spread. Pair them with a simple green salad, broth-based soup, or scrambled eggs for a balanced meal.
To store, let buns cool completely on a wire rack before placing them in an airtight container. They keep well in the fridge for up to 4 days. For freezing, wrap each in plastic wrap and store in a freezer-safe bag. Reheat in a 350°F oven for 8–10 minutes.
Did you make these ham and cheese buns? I’d love to hear how they turned out! Leave a comment or rating below—and let me know what different cheeses or extra ingredients you used. Your feedback helps others and gives me ideas for what to try next time!
Tasty Baked Ham and Cheese Buns (No Yeast Recipe)

Equipment
- 2 Mixing Bowls
- Measuring Cups
- 1 Tablespoon
- 1 Teaspoon
- 1 baking sheet
- parchment paper
- Mixing Tool
- Cutting board
- knife
Ingredients
- 3½ Cups Flour
- 2 Tbsp Baking Powder
- 4 Tbsp Sugar
- 1 Tsp Salt
- 2 Lrg Eggs
- 2 Cups Sour Cream
- 1 Tsp Baking Soda
- 2 Tbsp Water
- 1 Cup Milk
- 1 Cup Ham Cut Up Uniformly
- ½ Cup Spinach Frozen or fresh chopped
- 1 Cup Leeks The Green Part Washed/Sliced Fine
- 8 Oz Aged Old Cheddar MACLAREN'S IMPERIAL, FROMAGE CHEDDAR FORT, 230 G
Instructions
- In a large mixing bowl measure the flour, baking powder, sugar, and salt. Blend.3½ Cups Flour, 2 Tbsp Baking Powder, 4 Tbsp Sugar, 1 Tsp Salt
- In another bowl measure sour cream and eggs. Mix Well.2 Lrg Eggs, 2 Cups Sour Cream
- Measure the water into a measuring cup and add baking soda.1 Tsp Baking Soda, 2 Tbsp Water
- Mix the baking soda and water mixture into the dry ingredients.
- Add the sour cream egg mixture to the dry ingredients and blend as much as possible.
- Add in the milk stirring just enough to blend. The batter will be sticky.1 Cup Milk
- Chop and measure the deli ham and add in.1 Cup Ham
- Wash and slice the green leek and add.1 Cup Leeks
- Add the spinach.½ Cup Spinach
- Crumble the cheese and add to the bowl. Mix the add-ins altogether.8 Oz Aged Old Cheddar
- Mix only enough to make sure they are incorporated well.
- Line baking sheet with parchment paper.
- Drop the drop muffin batter by the scoopful or large tablespoon well rounded.
- Leave enough room so they don't touch.
- Bake in hot 425℉ oven for 15-20 minutes until golden brown. Tops should spring back when pushed on.
- Remove from oven and cool before serving.
Nutrition


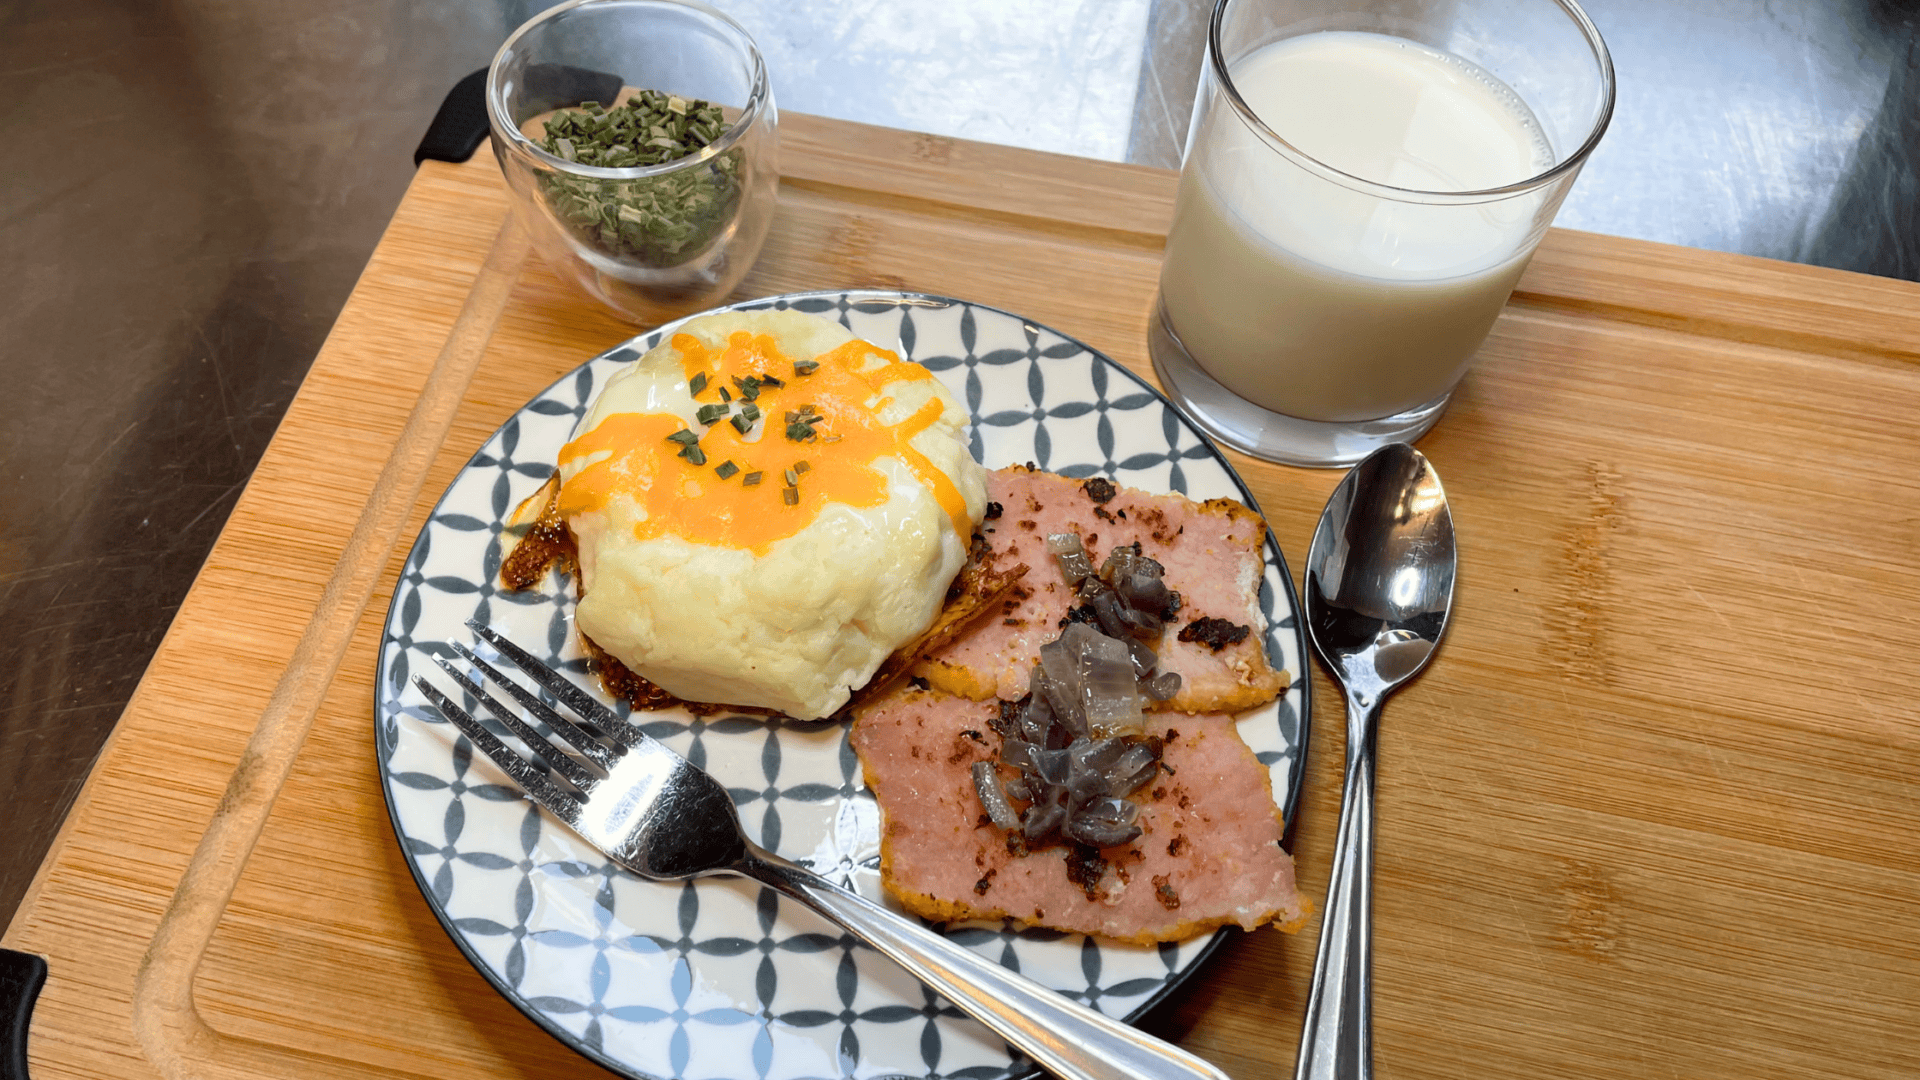


I don’t do sour cream, so I go with Greek yogurt, and oh YES it is a great, satisfying recipe!