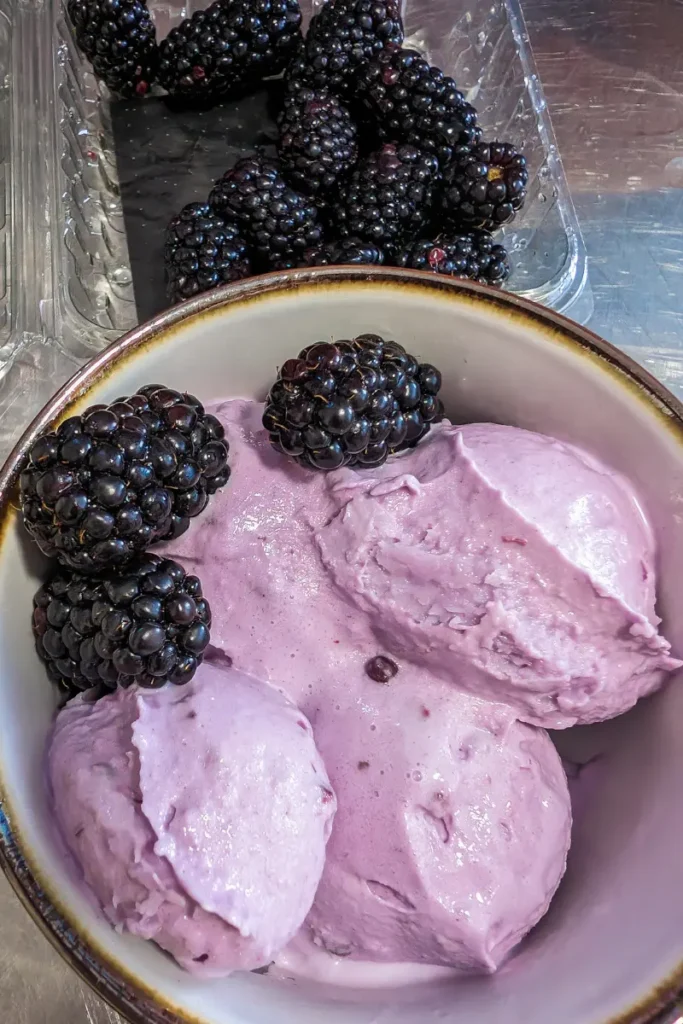
This delightful deluxe Taro and Blackberry churned ice cream is made with the Ninja® CREAMi Deluxe. This tasty summer flavor pairing is simple, with lovely lavender taro powder in the ice cream base and whole blackberries mixed in for a tart burst of summer flavor. Scoop this creamy ice cream into an ice cream dish or onto a sugar cone for a decadent and pretty frozen dessert.
I love the pretty purple hue of taro and wanted to make the subtle vanilla flavor into ice cream. When researching taro as an ice cream flavor, I discovered it’s a classic flavor preferred by a lot of people in parts of Asia. While Asia is home to some blackberry varieties like the Himalayan Blackberry (Rubus armeniacus), I used regular old store-bought blackberries, making this a bit of a North American twist on their classic taro flavor. The burst of fruity flavor from the blackberries adds a refreshing and seasonal twist to the creamy taro base, making it a perfect dessert for warm summer days and evenings.
The ice cream must freeze for twenty-four hours before being churned. Incidentally, although I used my Ninja® CREAMi Deluxe machine to make this ice cream recipe, you can use any churn to make the same flavor. Check the manufacturer’s instructions on adding whole fruits before adding the blackberries on day two.
If you want more excellent churn ice cream recipes, try our strawberry rhubarb tangy ice cream recipe.
Why you will love this homemade taro ice cream
It’s simple. Making ice cream with the Ninja® CREAMi is a simple recipe with fresh fruit and taro powder.
Unique Flavor Combination: Taro has a subtly sweet and nutty flavor with hints of vanilla, which pairs beautifully with the tartness of blackberries.
It can be churned in any machine. So long as you have an ice cream churn as part of your ice cream machine, you can mix this homemade ice cream and enjoy it on a cone or in a waffle bowl.
Let’s get started with the ice cream mixture.
The process for making this ice cream is so simple that you will find yourself returning to the kitchen to make more. The ice cream base is a simple blend of a few ingredients: cream cheese, heavy cream, milk, sugar, and taro powder. The base needs to be frozen in the deep freezer for 24 hours before churning with the Ninja® CREAMi.
Start by heating the cream cheese in a small bowl in the microwave for ten seconds. This will soften the cream cheese, making mixing the sugar and taro easier. If you don’t have a microwave, it’s okay; it may just take a bit more work to make the cream cheese workable.
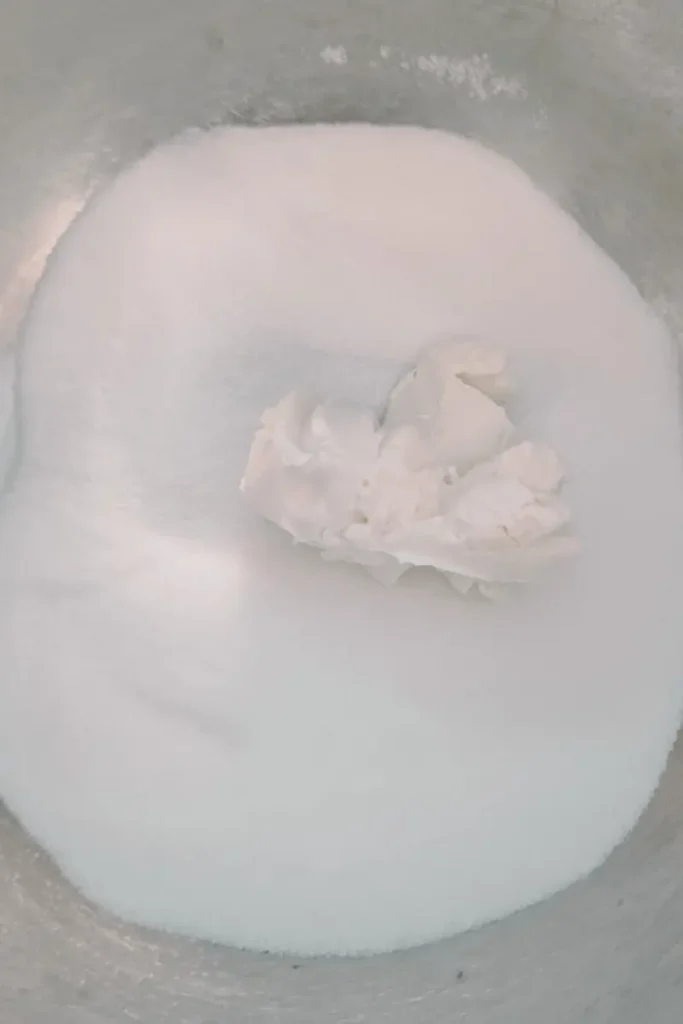
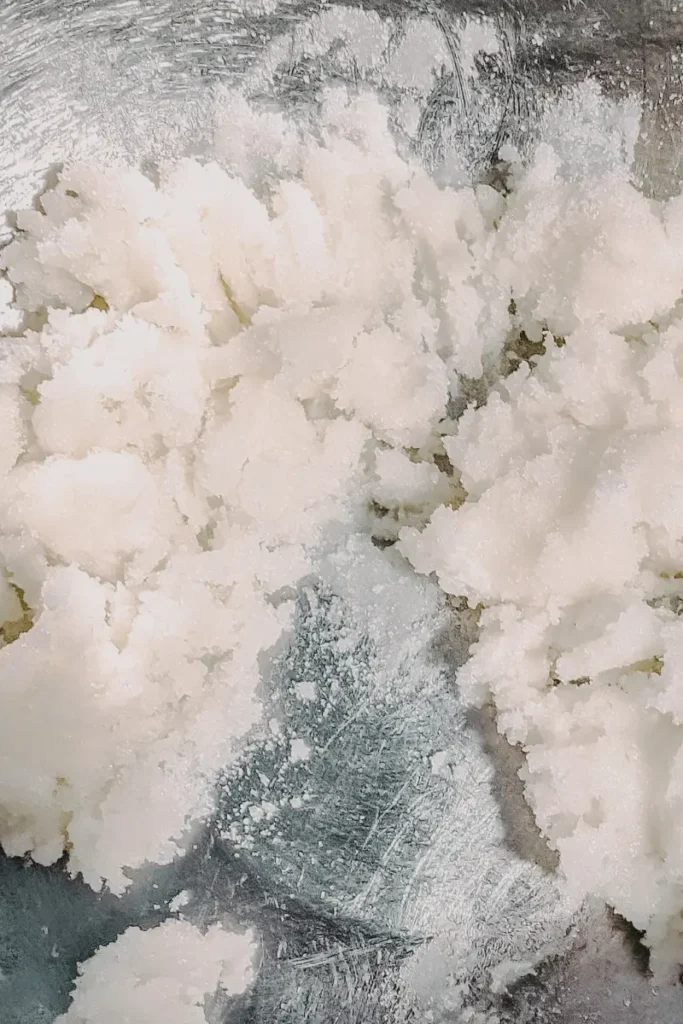
Add the white sugar to the cream cheese and mix it in well. Then, measure and add the taro powder to the bowl. If you are unfamiliar with the lovely lavender taro powder, it’s a product made from the taro root, also known as eddo. The root is a starchy corm suitable as a powder for thickening desserts and drinks. In this case, it will thicken the ice cream and create a luxuriously smooth texture for this pretty ice cream.
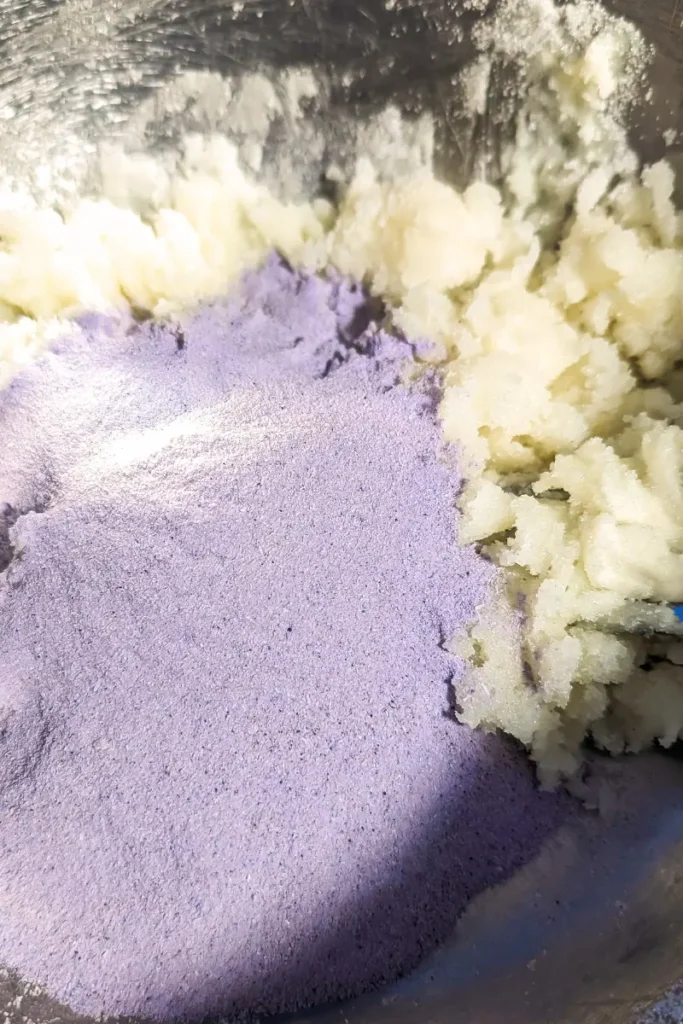
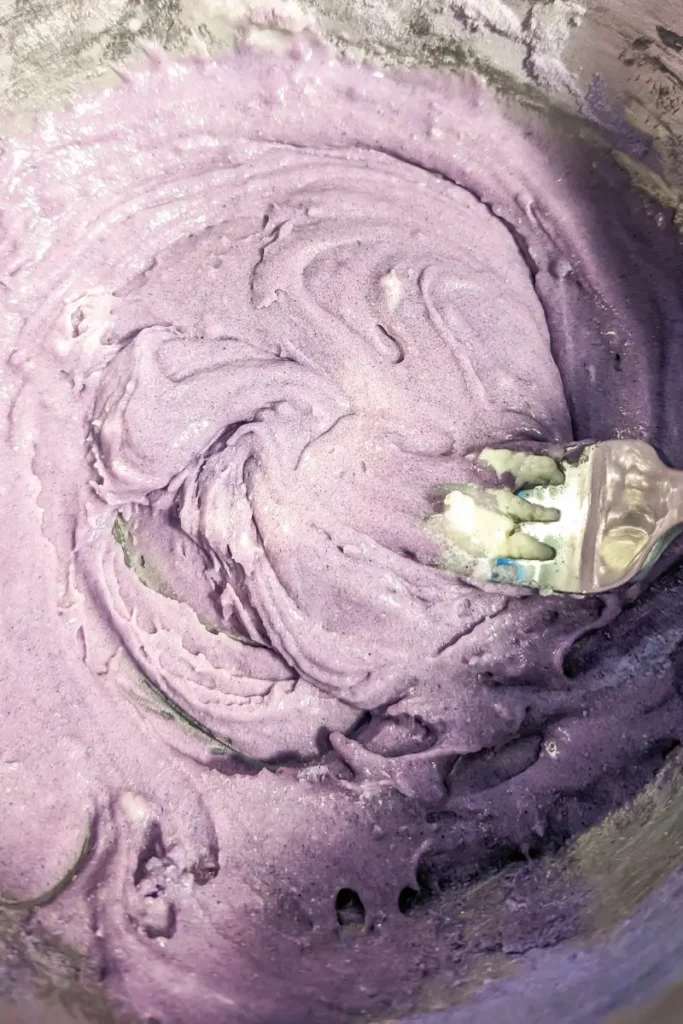
Once you have measured the taro, add the heavy cream and blend well using a whisk or immersion blender. You want the white sugar and the taro to dissolve before adding the milk to the recipe. Lastly, mix the milk in well before pouring into the Ninja® CREAMi pint. Fill only to the max fill line, then put the lid on the pint.
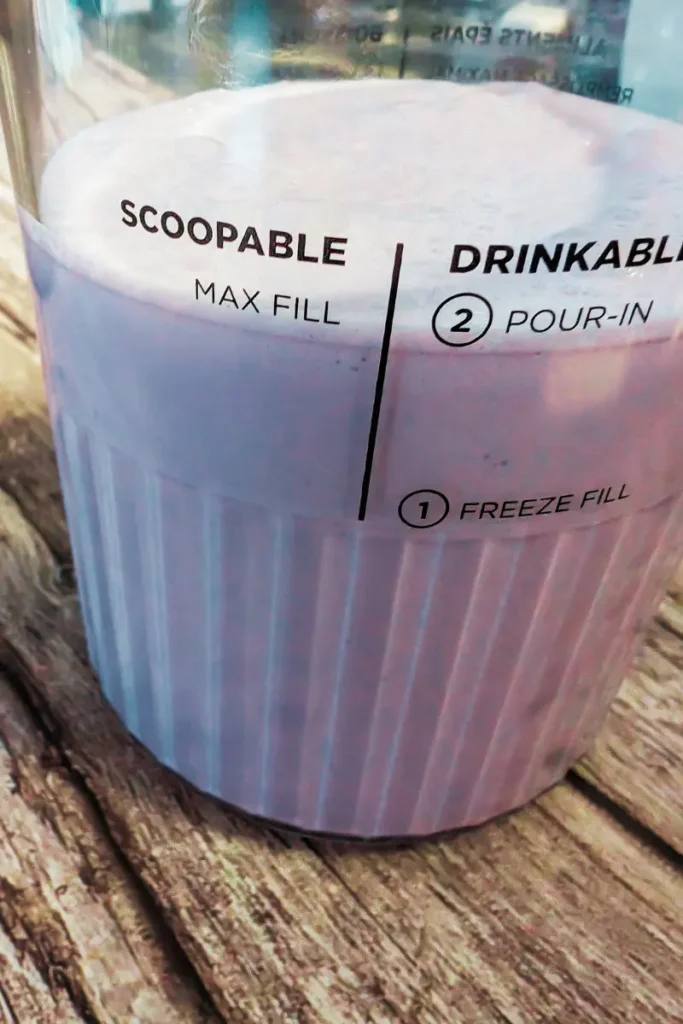
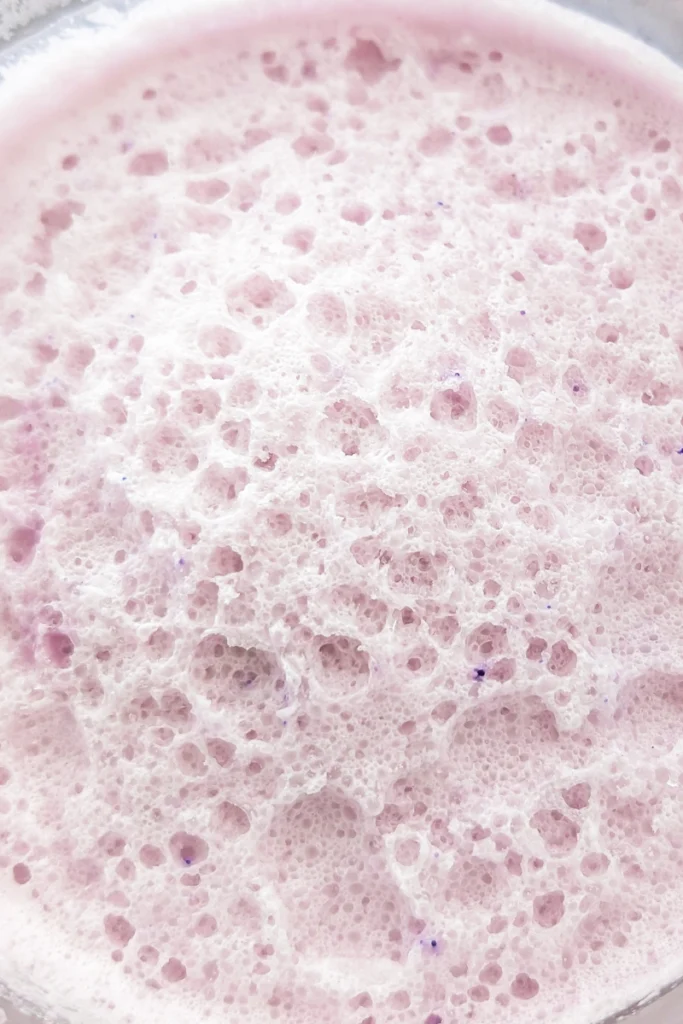
The ice cream freezes in 24 hours as recommended by the manufacturer:
- Remove the pint from the freezer.
- Remove the lid and scrape any lumps or bumps from the surface of the ice cream until it is entirely level.
- Assemble the lid assembly and slip the pint into the outer pint holder.
- Attach the lid with a churning blade, then place the bowl assembly in the Ninja® CREAMi ice cream maker as the instruction manual directs.
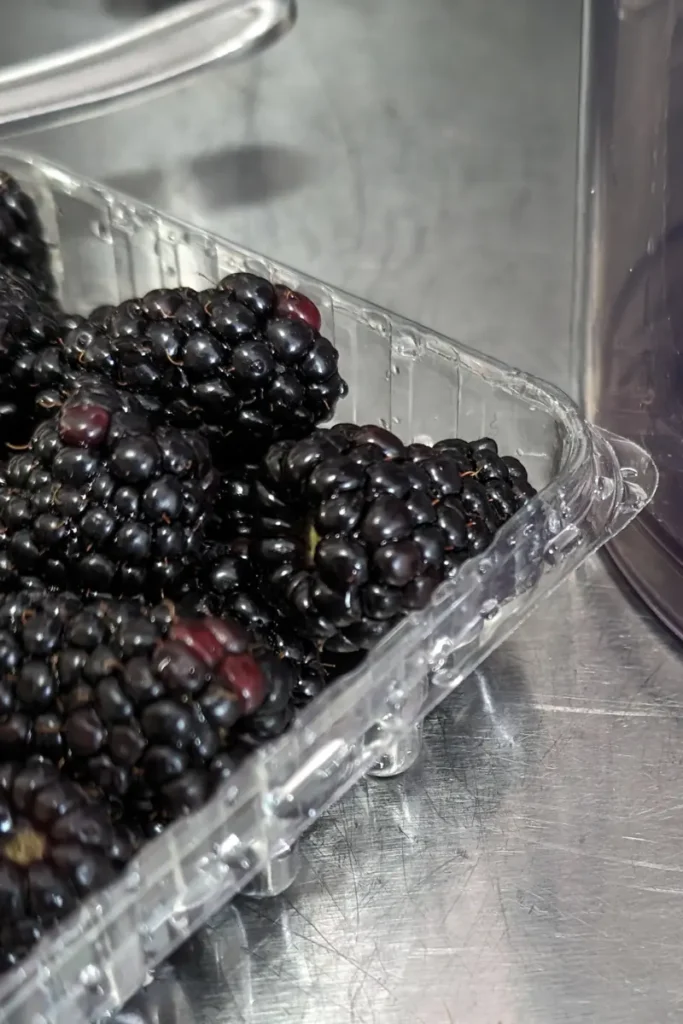
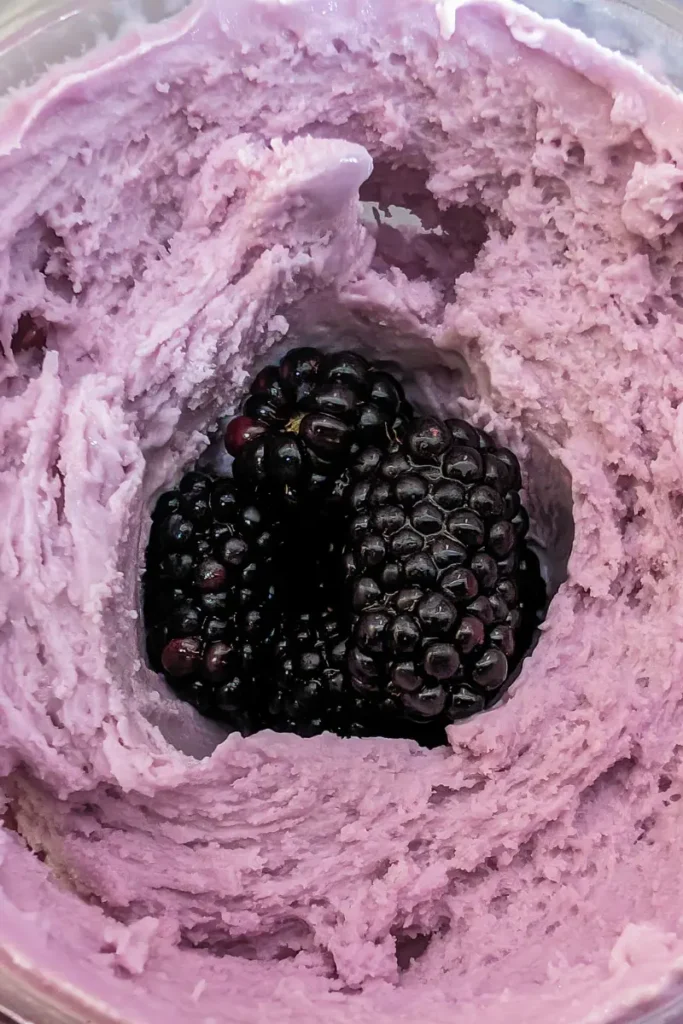
Because we are making this a taro blackberry ice cream, you must follow the mix-in steps for the blackberry portion of the recipe.
- Remove the lid from the pint.
- Scoop out the center so that you have a hole approximately one to one and a half inches around and down to almost the bottom of the pint.
- Wash and dry the blackberries.
- Drop the blackberries into the hole in the ice cream.
- Put the lid back on the pint.
- Place the pint back in the bowl assembly.
- Replace the bowl assembly on the Ninja® CREAMi.
- Select ice cream and then hit the mix-in setting button.
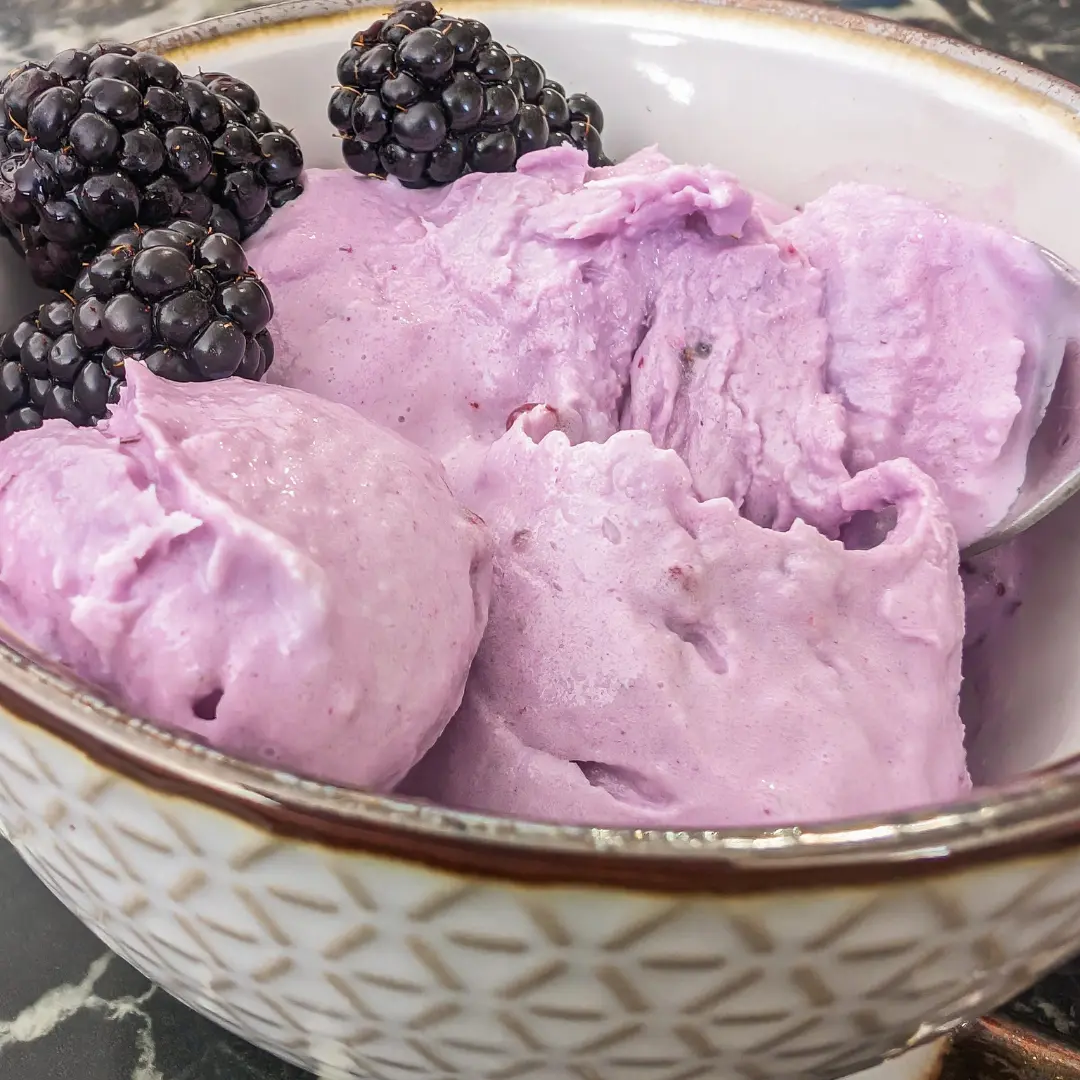
Once the ice cream has churned for the second time, it will be soft. You can refreeze for about an hour and enjoy or serve as is. It’s a delightful vanilla-flavored blend with a pretty color, and bits of berry add a great texture to the ice cream. It’s sure to become one of your favorite summer flavors!
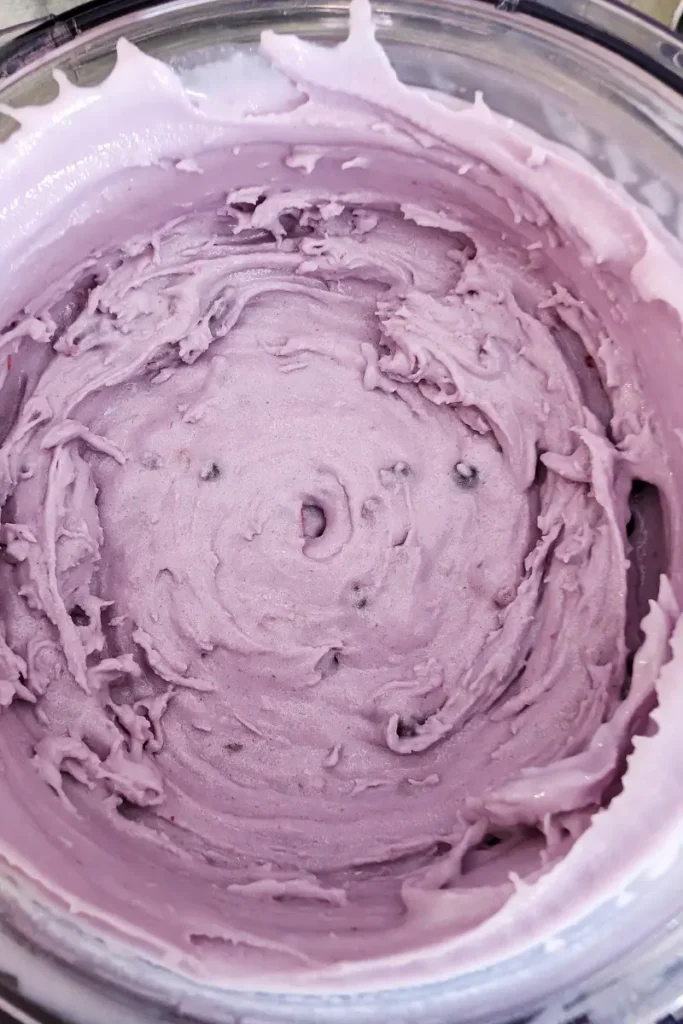
Ingredients:
Cream Cheese: Aside from providing a creaminess to the ice cream base, cheese also contains stabilizers such as emulsifiers, which help prevent the formation of ice crystals in the ice cream. This leads to a smoother and more consistent texture throughout the freezing process and during storage.
White Sugar: This naturally sweetens the ice cream to achieve the desired level of sweetness. Opting for white sugar in your ice cream recipes is also quite cost-effective.
Taro Powder: The taro flavor is not overpowering but adds a unique depth and richness to the frozen dessert. Additionally, the taro powder lends a velvety texture to the ice cream, enhancing its smoothness and creaminess.
Heavy Cream: The fat in heavy cream helps to stabilize the ice cream mixture and create a smooth, uniform texture. The heavy cream prevents the formation of noticeable ice crystals, resulting in a creamy consistency throughout the ice cream.
Milk: I used whole milk to lighten the resulting ice cream. Using just heavy cream produces denser ice cream. The milk in this taro blackberry ice cream reduced the flavor of the heavy cream, allowing the taro and blackberry to shine.
Fresh Blackberries: By incorporating fresh, ripe blackberries into taro ice cream, you capture summer’s essence in a delightful frozen treat. The burst of fruity flavor from the blackberries adds a refreshing and seasonal twist to the creamy taro base, making it a perfect dessert for warm summer days and evenings.
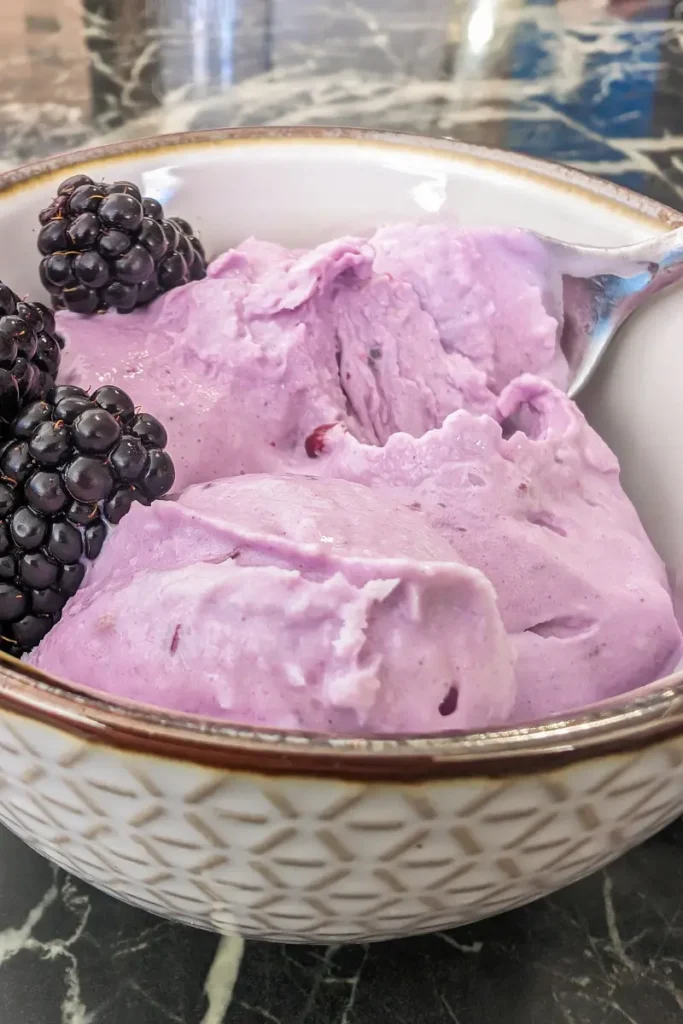
Substitutions and Add-Ins For This Churn Ice Cream Recipe:
Cream Cheese: Only some people enjoy using cream cheese in their ice cream base. If you are on the fence about it, you can test it using mascarpone cheese. Mascarpone cheese is rich and creamy, similar to cream cheese, but with a slightly milder flavor. It can provide the same creamy texture and richness as the ice cream base. Alternatively, silken tofu can be blended into a smooth and creamy consistency and serve as a dairy-free alternative to cream cheese.
White Sugar: While you can experiment with other sweeteners, I suggest sticking to white sugar for simplicity. Initially, I found the amount excessive when following the Ninja® CREAMi instructions for the first time. However, I realized this homemade ice cream is rich and indulgent, so you’ll likely consume less than store-bought ice cream, which often contains more air.
Taro Powder: This ingredient creates a lovely lavender hue and flavor in the ice cream’s base. It cannot be substituted.
Heavy Cream: Opting for dairy products with higher fat content yields smoother ice cream, as the fat envelops the ice crystals. If you prefer, you can substitute low-fat milk or dairy alternatives with lower fat content.
Milk: You can replace this with non-dairy alternatives if you are vegan. Test reconstituted powdered milk in your recipe if you want convenience and affordability when making ice cream at home. This has a neutral flavor, allowing it to take on a variety of flavors. Remember to experiment with different ratios and reconstitution methods to achieve your ice cream’s desired texture and taste.
Fresh Blackberries: If fresh berries are unavailable, frozen ones can be used as an alternative. It’s advisable to let them thaw completely before blending.
Expert Tips, Serving and Storing Suggestions:
Tip #1: Pre-Chill Ingredients: Ensure all ingredients, especially the base mixture and fruit purees or mix-ins, are thoroughly chilled before churning. It will help the ice cream to freeze faster and will result in a smoother texture.
Tip #2: Avoid Overfilling: Refrain from filling the freezing container of your Ninja® CREAMi. Overfilling can inhibit proper churning and lead to uneven freezing. Leave some space at the top to expand as the ice cream freezes.
Tip #3: Dry Blackberries: Always wash and pat dry fresh fruits before adding to an ice cream to be churned. The excess moisture their juice adds to the ice cream will affect its consistency. Adding extra moisture from water on washed fruit can result in unpleasant ice crystals forming if it’s returned to the freezer.
This taro blackberry churned ice cream will become one of your favorite flavors this season; it’s light and refreshing. Making your own ice cream at home will become an addiction since it only takes a couple of minutes to whip up before freezing! Like this fantastic recipe, it’s hard to beat the ability to make any flavor combination you desire with creamy, luxurious results. Enjoy the sweet flavor of this lavender ice cream on a cone in a bowl. Next time, serve a fresh stack of pancakes topped with a big scoop of this berry ice cream. Because it’s fruit, cream, and sugar, it makes a great dessert topping!
Store uneaten ice cream in the freezer in the original Ninja® CREAMi pint so you can rechurn it as needed. This ice cream is all-natural with no preservatives, so it will only keep in the freezer for two weeks. I doubt it will last that long, though, as it’s such a sweet guilty pleasure.
Did you try this beautiful ice cream flavor? I would love to hear how it turned out for you. Please leave a comment below and if you have an ice cream flavor that you would like to have tested be sure to reach out!
Easy Lavender Taro & Blackberry Ice Cream Churned In Ninja Creami Machine
Equipment
- 1 Ninja Creami Pint
- 1 Small Bowl
- 1 Medium Mixing Bowl
- Whisk Or Immersion Blender
- 1 Tablespoon
Ingredients
- 2 Tbsp Cream Cheese Softened 10 Seconds In Microwave
- ½ Cup White Sugar
- ¼ Cup Taro Powder
- 1 Cup Heavy Cream 35%
- 1 Cup Whole Milk 3.25%
- ¼ Cup Blackberries
Instructions
- Add the cream cheese to a small mixing bowl and microwave ten seconds.
- Put the cream cheese and white sugar in medium mixing bowl and blend well.
- Add the taro powder and heavy cream whisk until taro and sugar dissolve.
- Add the whole milk and mix well.
- Pour to the max fill line in the Ninja Creami Pint and put lid on.
- Freeze, level in freezer for 24 hours.
- Remove lid from the pint and scrap the ice cream level.
- Follow manufacturers instructions to churn with ice cream maker.
- Remove the pint from the bowl assembly and scoop out hole in center of ice cream. Approximately a half inch to one inch wide and down to the bottom of the pint.
- Fill hole in ice cream with the blackberries and return to the ice cream machine.
- Set Ninja Creami machine to ice cream setting and select the mix-in option.
- Let machine do it's magic. Serve ice cream right away or refreeze to desired firmness.