Tim Hortons Pumpkin Spice Muffins Copycat
These Tim Hortons Pumpkin Spice Muffins are my homemade copycat version of the seasonal favorite, with a moist pumpkin spice crumb and creamy cream cheese center. The bakery-style muffins bake with tall domed tops and are finished with crunchy salted pumpkin seeds (pepitas). They make a practical fall bake for Thanksgiving brunch, harvest gatherings, or serving with coffee when pumpkin spice season rolls around.
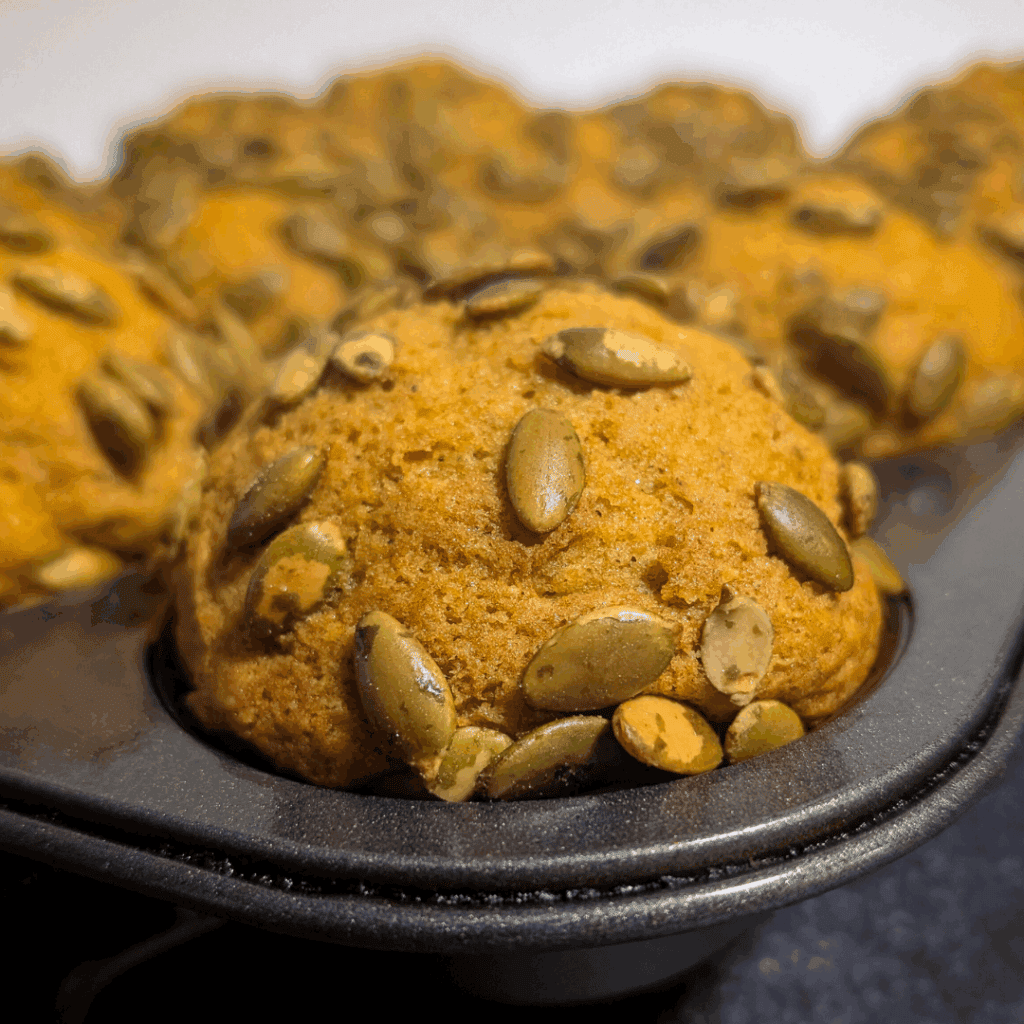
These pumpkin cheesecake muffins are my homemade take on the Tim Hortons Pumpkin Spice Muffin, with a soft pumpkin spice crumb, sweet cream cheese center, and salted pepitas on top. They bake with tall bakery-style domes before the cream cheese filling is piped into the center, giving you 18 generously sized muffins from one batch.
Quick Answer
These Tim Hortons-inspired pumpkin spice muffins are soft, moist pumpkin muffins filled after baking with a sweet cream cheese center and finished with crunchy salted pepitas. The recipe makes 18 bakery-style pumpkin cheesecake muffins using canned pumpkin purée and a two-temperature baking method for tall domed tops.
Prep Time:
15 minutes
Bake Time:
25–30 minutes
Method:
Oven-baked with cream cheese filling piped in after baking
Yield:
18 muffins
Texture:
Soft, moist pumpkin crumb with a creamy center and crunchy pepita topping
Best For:
Fall baking, Thanksgiving brunch, coffee breaks, and seasonal gatherings
I made this recipe because I was tired of paying Tim Hortons prices for something I could easily bake better at home. When you’ve grown up baking from scratch, store-bought muffins don’t measure up. And truthfully, buying four muffins at a time for my family adds up fast — so making a dozen and a half at once feels like the brighter and tastier option, plus the bonus of the house smells like fall. It was a no-brainer.
If you’re looking for more pumpkin recipes to pair with these pumpkin cheesecake muffins, try my pumpkin scones with sweet spiced drizzle, pumpkin chocolate chip bundt cake, not a bundt fan? Try my pumpkin layer cake or go for a complementary fall flavor with my easy apple cinnamon biscuit rolls. They’ll round out your fall season baking lineup.
Cost Rating: 🍳🍳 Moderate Cost | High Yield
Cost guideline:
Cost Per Batch: ~$11.25–$11.75
Cost Per Serving: ~$0.63–$0.65 per muffin (based on 18 muffins)
Flour is one of the least expensive ingredients in this recipe when purchased in a larger 10 kg bag for about $15–$20, making the 3 cups needed for the batch well under $1. Eggs cost about $3.80 per dozen, sugar about $3 for a 2 kg bag, and a 2 L bottle of oil costs about $10.
Pumpkin purée is one of the larger costs at about $6.50 for a 796 mL can. The cream cheese adds about $1.50 to the batch, while the pepitas are another noticeable cost at roughly $1.50–$1.60 for the amount used. Even with those higher-cost ingredients, the recipe makes 18 large muffins for about 65 cents each.
Why You’ll Love This Pumpkin Cheesecake Muffin Recipe
Coffee-shop style at home: The pumpkin spice, cream cheese center, and pumpkin seed topping give you the familiar Tim Hortons-style muffin without buying them individually.
Balanced flavors: Sweet pumpkin pie spice meets tangy cheesecake filling, with salty pepitas for crunch.
Cream cheese center: The sweet cream cheese filling is piped into the baked muffin so it runs through the middle without changing the rise of the muffin batter.
Perfect for fall gatherings: A dozen and a half muffins make them ideal for sharing at Thanksgiving or bringing to a harvest table.
Budget Tip:
Canned pumpkin is worth watching for on sale during fall because this recipe uses 2 cups. The remaining pumpkin from a large can can go straight into another pumpkin recipe rather than sitting forgotten in the refrigerator. Pepitas also keep well when properly sealed, so buying a larger package can reduce the cost per batch if pumpkin muffins and fall baking are already in your plans.
Pumpkin Spice, Tim Hortons, and Canadian Food Culture
Pumpkin spice in Canada appears earlier than in the U.S. because our Thanksgiving falls in early October. By late August, lattes, pies, and muffins hit coffee shop menus, marking the real start of pumpkin season.
Tim Hortons has turned seasonal muffins into a tradition. Tim Hortons brings its Pumpkin Spice Muffin back as a seasonal fall item, which is part of why this muffin is so closely tied to the start of pumpkin season in Canada. Their cream cheese-stuffed pumpkin muffins are a favorite — but like most coffee shop pastries, they’re not cheap. For many Canadians, stopping at Tims is less about the muffin itself and more about the ritual that surrounds it.
Making your own copycat version at home ties that Canadian food culture back into your kitchen. You get the nostalgia and the familiar warm spices, but fresher, cheaper, and with your own tweaks. For me, swapping streusel for salted pepitas was the win — a little crunch, a little salt, and a whole lot more balance.
Let’s Get Started Of The Pumpkin Spiced Muffin
Preheat the oven to 425°F. Lightly coat a muffin pan (12 wells) with nonstick spray or a thin film of vegetable oil. Skip the muffin liners if you want that classic bakery crust around the sides.
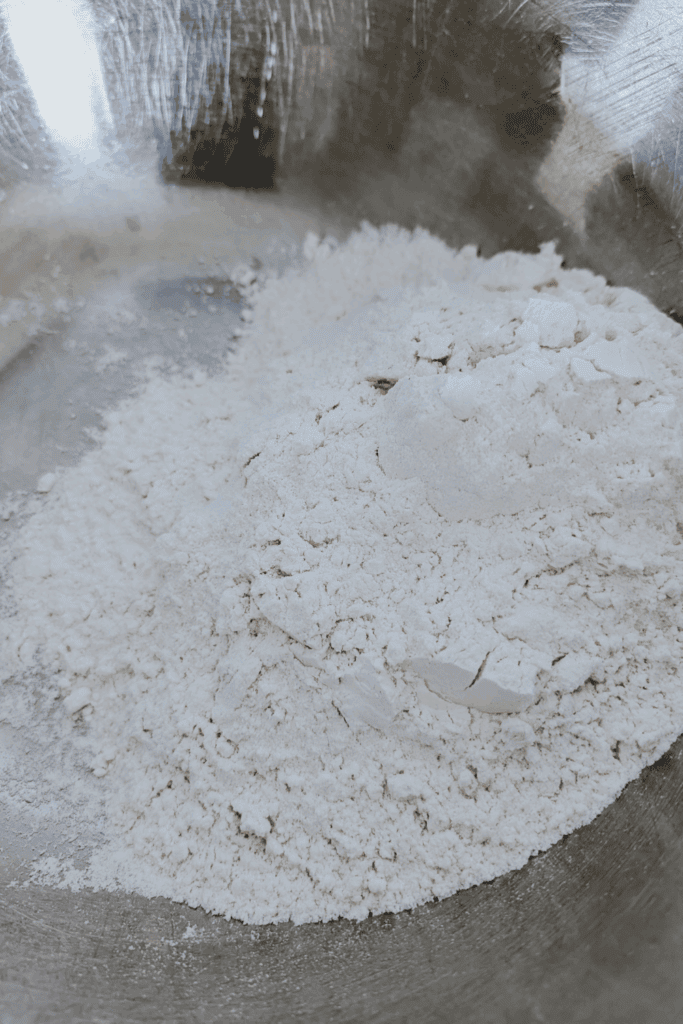
Start with a large bowl, whisk together the dry ingredients: flour, baking powder, baking soda, salt, and pumpkin pie spice (or your preferred pumpkin spice blend).
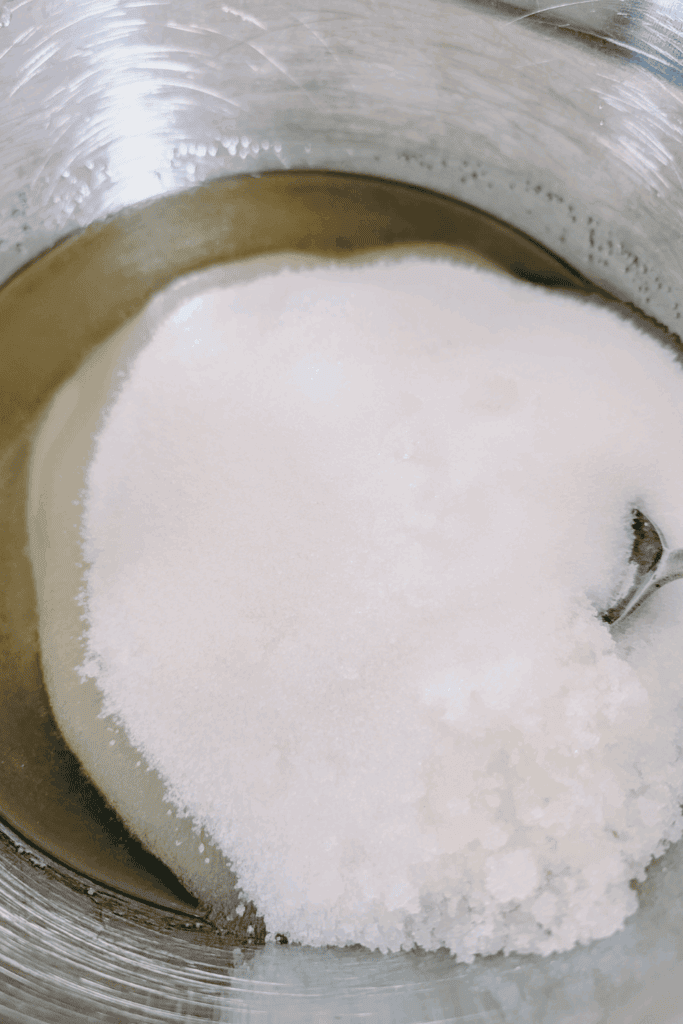

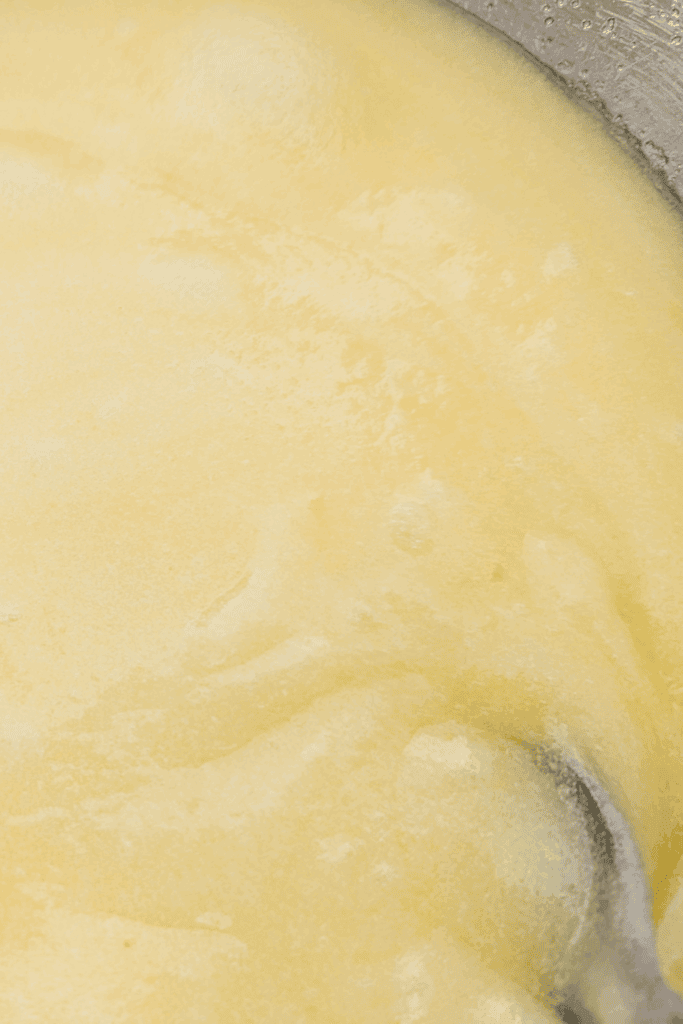
In a separate bowl, whisk the wet ingredients with the sugar—eggs, pumpkin puree, and vegetable oil — until smooth and airy.
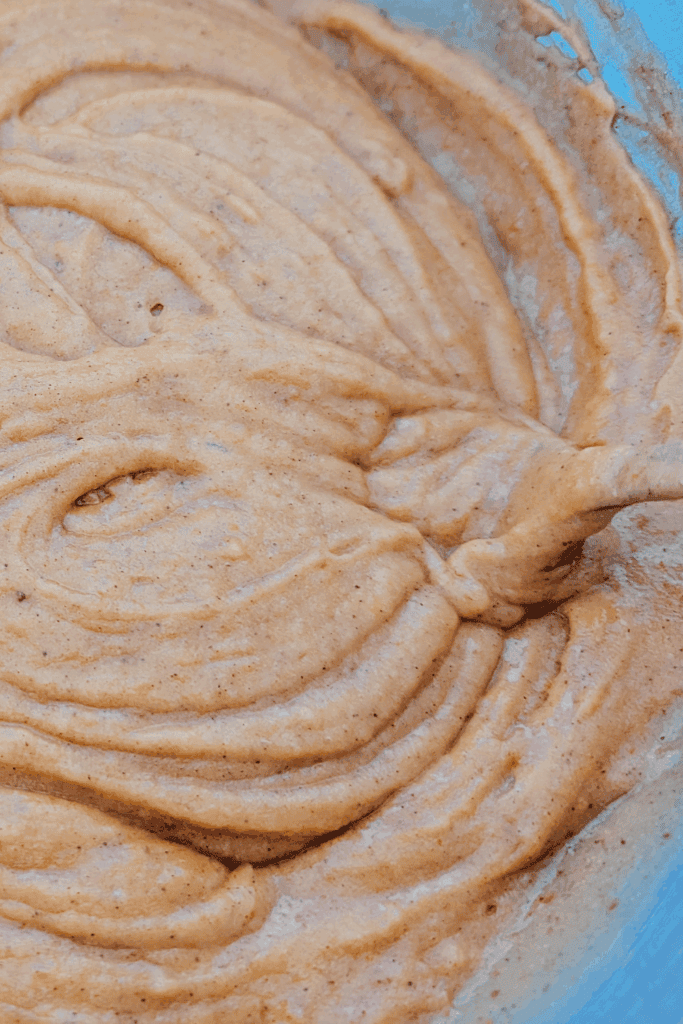
Tip the wet mixture into the dry. Stir gently until well combined. The pumpkin batter is exceptionally smooth and lightly orange-colored, but I promise it’s going to taste amazing and have a nice muffin texture.Fill your muffin tins right to the brim with the pumpkin muffin batter. Once filled, sprinkle about 1 teaspoon of salted pepitas on top of each muffin cup.
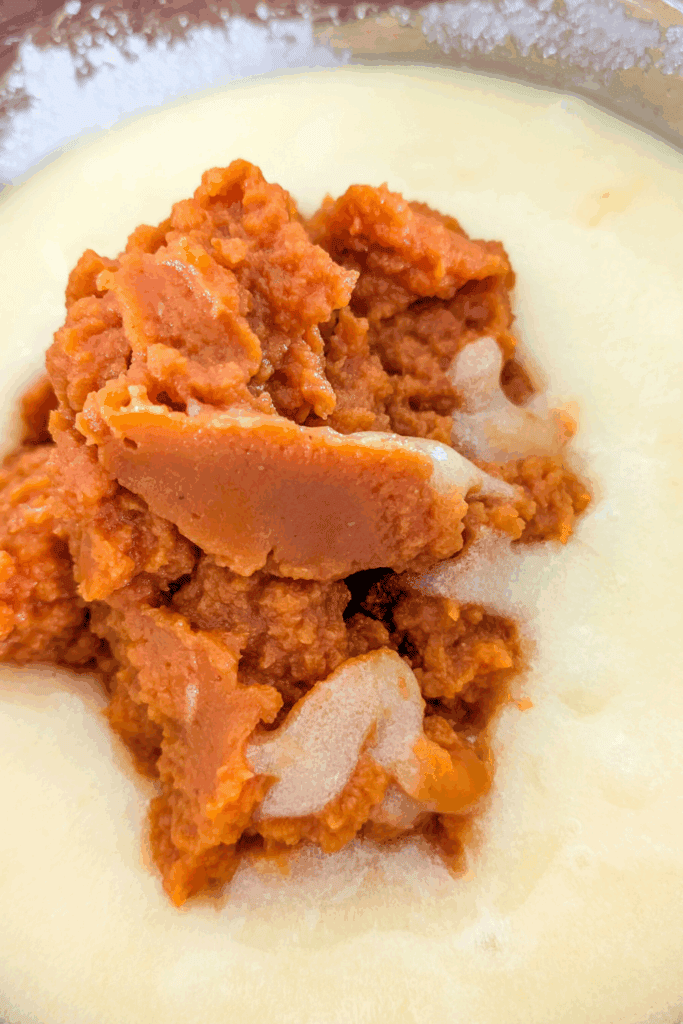
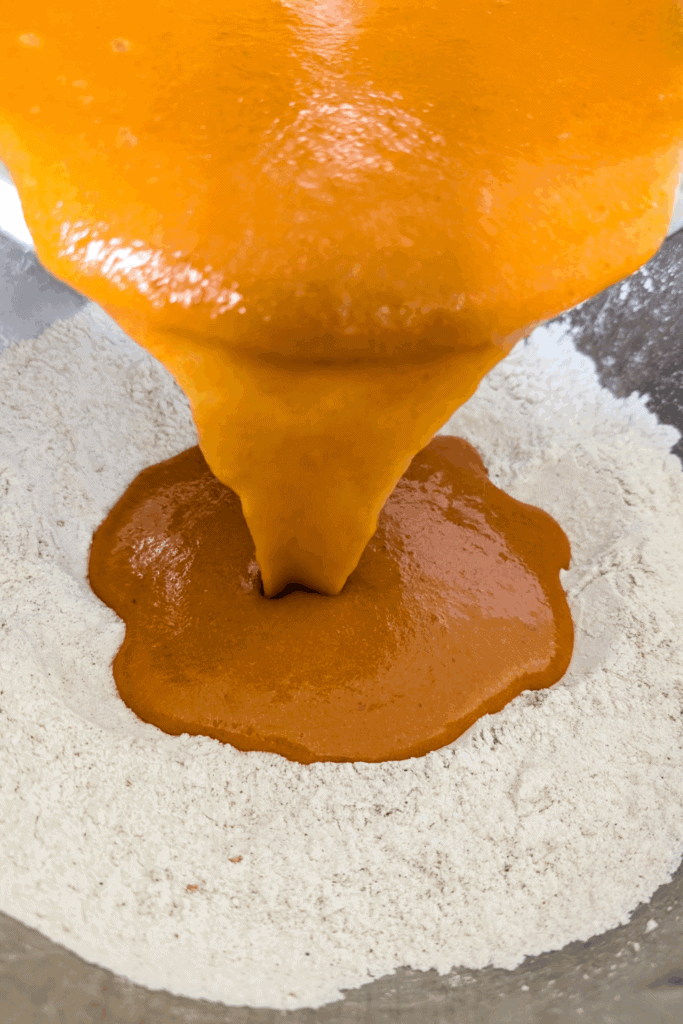
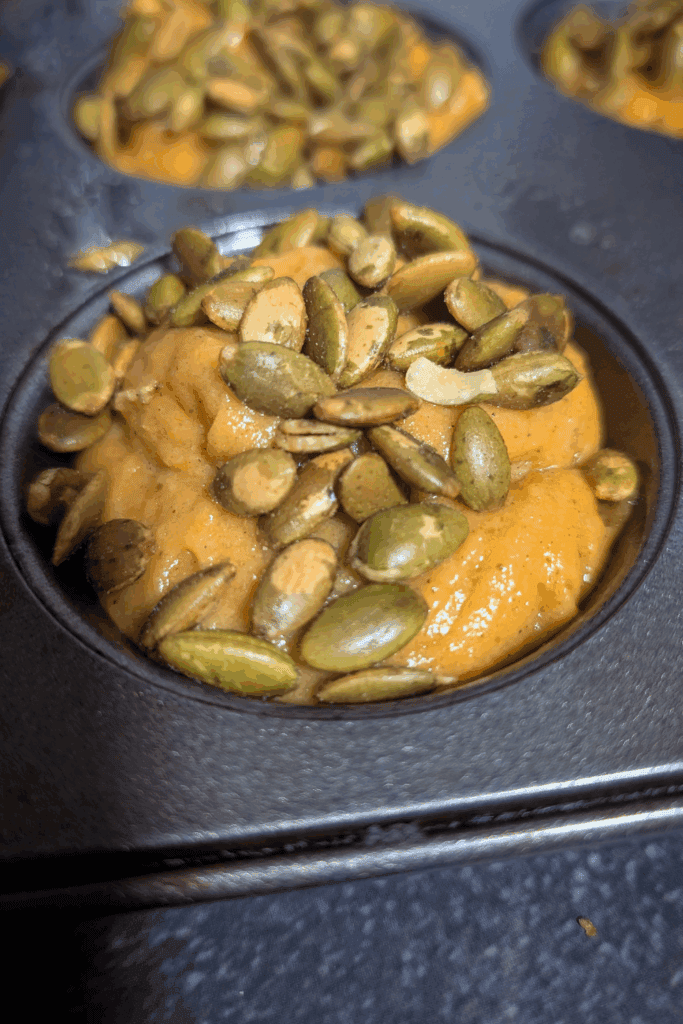
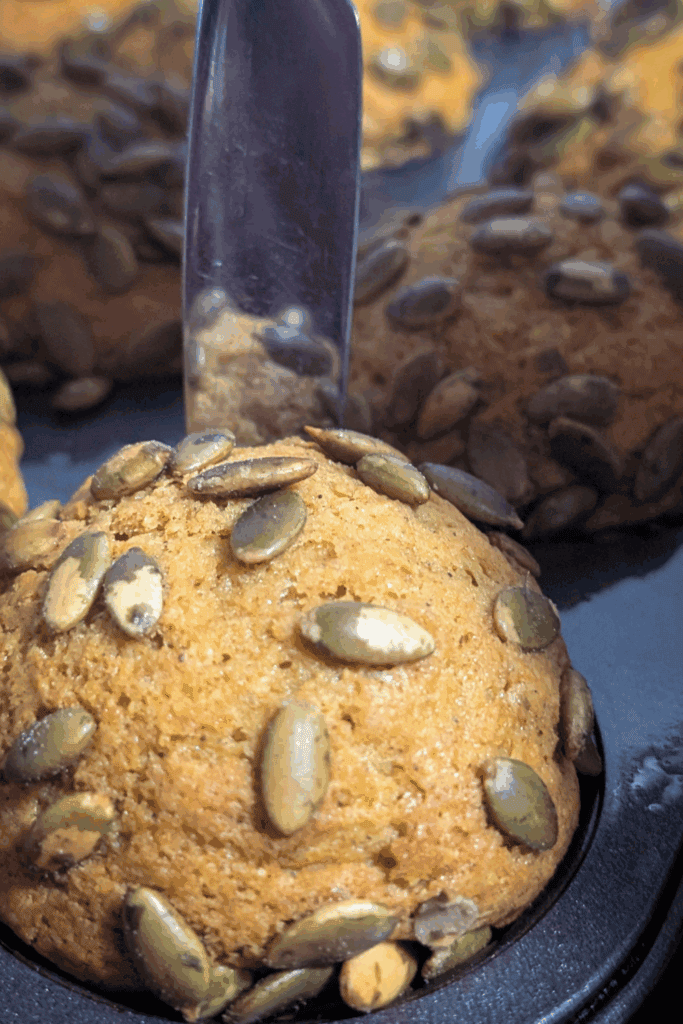
Bake the muffins at 425°F for 10 minutes, then reduce the oven temperature to 350°F and continue baking for 15–20 minutes, until the tops are golden and a toothpick (or, like me, use a butter knife because it has a better coverage area and is super convenient) inserted into the center comes out clean.
More on butterknife testing for doneness: If you’re thinking, whoa, a butterknife? This is old school granny stuff. Yup, slide that knife into the muffin on a downward angle towards the center, starting at the edge of the pan. It’s tried and true. The knife should come out clean if there are crumbs or wet batter then the muffins need a bit more time. Test again after two to three more minutes.
And that butter knife, when it comes out clean, is now going to serve double duty by loosening (if you went paperless) the muffins from the muffin cups. Just slide it in the side of the cup and wiggle it loose. Some will come out better than others. If you have one giving you a hard time, use the knife to lever it out bit by bit, working around the entire muffin. I promise this no-fail trick is going to become your favorite method to get muffins to release from a the tin.


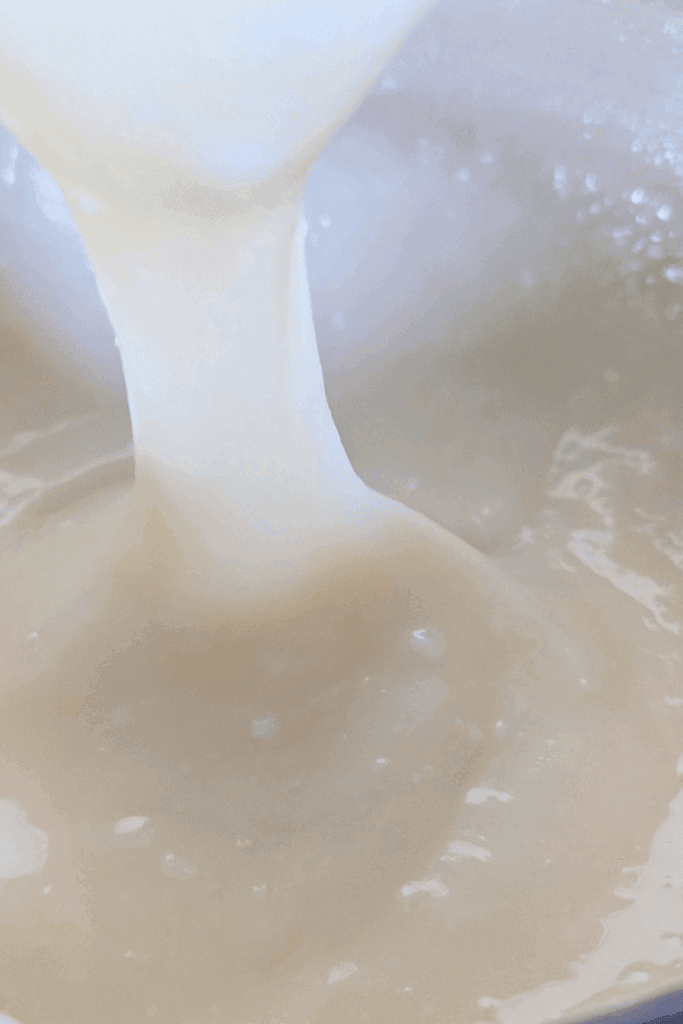
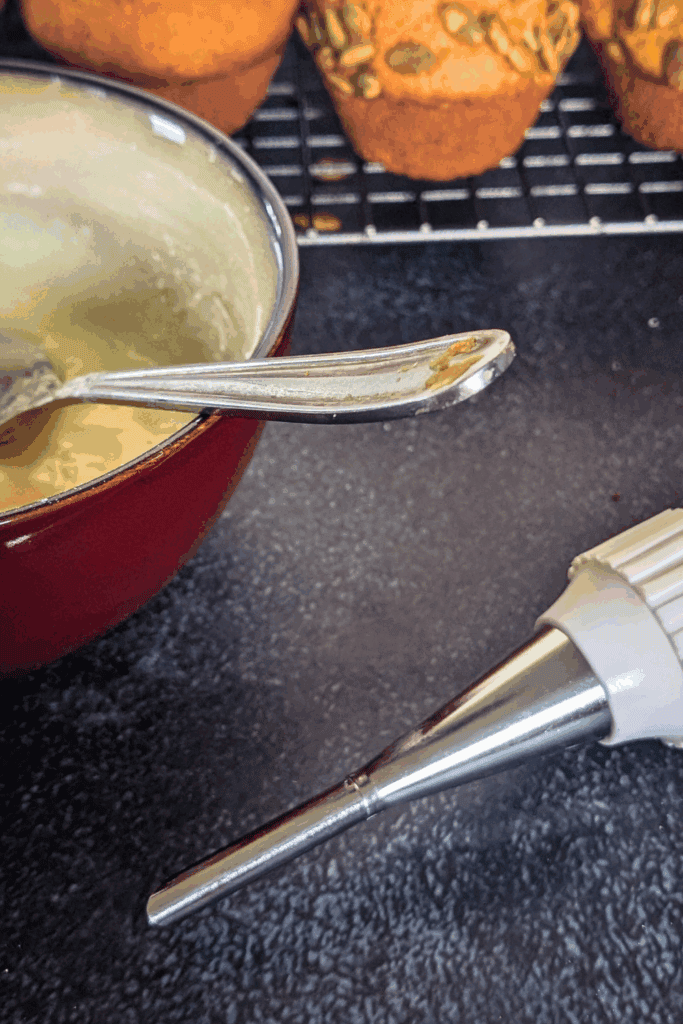
Make the filling in a small bowl: Soften room temperature cream cheese in the microwave for about 30 seconds (to soften, not melt). Beat until smooth, then mix in half the icing sugar. Scrape the sides of the bowl, add the remaining icing sugar, and blend until creamy. The filling should be smooth and creamy but thick enough to hold on the spoon rather than run.
Transfer the cream cheese mixture to a piping bag fitted with a round tube tip (a zip-top bag with the corner snipped works; a freezer bag is sturdier if you don’t have a pastry bag). For less mess, fold the bag in half, fill the bottom first, roll the top back up, and then twist it closed so you can maintain steady pressure.

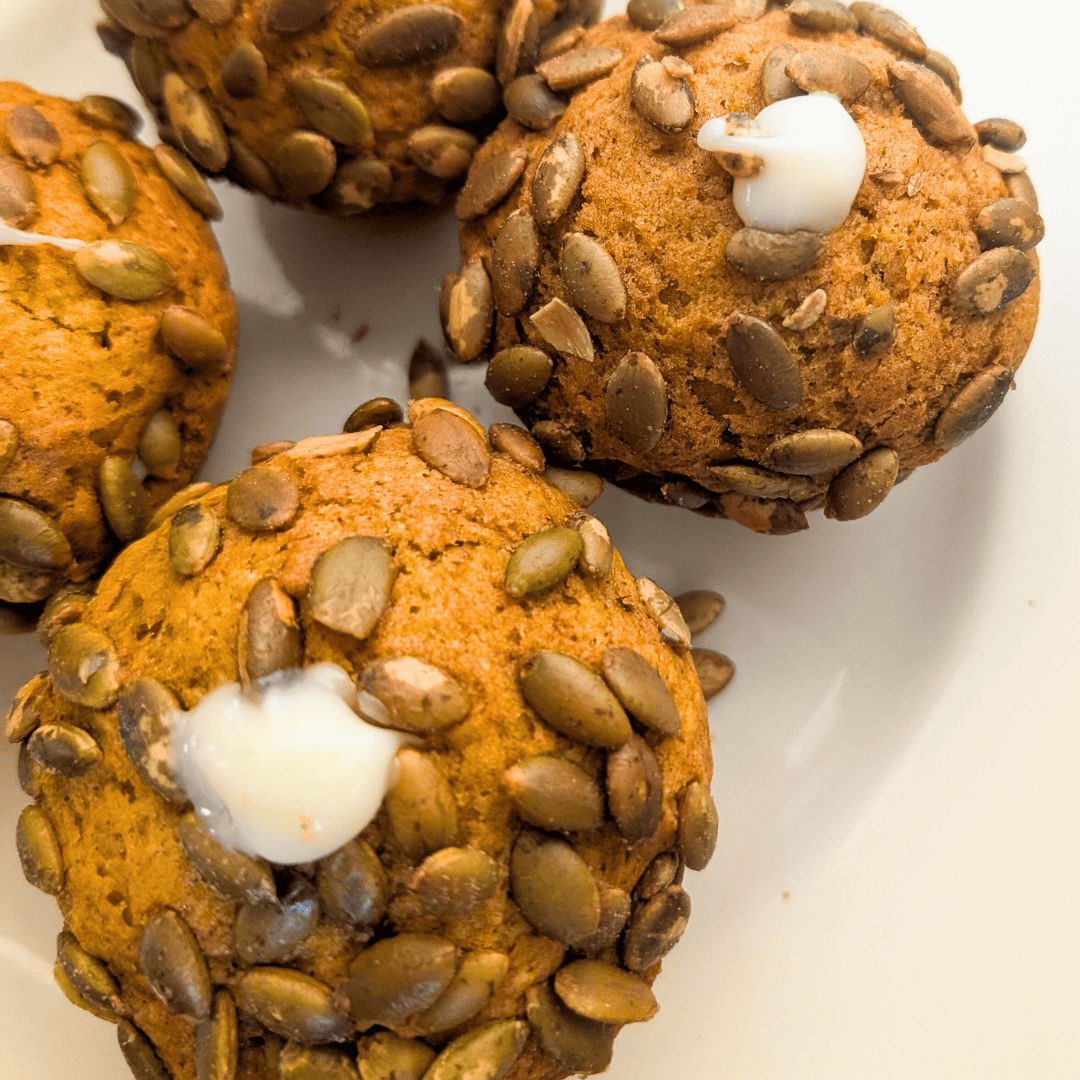
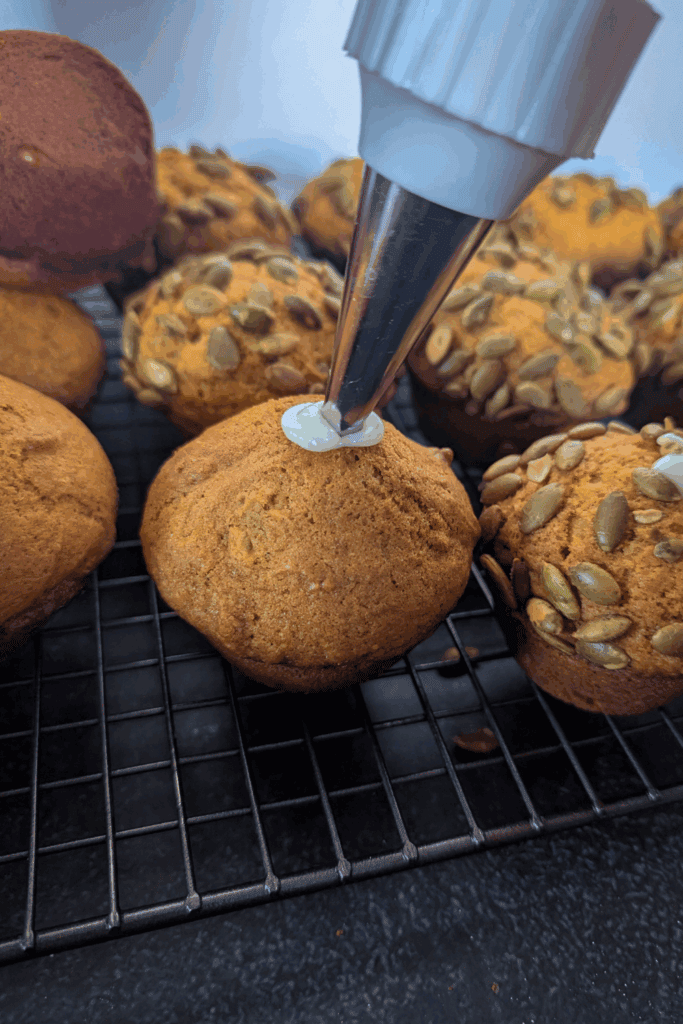
When the muffins are completely cool, insert the pastry tip deep into the center of each muffin. Give a slow, gentle squeeze. Think of it like filling a poke cake — the thin creamy cheesecake filling wants to travel into open spaces. If you push too hard, it will come back up along the insertion point. Go slowly so it spreads into the crumb, then ease the tip back toward the surface while squeezing. Stop near the top — it’s fine if a little sweet cream cheese peeks out.

If baking multiple trays of these cake like muffins, always let the oven preheat back up to 425°F before starting the next batch so you don’t lose your domes.
Ingredients
These muffins use pumpkin purée, warm pumpkin pie spice, and oil for a soft, moist crumb, with a tangy cream cheese center and salted pepitas adding contrast and crunch on top.
Flour: Provides structure so the muffins can rise while remaining tender and helps support the cream cheese filling.
Baking powder: Provides lift and helps the muffins develop tall, rounded tops.
Baking soda: Adds additional lift and helps create a lighter interior.
Salt: Balances the sweetness, enhances the warm spices, and keeps the cream cheese filling from tasting overly rich.
Sugar: Sweetens the muffins and helps create a golden top. This recipe uses three cups, so make sure you have enough on hand before starting.
Eggs: Bind the batter and add richness for a soft crumb.
Pumpkin pie spice: Adds the warm pumpkin spice flavor to the muffins. Most blends include cinnamon, ginger, nutmeg, and cloves, although the exact blend varies by brand.
Pumpkin purée: Adds pumpkin flavor, color, and plenty of moisture. The recipe uses two cups, so one large can provides enough for the muffins with some left over for my ravioli vegetable fall soup.
Vegetable oil: Keeps the crumb soft and moist, even after the muffins have been chilled.
Salted pepitas (pumpkin seeds): Add a crunchy, salty contrast to the sweet muffins. Adding them before baking allows them to toast lightly in the oven.
Cream cheese: Creates the tangy cheesecake-style center that balances the sweetness of the muffin.
Icing sugar (powdered sugar): Sweetens the cream cheese filling and dissolves smoothly for a creamy texture.

Substitutions & Add-Ins For These Pumpkin Cheesecake Muffins
This recipe is not especially flexible when it comes to the ingredients that control the rise and texture, so I would keep the flour, eggs, baking powder, baking soda, pumpkin purée, and cream cheese as written. There are still a few simple changes you can make without changing the basic muffin.
Pumpkin Pie Spice: Use a prepared pumpkin pie spice blend or your usual homemade blend of cinnamon, ginger, nutmeg, and cloves.
Vegetable Oil: Canola or sunflower oil can be used in the same amount. Choose a neutral-flavored oil so it doesn’t compete with the pumpkin spice.
Salted Pepitas: Unsalted pepitas can be used instead. You can also use chopped pecans or walnuts on top if you want a different crunch.
White Sugar: I recommend keeping the white sugar as written for the most predictable texture and rise. Changing a large portion to brown sugar will add additional moisture and can change the crumb.
Cream Cheese: Regular block-style cream cheese gives the filling the consistency used in this recipe. I would not substitute whipped cream cheese because its higher air and moisture content can make the filling softer.
Icing Sugar: Icing sugar, powdered sugar, and confectioners’ sugar are the same ingredient and can be used interchangeably.
Expert Tips, Serving And Storing Suggestions For These Pumpkin Muffins
Tip #1: Get the dome: Start hot at 425°F for 10 minutes; that initial blast creates dramatic lift. Don’t open the door — steam = rise.
Tip #2: Cream Cheese Filling: Use room-temperature cream cheese and mix at a low speed so it’s silky and pipes cleanly.
Tip #3: Clean piping: A proper piping bag (or a sturdy ziplock bag) provides control; go slowly so the filling spreads into the crumb instead of backing up the channel.
These pumpkin cheesecake muffins are perfect for the fall season. For Thanksgiving brunch, I pile them high on a wooden board with apple slices, sharp cheddar, and a big pot of of steaming fresh coffee. For a harvest party, they hold their own on a dessert spread with roasted nuts and grapes, and they look gorgeous with those glossy pepitas. And if you’re gifting, a parchment wrap and twine turn them into the perfect treat for a hostess gift.
Because of the cream cheese filling, these aren’t counter muffins. If you’re serving the same day, cover the muffins loosely with a clean towel to prevent the tops from drying. Otherwise, tuck them into an airtight container and refrigerate up to four days; a quick warm-through at 300°F brings back the fresh-baked feel. For more extended storage, wrap each muffin in plastic wrap, slide it into a freezer bag, and freeze for up to three months.
Reheat from frozen at 325°F for about 15 minutes or thaw overnight. If you prefer true day-of freshness for events, portion the batter into muffin cups and freeze. Bake from frozen, adding a couple of minutes, for the best muffins right when you need them.
FAQ

Tim Hortons Pumpkin Spice Muffins Copycat

Equipment
- Mixing Bowls One Large, One Smaller, One Small
- Tablespoon
- Teaspoon
- Mixing Tool
- Muffin Pan
Ingredients
- 3 Cups Flour
- ½ Tsp Baking Powder
- 1 Tsp Baking Soda
- ½ Tsp Salt
- 3 Tsp Pumpkin Spice
- 3 Lrg Eggs
- 3 Cups White Sugar
- 1 Cup Neutral Oil Vegetable, Canola, Sunflower
- 2 Cups Pumpkin Pureed
- ½ Cup Cream Cheese Softened
- 1 Cup Confectioners Sugar Icing Sugar
- ½ Cup Pepitas Salted and Toasted
Instructions
- Preheat oven to 425°F. Grease a muffin pan with nonstick spray or line with papers.
- In a large bowl, whisk together flour, baking powder, baking soda, salt, and pumpkin pie spice. Blend well, set aside.3 Cups Flour, ½ Tsp Baking Powder, 1 Tsp Baking Soda, ½ Tsp Salt, 3 Tsp Pumpkin Spice
- In a medium bowl, whisk eggs, with oil and sugar until a light airy creamy texture.3 Lrg Eggs, 1 Cup Neutral Oil, 3 Cups White Sugar
- Add the pumpkin puree and blend well.2 Cups Pumpkin
- Add the wet ingredients to the dry ingredients and combine well.
- Divide batter into muffin pan, filling cups right to the brim for bakery-style domes.
- Sprinkle about 1 teaspoon salted pepitas on top of each muffin.½ Cup Pepitas
- Bake at 425°F for 10 minutes, then reduce heat to 350°F and bake 15–20 minutes longer, until domed and golden.
- A toothpick or tester inserted should come out clean (not wet batter).
- Remove from oven and take out of muffin pan letting cool on wire baking rack.
- In a small bowl add the cream cheese and microwave for 30 seconds until soft.½ Cup Cream Cheese
- Add half the icing sugar and mix well. Then add remaining icing sugar.1 Cup Confectioners Sugar
- Transfer filling to a piping bag with a tube style tip (or sturdy zip-top bag with corner snipped).
- Insert tip into the center of each muffin going nearly to bottom. Slowly squeeze while pulling the tip upward so the cream cheese filling spreads through the muffin crumb. Stop near the top — a little cream cheese showing is fine.
- Enjoy warm, or cool completely before storing.
Notes
Nutrition