Easy Popover Recipe in a Muffin Tin
This easy popover recipe makes 24 homemade popovers using ordinary muffin tins and vegetable oil. You don’t need a special popover pan or beef drippings, although you do need a properly heated oven and hot oil to get the batter rising.
I’ve been making these popovers since I was a small child, including years when we cooked on a wood stove. They’ve stayed in our family because they belong on the table whenever we’re having a big holiday dinner. Whether I’m making a whole roast turkey for Thanksgiving or preparing a Sunday roast, popovers are one of those things I always associate with having everyone around the table.
My grandfather on my mother’s side was from Yorkshire, England, so it’s probably not surprising that popovers became part of our family cooking. We still have them at major holidays, including Thanksgiving and Christmas.
I like mine with a very dark outer shell and a moist, dense, eggy interior. Some people prefer to pierce their popovers after baking to let the steam escape, but I generally leave mine alone.
Quick Answer
This homemade popover recipe uses flour, eggs, milk, sugar, salt and vegetable oil to make 24 popovers in regular muffin tins. The batter rises in a hot oven, producing a browned exterior with a moist, eggy centre, without requiring a special popover pan.
Oven temperature:
400°F (204°C)
Baking time:
50–55 minutes
Equipment:
Standard muffin tins
Yield
24 popovers
Main ingredient difference:
Vegetable oil instead of meat drippings
Best for:
Holiday dinners, roast dinners and freezer batches
Cost Rating: 🍳 Budget-friendly — 24 popovers
Cost guideline:
Cost Per Batch: ~$5–$7 CAD
Cost Per Serving: ~$0.21–$0.29 CAD (based on 24 popovers)
Estimated using average Canadian grocery prices in 2026.
The eggs, milk and vegetable oil account for most of the cost. Flour, sugar and salt contribute comparatively little.
Vegetable oil also makes this recipe convenient because you don’t need to cook a roast beforehand just to collect drippings. You can make popovers whenever you have the basic ingredients available. Using vegetable oil also gives these popovers a lighter, more neutral flavour than traditional Yorkshire puddings made with beef drippings. You won’t get quite the same rich, savoury taste from vegetable oil, but it means you can make a batch without having to cook a roast first.
The batch makes 24, which is particularly useful when you’re cooking for a holiday gathering. Any extras can be frozen for another meal.
Why You’ll Love This Popover Recipe
No meat drippings required: Vegetable oil makes it possible to prepare popovers without cooking beef or another roast first.
Makes 24 popovers: A practical batch size for family holiday dinners.
Freezer-friendly: Leftover popovers can be frozen and reheated directly from frozen.
Moist, eggy interior: The finished popovers have a dark outer shell without being completely dry inside.
Budget Tip:
If you bake regularly, buying vegetable oil in a larger container can reduce the cost per batch. This recipe uses oil both in the batter and in the muffin tins, so the amount matters when you’re calculating the cost.
How to Make Popovers in a Muffin Tin
Making homemade popovers isn’t difficult, but there are a few things you need to understand before you start. The most important is heat. Unlike muffins or biscuits, popovers don’t have baking powder or yeast to help them rise. Instead, they depend on the moisture in the batter turning into steam as they bake. That’s why we need a properly heated oven and hot oil in the muffin tins.
Start by preheating your oven to 400°F. You want the oven fully heated before the batter goes in, so don’t rush this part. While the oven is coming up to temperature, you can get your popover mixture ready.
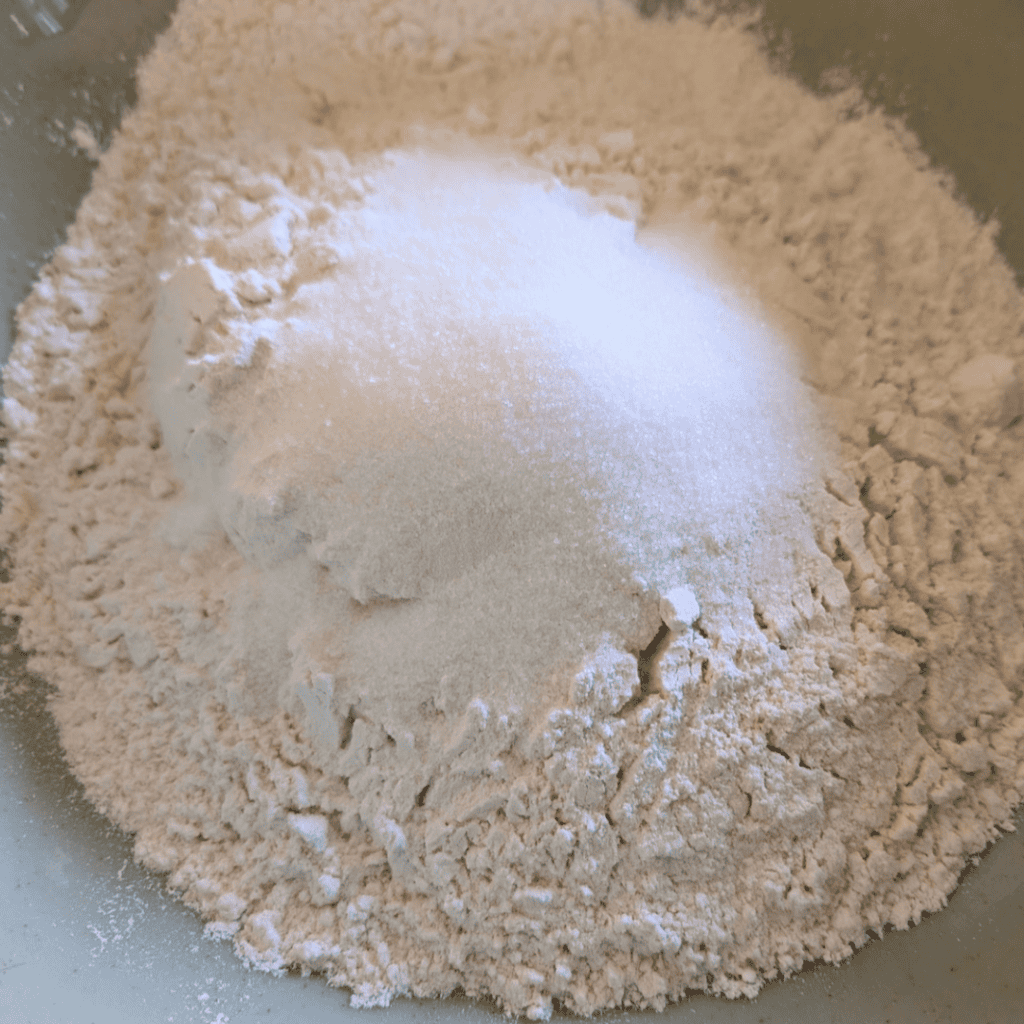
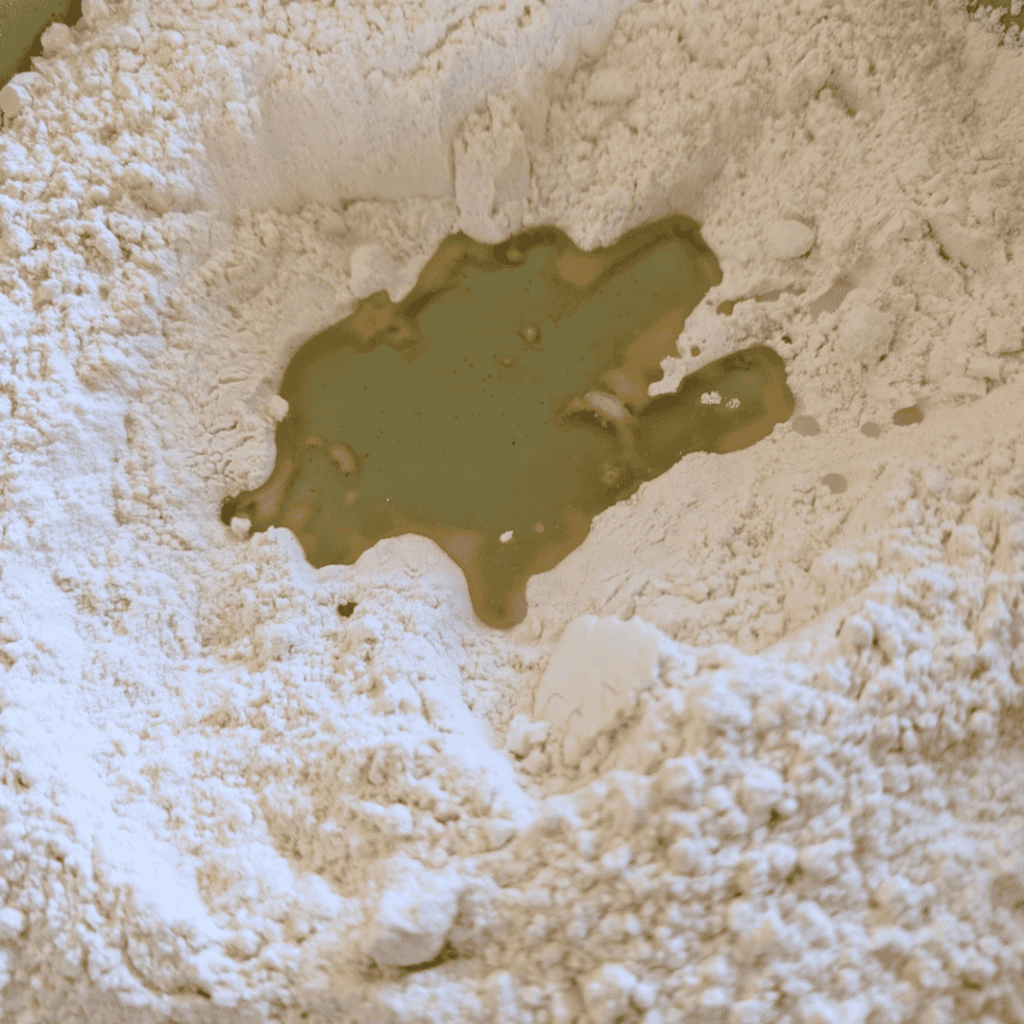
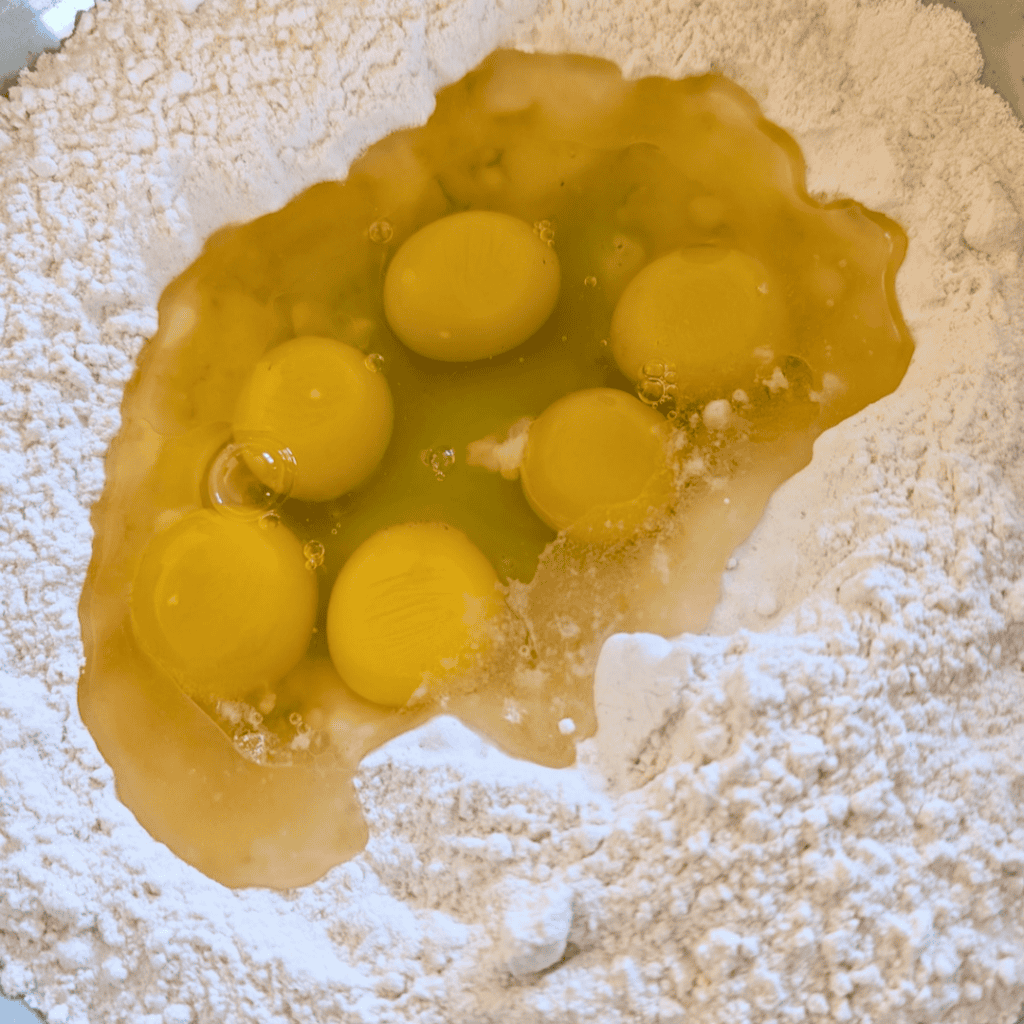
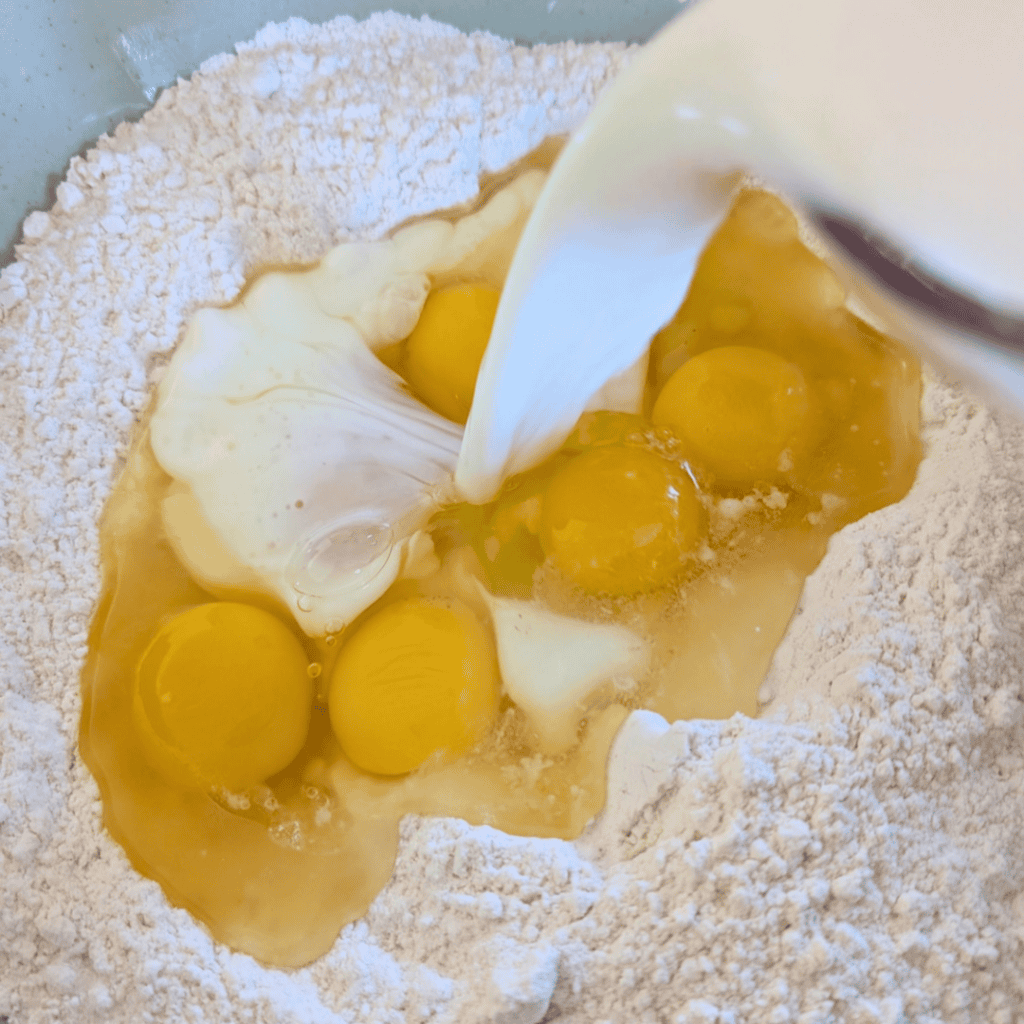
In a large mixing bowl, combine the flour, salt and white sugar. Add the milk, eggs and two tablespoons of vegetable oil, then mix everything together until the ingredients are well incorporated. You’re looking for a fairly thin, pourable batter, not something thick like ordinary muffin batter. Make sure there aren’t any large lumps of dry flour hiding at the bottom of the bowl.
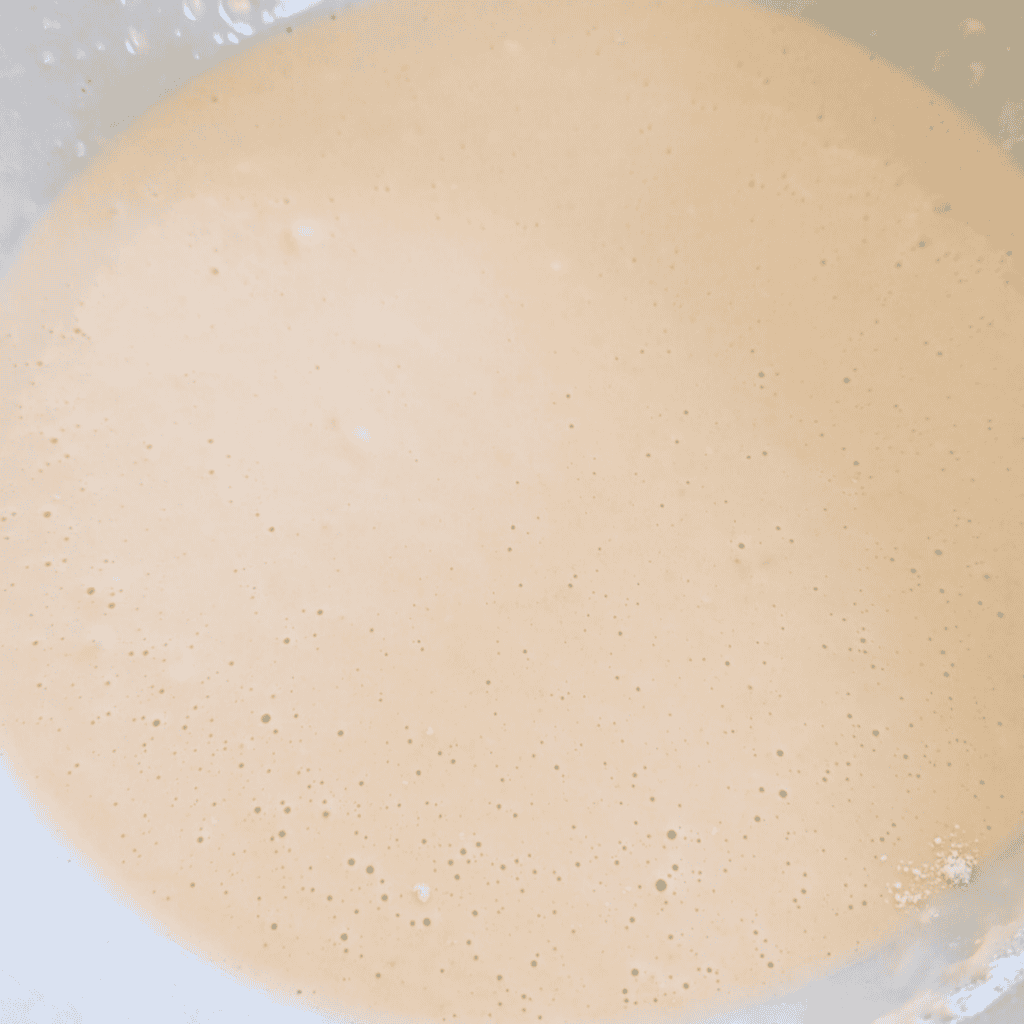
Once your batter is ready, it’s time to prepare the muffin tins. This is where you need to pay attention, because you’re going to be working with very hot oil. Add one tablespoon of vegetable oil to each muffin cup and carefully place the tins in the preheated oven. My family method is to heat the oil until it just begins to smoke or spit, whichever happens first. You’re watching for that first sign, not waiting until the oven fills with smoke. Don’t leave the pans unattended or continue heating oil that is actively smoking.
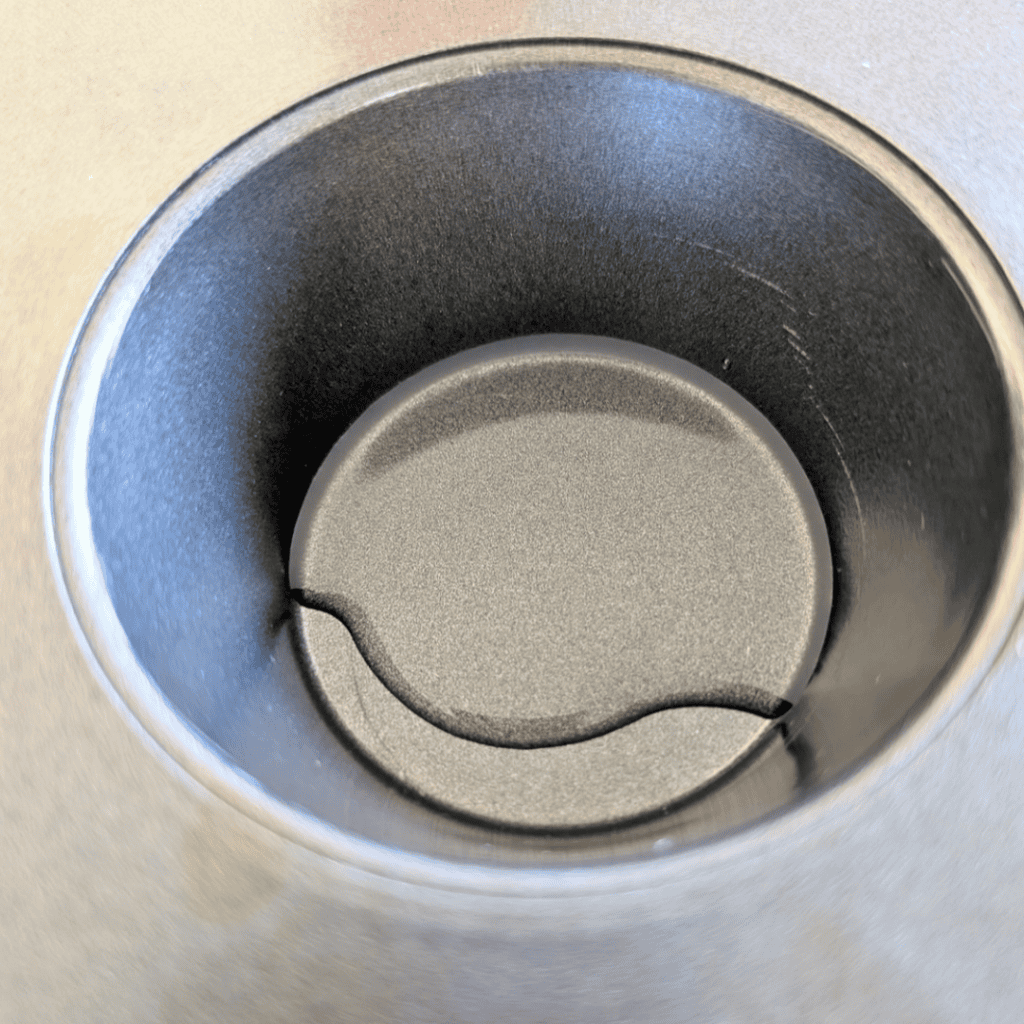
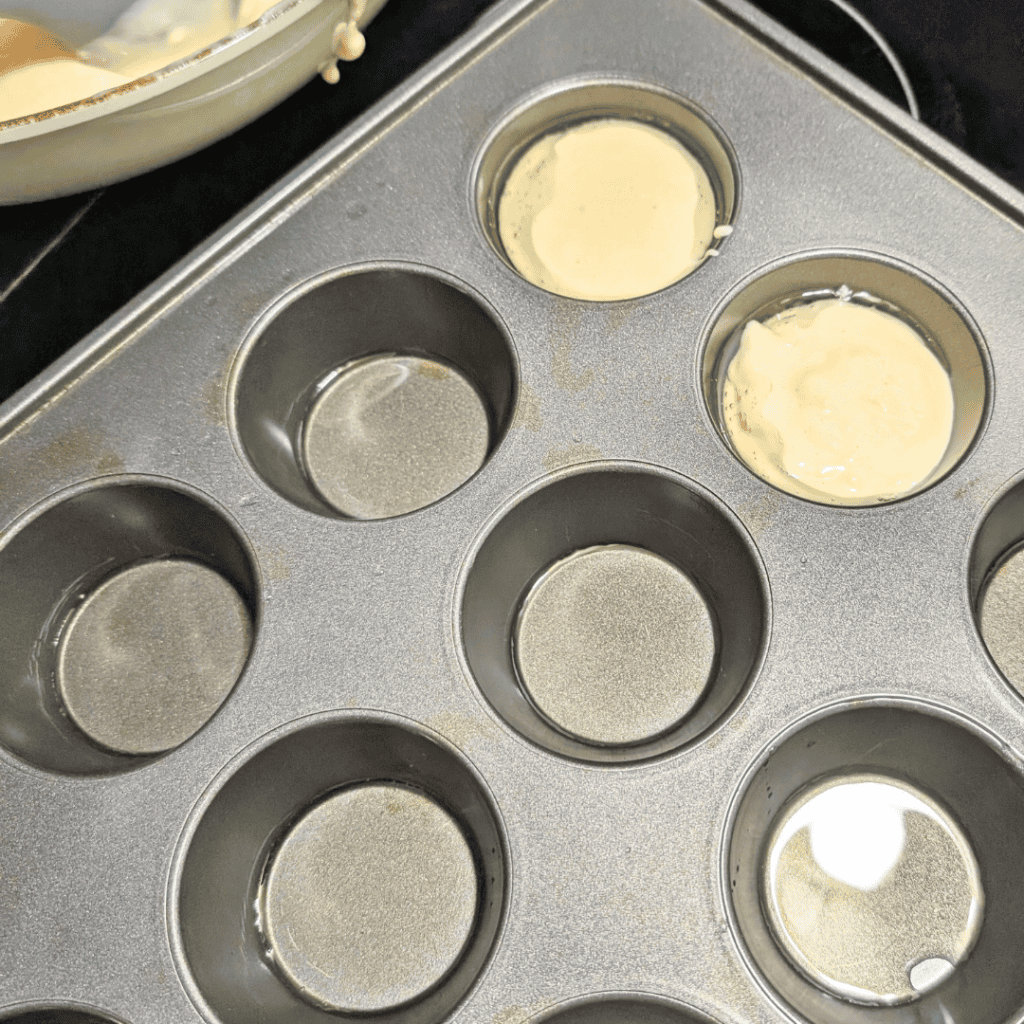
I recommend placing a rimmed baking tray on the rack below the muffin tins to catch any oil that might spill over. With 24 popovers baking, that’s quite a bit of hot oil, and you don’t want it dripping onto the bottom of your oven. Be especially careful when moving the tins, and keep a suitable kitchen fire extinguisher accessible. Never use water on burning oil. If an oven fire starts, turn off the heat and keep the door closed. Health Canada has a useful cooking safety guide worth reviewing before preparing a large holiday meal.
When the oil is ready, carefully remove the muffin tins and set them on a heatproof surface. Pour the popover batter into each cup, filling them a little over halfway but no more than about three-quarters full. Try to work steadily without splashing the oil, because it will be hot enough to cause a serious burn. You’ll notice the batter begin reacting to the heat as it meets the oil.
Carefully return the filled muffin tins to the oven, close the door and leave them alone. This is one of those recipes where constantly checking on things can cause more trouble than it prevents. Every time you open the oven door, you let some of that heat escape, and your popovers need it to keep expanding and developing their structure.
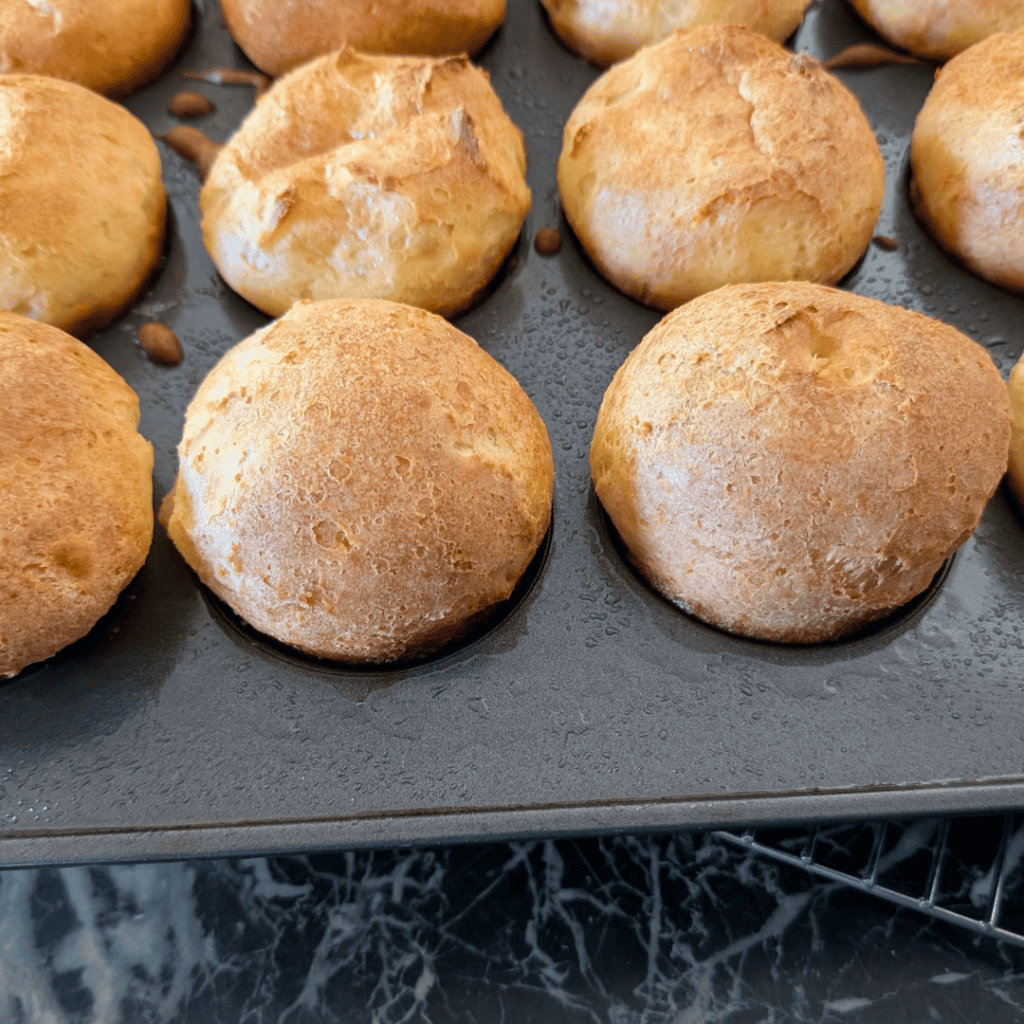
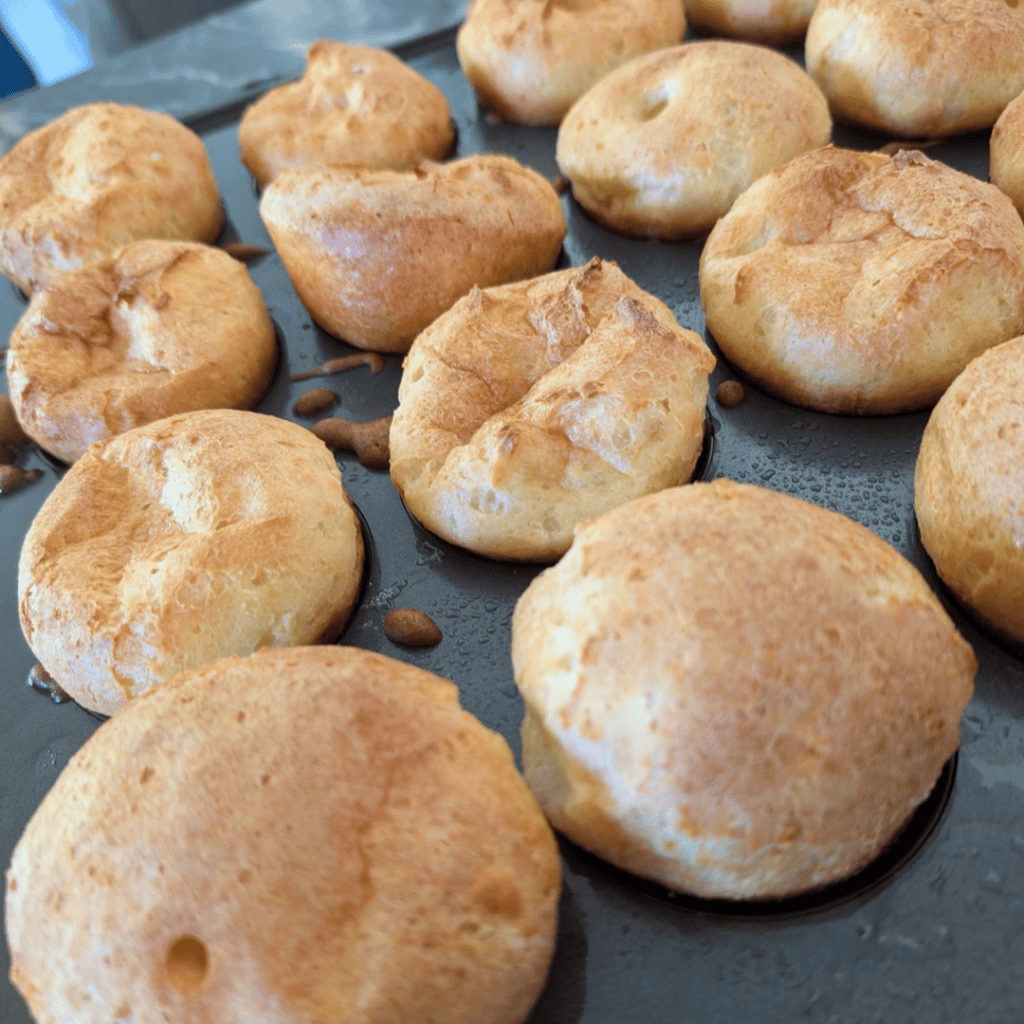
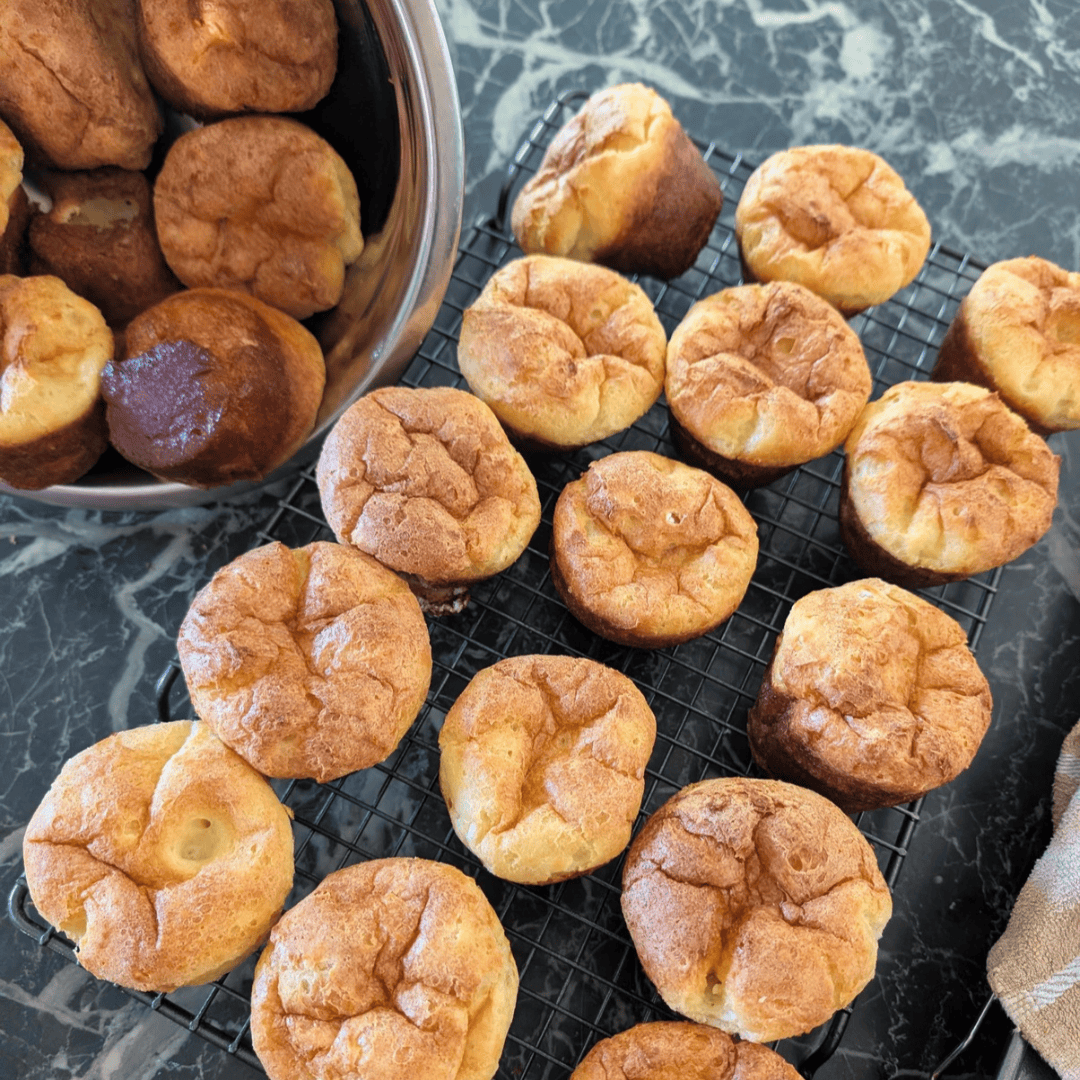
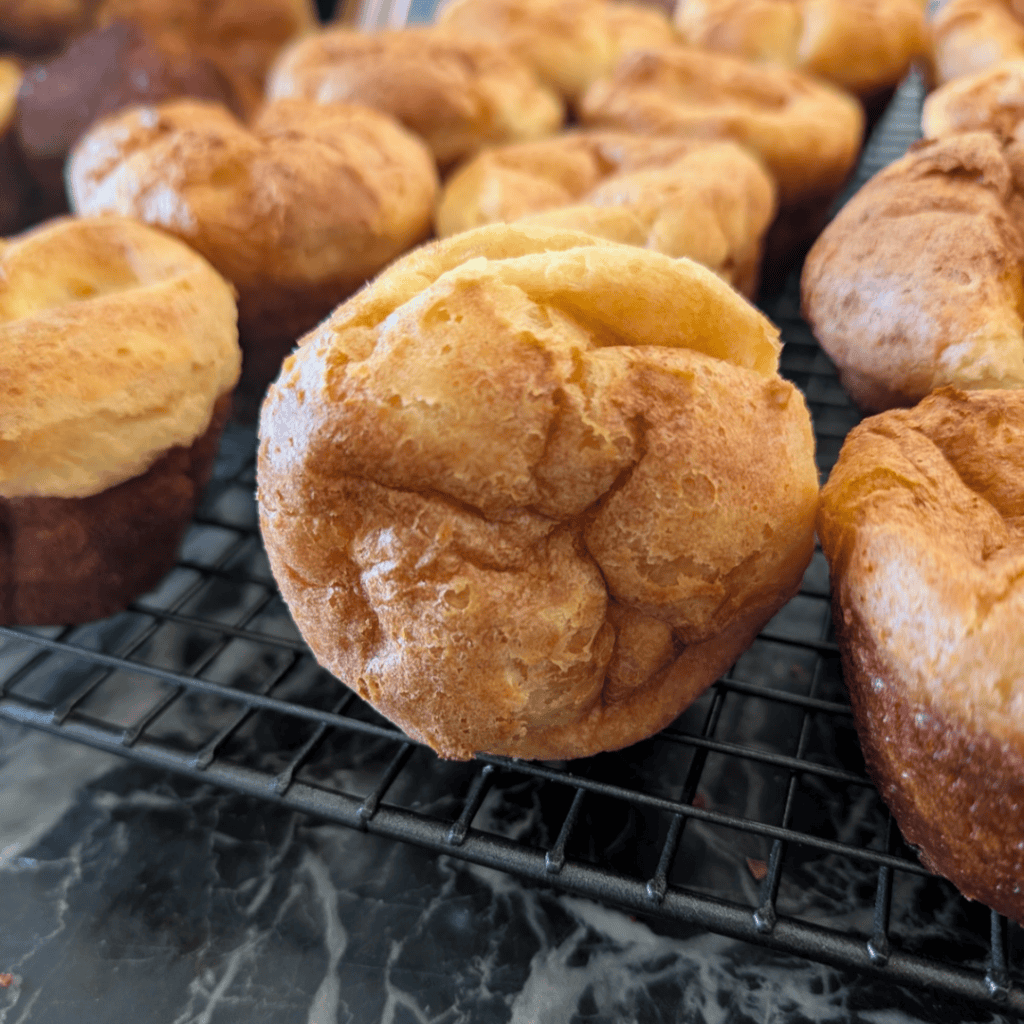
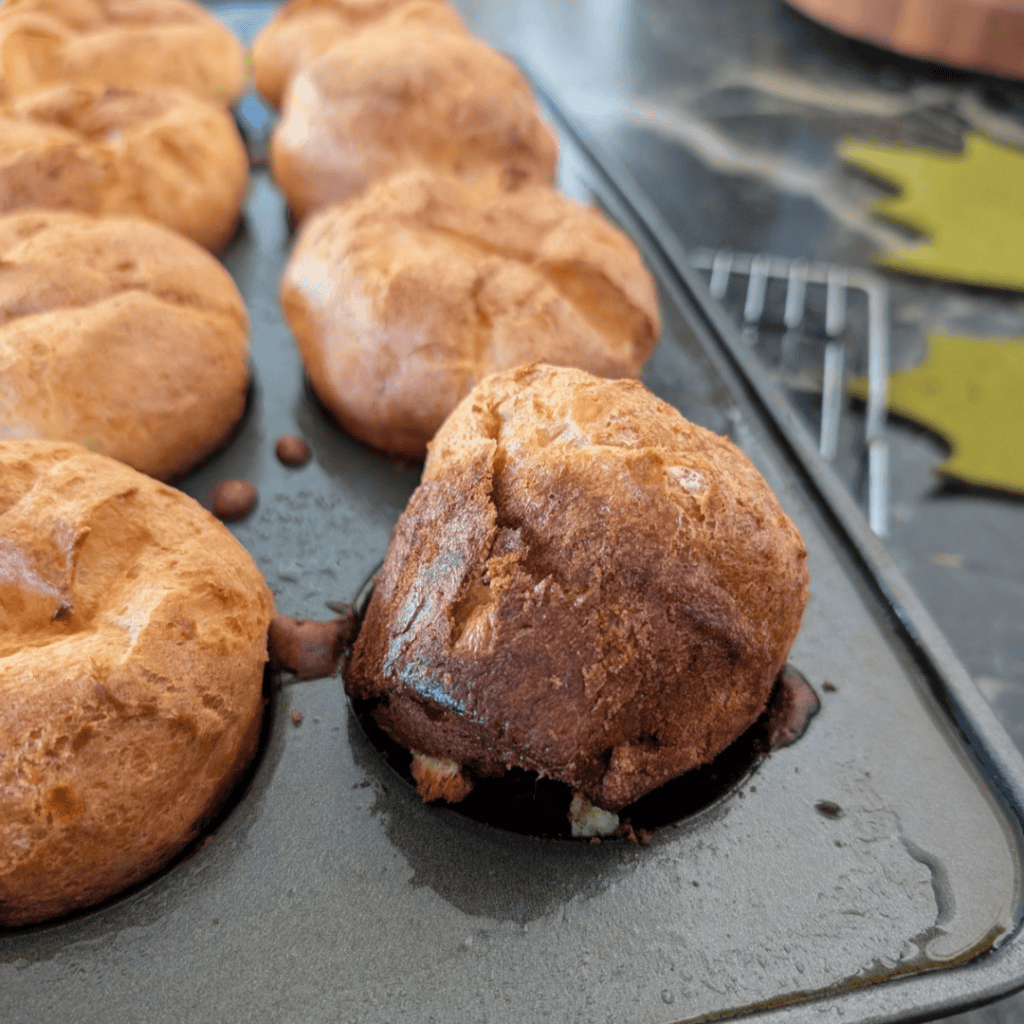
Bake the popovers at 400°F for approximately 50 to 55 minutes. You’ll notice them rising above the muffin cups as they cook, but don’t assume they’re finished just because they’ve puffed up. You want a very dark, well-browned shell on the outside. That outer crust helps the popovers hold their shape once they’re removed from the oven.
When they’re finished, carefully take the muffin tins out and remove the popovers. Some people like to prick the side of each popover with a skewer to release the steam, which helps make the inside a little drier. Personally, I don’t bother. I like that moist, dense, eggy interior beneath the browned shell, and that’s how I’ve always preferred them. Don’t be surprised when those beautifully mounded popovers start to deflate after coming out of the oven. That’s completely normal. As the steam inside cools, the popovers lose some of their height. It doesn’t mean you’ve done anything wrong, and they’ll still have that lovely browned shell with the moist, eggy interior I prefer.
Serve the popovers warm, especially with a roast dinner and plenty of gravy. If you don’t have pan drippings available, my mushroom gravy with sour cream is another option to serve alongside them. And if you don’t need all 24, don’t worry. These popovers freeze very well, so you can put the extras away for another meal.
Ingredients:
These popovers use six basic batter ingredients, plus additional oil for preparing the muffin tins.
All-purpose flour: Two cups provide the structure needed for the batter to rise and hold its shape.
Salt: Half a teaspoon balances the flavour of the eggs and flour.
White sugar: Two tablespoons add a little sweetness without turning the popovers into a dessert.
Vegetable oil: Two tablespoons go directly into the batter. Additional vegetable oil is used in the muffin tins. Its neutral flavour is different from the richness you get with beef drippings. You can also use another neutral-flavoured oil with a high smoke point, such as refined canola or refined avocado oil. Since the muffin tins are heated to 400°F, the oil needs to tolerate high temperatures without breaking down too quick
Milk: Two cups provide moisture for the batter. Some of that moisture turns into steam as the popovers bake.
Eggs: Four eggs give the popovers their structure and characteristic eggy interior.
Substitutions and Add-Ins for Homemade Popovers
This isn’t a recipe where I would recommend changing several ingredients at once. The balance between the eggs, flour and milk matters to the rise and finished texture.
All-purpose flour: Stick with regular all-purpose flour for this version. Gluten-free flours may behave differently and would need a separately developed recipe.
Milk: Regular dairy milk is the established ingredient. Different milks may affect browning and texture, so I wouldn’t promise identical results without testing.
Eggs: Keep all four eggs. They are an important structural ingredient, and an egg substitute would need separate testing.
Vegetable oil: A neutral oil is central to this particular method. Beef drippings are the traditional alternative in Yorkshire puddings, but their flavour and cooking behaviour are different.
White sugar: The small amount in this recipe gives the batter a little sweetness. Removing it may change the flavour and browning.
Salt: Keep the measured salt for the intended flavour balance.
Expert Tips for Making Popovers
Tip #1: Give the oven time to heat. Make sure your oven has actually reached 400°F before starting the hot-oil stage. A properly heated oven is important for steam expansion.
Tip #2: Don’t keep checking on them. Avoid opening the oven door while the popovers are rising. Watch through the oven window instead.
Tip #3: Look at the crust, not only the clock. The finished popovers should have a very dark shell. Oven performance varies, so appearance matters alongside the stated baking time.
Tip #4: Decide which interior texture you prefer. For a drier interior, you can prick the side of each finished popover with a skewer to let steam escape. I prefer to keep mine moist and eggy.
Serving Popovers for Thanksgiving and Christmas
In our family, popovers are a holiday tradition rather than something we only make when we have leftover beef drippings.
They’re especially practical with a large family meal because the ingredients are inexpensive and familiar. The neutral flavour of vegetable oil allows the popovers to work with different meals without needing to match the fat used to cook the meat.
If you’re planning a traditional roast dinner, these popovers go particularly well with my Dutch oven garlic roast beef with vegetables. You can serve them alongside the beef and vegetables, with some of the cooking juices or gravy spooned over them.
For Thanksgiving or Christmas, they’re just as practical alongside my orange cranberry baked turkey breast. Using vegetable oil instead of meat drippings means you don’t have to change the popover recipe depending on what you’re roasting.
When I’m putting together a larger holiday meal, I like having a few side dishes that can be prepared ahead of time. My old-fashioned turnip puff made with rutabaga is another family-style holiday dish that can be prepared ahead, leaving more room to concentrate on getting the popovers into the hot oven.
If you’re looking for another vegetable to put on the holiday table, these air fryer roasted beets with peppered honey are worth considering. Making a vegetable side in the air fryer also helps keep your oven available for the popovers, which need steady heat while they bake.
Storing and Freezing Popovers
One advantage of making 24 popovers is that you don’t have to eat the entire batch at once.
Allow any leftovers to cool before packaging them. For short-term storage, use a covered container in the refrigerator.
For longer storage, freeze them in a freezer-safe container or bag once cooled.
How to Reheat Frozen Popovers
My usual method is to return the frozen popovers to a 400°F oven for approximately three minutes, or until heated through.
The actual reheating time will depend on their size, how frozen they are and how your oven performs. Check that the centres are hot before serving.
Freezing is especially helpful when you’re preparing several dishes for a holiday meal and want to get some of the work done in advance.
FAQ
A Family Holiday Tradition
I’ve made these popovers for most of my life, and they’re still one of the dishes I associate with getting a family holiday meal ready.
You don’t need a roast cooking in the oven to make them, and you don’t need special pans. What matters is understanding the heat and giving the popovers time to bake properly.
Does your family serve popovers or Yorkshire puddings with holiday dinners, and do you use vegetable oil or save the drippings from your roast?
Easy Popover Recipe in a Muffin Tin

Equipment
- mixing bowl
- Muffin Tin
- Teaspoon
- Tablespoon
Ingredients
- 2 Cups White All Purpose Flour
- ½ Tsp Salt
- 2 Tbsp White Sugar
- 2 Tbsp Vegetable Oil
- 2 Cups Milk
- 4 Eggs
For Muffin Tin
- 24 Tbsp Vegetable Oil *Other high smoke point oil
Instructions
- Preheat the oven to 400°F (204°C).
- In a large mixing bowl, combine the flour, salt and white sugar.2 Cups White All Purpose Flour, ½ Tsp Salt, 2 Tbsp White Sugar
- Add the milk, eggs and 2 tablespoons of vegetable oil.2 Cups Milk, 4 Eggs, 2 Tbsp Vegetable Oil
- Mix until the batter is smooth and pourable, with no large lumps of dry flour.
- Add 1 tablespoon of vegetable oil to each cup of two standard 12-cup muffin tins. Place a rimmed baking tray on a lower oven rack to catch any oil that may spill over.
- Carefully place the muffin tins in the hot oven to heat the oil.
- Carefully remove the hot muffin tins and place them on a heatproof surface. Pour the popover batter into each cup, filling slightly more than halfway but no more than three-quarters full. Avoid splashing the hot oil.
- Return the muffin tins to the oven and close the door. Bake at 400°F for 50–55 minutes without opening the oven door during the main rising period.
- The popovers are ready when they have puffed into tall, rounded mounds and developed a very dark, well-browned outer shell.
- Carefully remove the popovers from the muffin tins and serve warm. The popovers will naturally deflate somewhat as they cool.
Notes
Nutrition