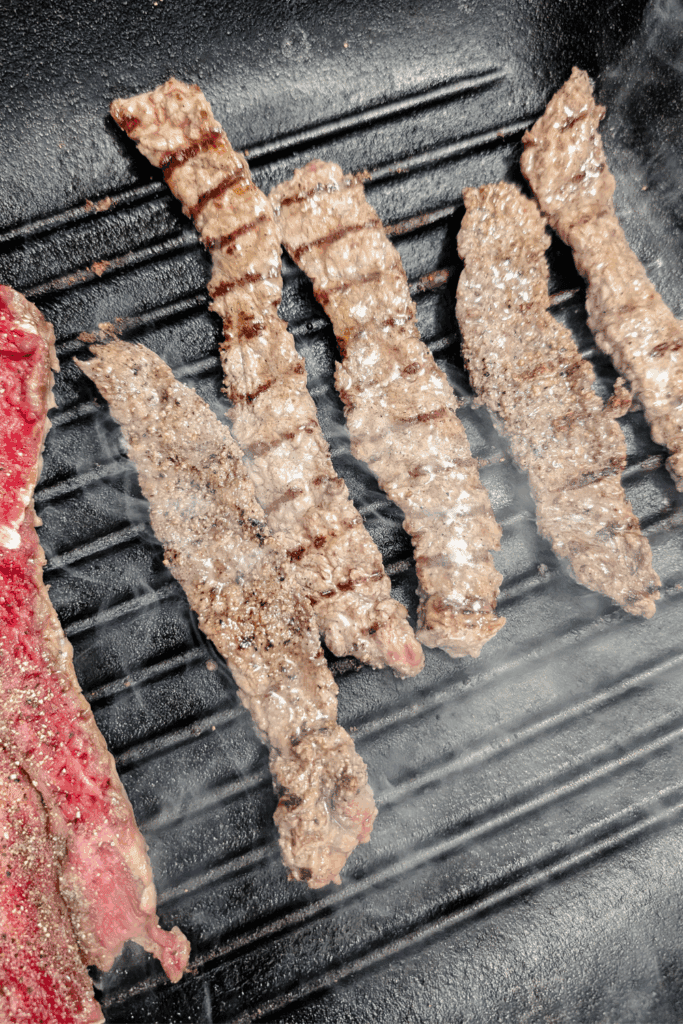
Steak Strips in a Grill Pan
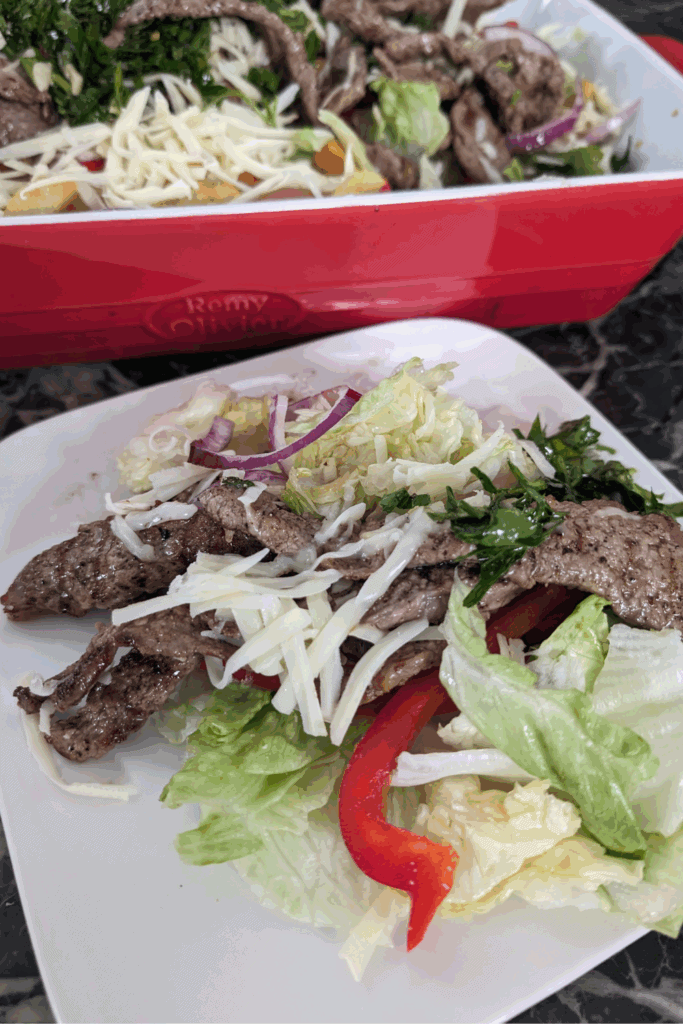
If you’ve ever craved a juicy steak salad, a warm steak sandwich, or just a quick way to prep high-quality steak for wraps or dinner bowls—this method is the best way to get juicy steak strips every time. Cooking steak strips in a grill pan on the stove top gives you nice grill marks, fast cook time, and delicious steak flavor that hits every time. It’s a great way to use thick steaks from the grocery store or your local beef farmer, and it works exceptionally well for meal prep.
I started making steak strips this way after finally caving and buying a grill pan. For years, I skipped them, thinking they were a pain to use or not worth it—but I was wrong. Once properly seasoned, a cast iron grill pan gives you those gorgeous sear lines and helps lock in the juices for a succulent result. It’s worth the extra effort to slice and pound your steak strips before they hit that hot skillet.
If you love using your grill pan or cast iron skillet for cooking, try my steak strip salad with chimmichurri or my con queso double burger!
Why You’ll Love This Method
Flavorful & Juicy. Because we’re working with thin strips and a very hot pan, you’ll get a good sear in seconds without overcooking the center.
Great Meal Prep. These steak strips reheat beautifully and hold their flavor—ideal for tossing in a steak salad, loading into wraps, or serving over grains.
Affordable Cuts: Perfect Results. You don’t need high quality steaks to make great steak strips. This technique makes even budget-friendly cuts like top sirloin shine.
Canadian Beef — Know What You’re Buying
We raise some of the best beef in the world right here in Canada. From Alberta to PEI, Canadian beef farmers work hard to produce flavorful, high-quality steaks using sustainable practices and ethical standards. Supporting them means putting your grocery dollars toward food grown close to home.
When you’re at the grocery store, look for the “Canada AAA“ or “Canada Prime” grading, or check the label for a maple leaf or “Product of Canada.” If you’re buying directly from a farmer, don’t be afraid to ask what breed of cattle they raise. It makes a big difference in the beef’s marbling and flavor.
If you’re looking for a steak with rich marbling, breeds like Angus or Simmental are a solid choice. Highland beef or Hereford might be up your alley if you want something leaner and more distinctive. Each breed has a different texture and flavor, and knowing the cut of beef and where it comes from helps you get the best results.
Let’s Get Started Making The Grilled Steak Strips
The thickness of the steak is important for this method. It should be at least 1 inch thick, so you have enough depth to slice and pound it without losing tenderness. Look for top sirloin, striploin, or even flank if it’s available.
What matters most is that your cut of beef has minimal gristle and a good balance of lean to fat. Avoid anything with thick seams of fat running through it—it won’t cook evenly.

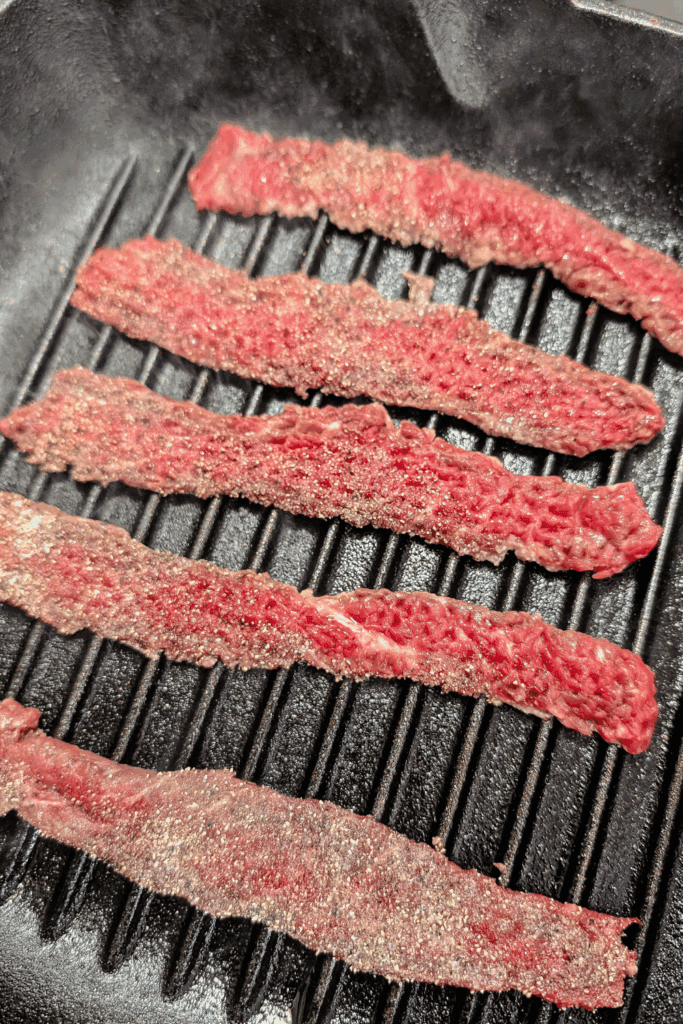
Place the steak on a clean cutting board and trim away any exterior fatty bits from the sides of the steak. (In our house, those bits mysteriously disappear, thanks to a dog who knows exactly where to sit during prep.) Then, find the direction of the muscle fibers—those visible lines running through the meat—and slice against the grain into thin strips, no thicker than ½ inch. Cutting across those muscle fibers makes a world of difference in tenderness.

Once sliced, use a meat mallet to gently pound each strip. This step helps tenderize and flatten the pieces, ensuring fast, even cooking. Lay your strips out across the board and season generously with fresh ground pepper and salt.
We like a peppery crust on our steak strips, but if you’re sensitive to heat, feel free to use a little bit less. Either way, seasoning matters—it helps the meat develop a good sear and draws out the flavor of the beef.
Heat your cast iron grill pan over high heat. You want a hot pan to create good sear and grill marks without overcooking. If your grill pan isn’t well seasoned or unsure, add a drizzle of olive oil or another oil with a high smoking point, like avocado or grapeseed oil. I don’t usually need oil because my grill pan is well seasoned, but use your best judgment.

(Pro tip: I clean my cast iron pan with Lodge’s chainmail scrubber—just hot water, no soap—and dry it immediately to keep the seasoning perfect.)
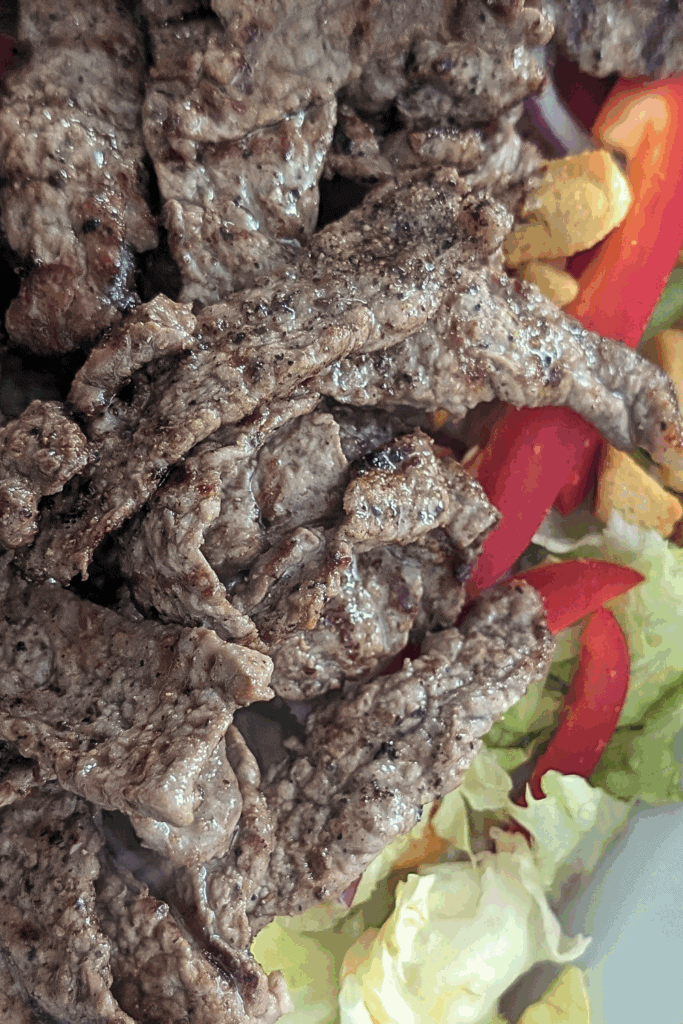
When the pan is hot, lay your steak strips across the grill lines in batches. Don’t crowd the pan. Press them down lightly if needed so the whole surface hits the hot skillet. Let them sear without touching for about 1 to 1½ minutes. You’ll know it’s time to flip when the edges of the steak start to brown.
Flip each piece to the first side using tongs and cook for another 30–60 seconds. The strips will cook fast—don’t walk away. You’re aiming for just-cooked-through strips with a crisped exterior.
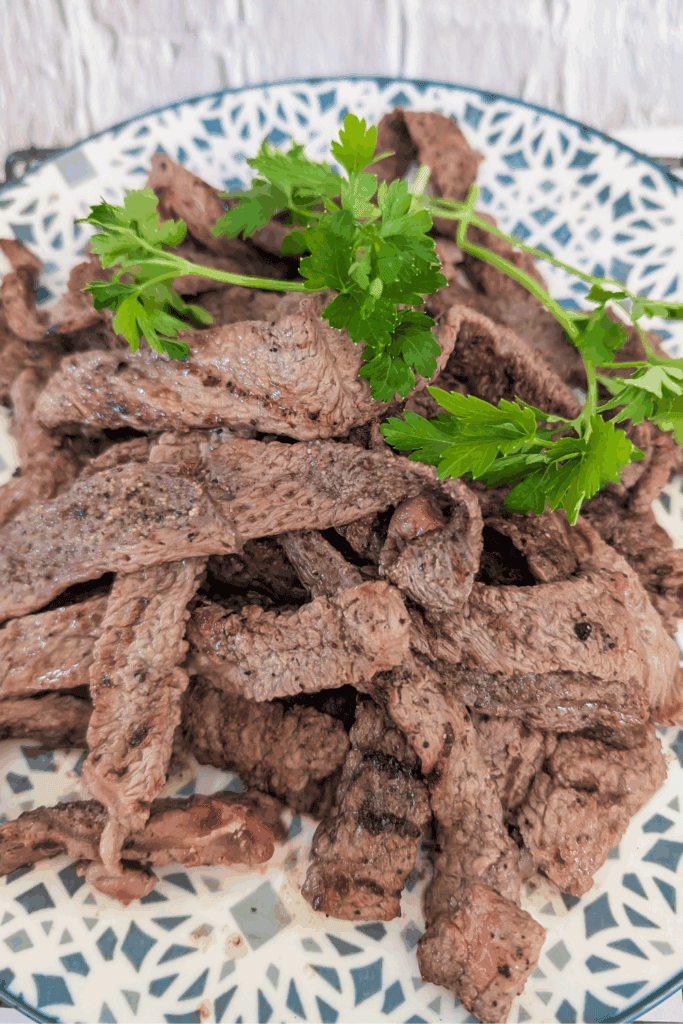
For a nice medium rare steak, pull them a few seconds earlier and check the internal temperature if you’re unsure. Once done, remove immediately to a warm plate or transfer to a dish kept warm in a low oven.
Let the meat rest for a few minutes. This lets the juices redistribute so you don’t lose moisture when slicing or serving. Meat rest time is short with thin strips, but it still makes a difference in getting that juicy steak finish.
Ingredients:
Note: Support Canadian farmers by buying locally sourced meat and ingredients whenever possible.
Thick steaks (at least 1 inch thick) such as top sirloin, striploin, or flank
Salt and fresh ground pepper for seasoning
Olive oil (optional, depending on pan seasoning)
Best Steaks to Use & Beef Breeds
- Top Sirloin Steak: Affordable, lean, and flavorful—my go-to choice for this recipe.
- Striploin/NY Strip Steaks: Slightly fattier and incredibly juicy when cooked right.
- Flank Steak: Needs more pounding and a shorter cook, but great flavor when sliced thin.
If you’re sourcing from a local beef farm, it’s worth knowing your breed of cow. For example:
- Angus: Rich marbling, known for tenderness and bold beef flavor.
- Hereford: Slightly leaner but still well-balanced, classic beef taste.
- Highland Cattle: Grass-fed, lean, with a more earthy and gamey flavor—best for seasoned beef lovers.
- Simmental: Higher marbling and a slightly sweeter beef note.
The cut of steak and breed of cattle play into the final taste and texture of your dish, so don’t be afraid to ask questions when buying directly.
Best Oils for Grill Pans
If your grill pan needs oil, choose one with a high smoking point to avoid burning:
- Olive oil (light, not extra virgin)
- Avocado oil
- Canola or grapeseed oil
- Avoid butter or low-smoke-point oils—they’ll scorch in a hot pan.
Expert Tips, Serving & Storing
Tip #1: Always slice against the grain before pounding. This breaks up those tough muscle fibers and ensures tender results.
Tip #2: Don’t skip the rest. A short steak rest after cooking helps lock in moisture and improves flavor.
Tip #3: Use a warm plate or warming burner. If you’re cooking in batches, keeping the strips warm helps maintain texture and prevents overcooking when reheating.
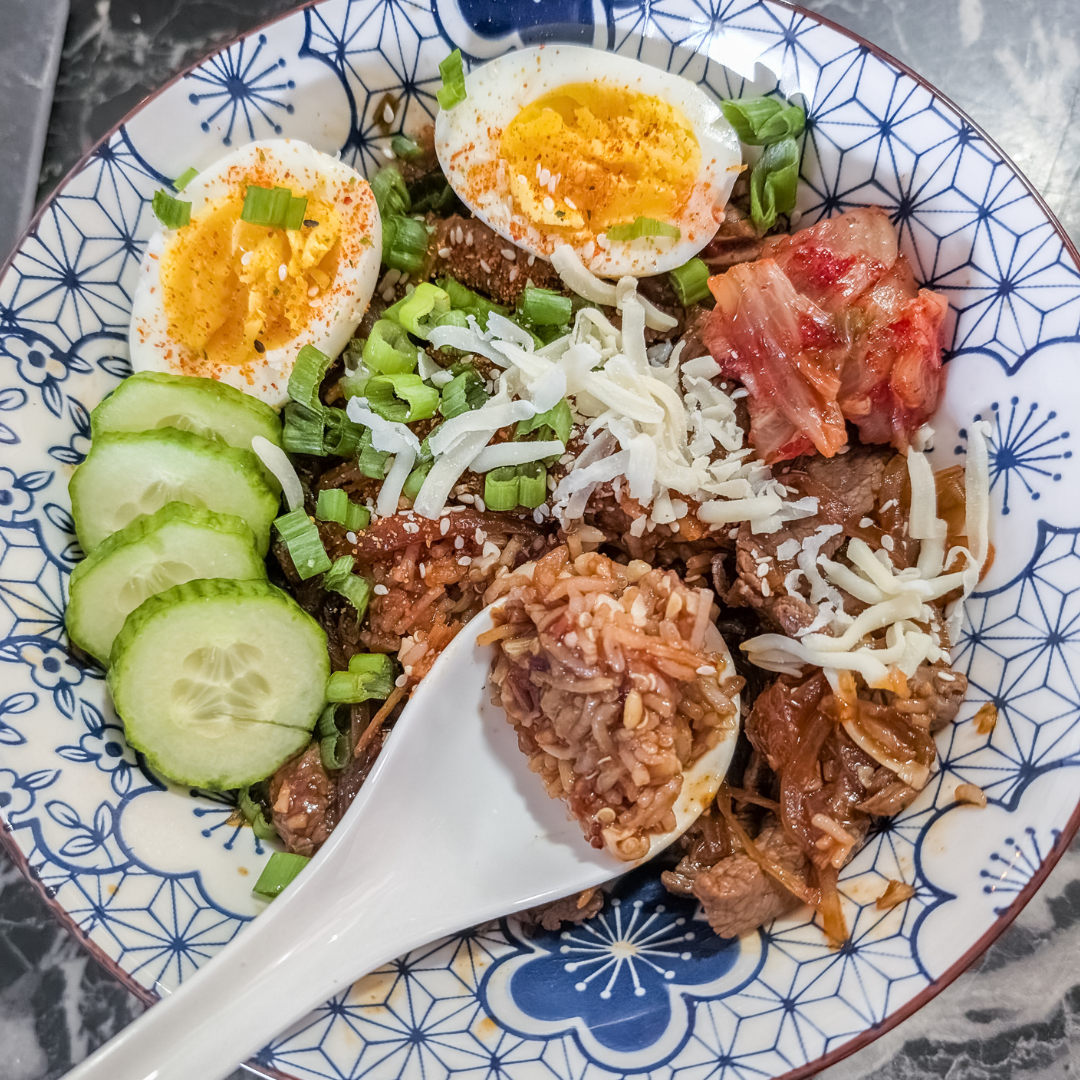
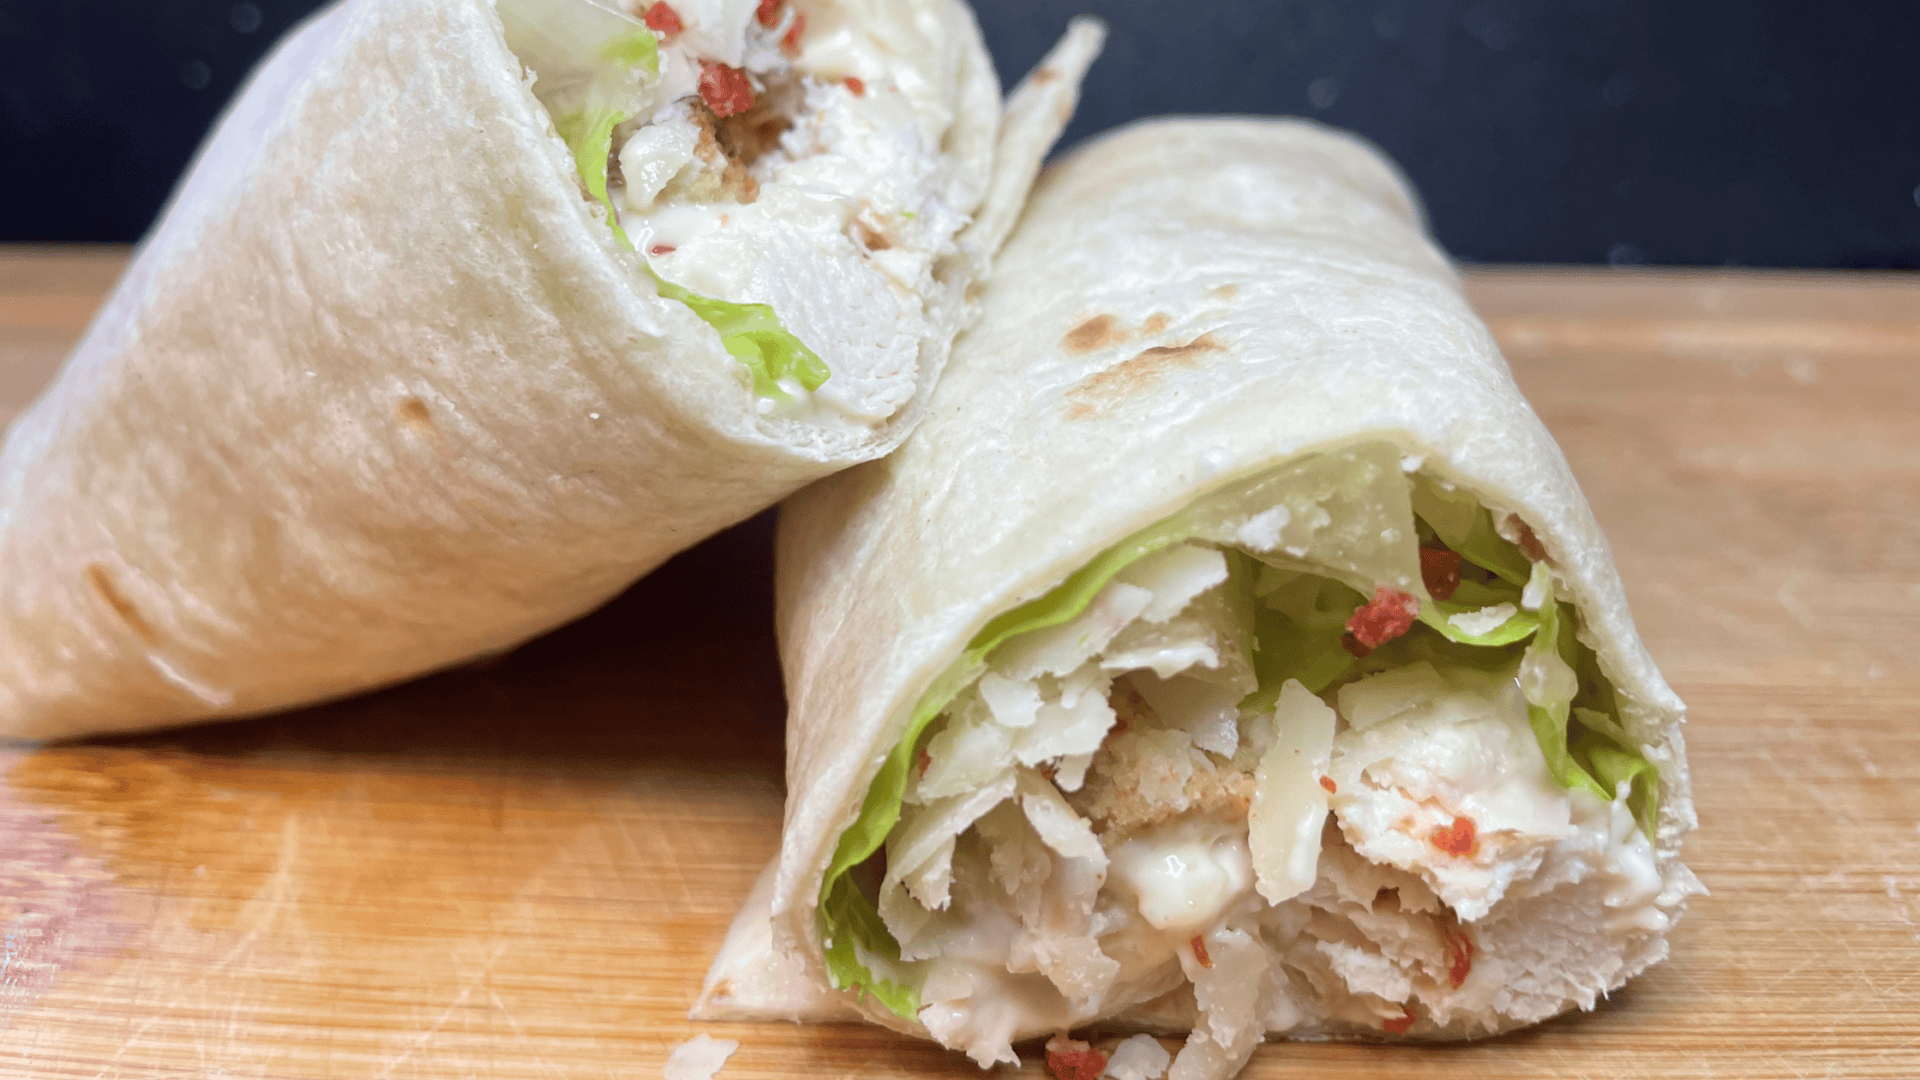
These steak strips are perfect for steak salad, rice bowls, tacos, or wraps. I’ve even tossed them into scrambled eggs for a high-protein breakfast.
To store, let the strips cool completely and place them in an airtight container. They’ll keep in the fridge for 3–4 days and reheat well on the stovetop or in the microwave. For longer storage, freeze them in a zip-top bag with the air pressed out and thaw them as needed.
Have you tried these grill pan steak strips? Let me know in the comments below! Rate the recipe and share your favorite way to serve them—a sandwich, steak salad, or something creative. Your feedback helps others get the best results, too.